

FORWARD AND AFT OVERHEAD PANEL (UPDATED 22 JUNE 2025)
The forward and aft overhead is probably the most complex panel, both in the real aircraft and in the simulator. Therefore, it has been earmarked to complete at a later stage in the project. I believe it’s wise to have everything else working in the simulator (MIP, avionics, throttle, CDU, etc) with minimal bugs before connecting the forward and aft overhead.
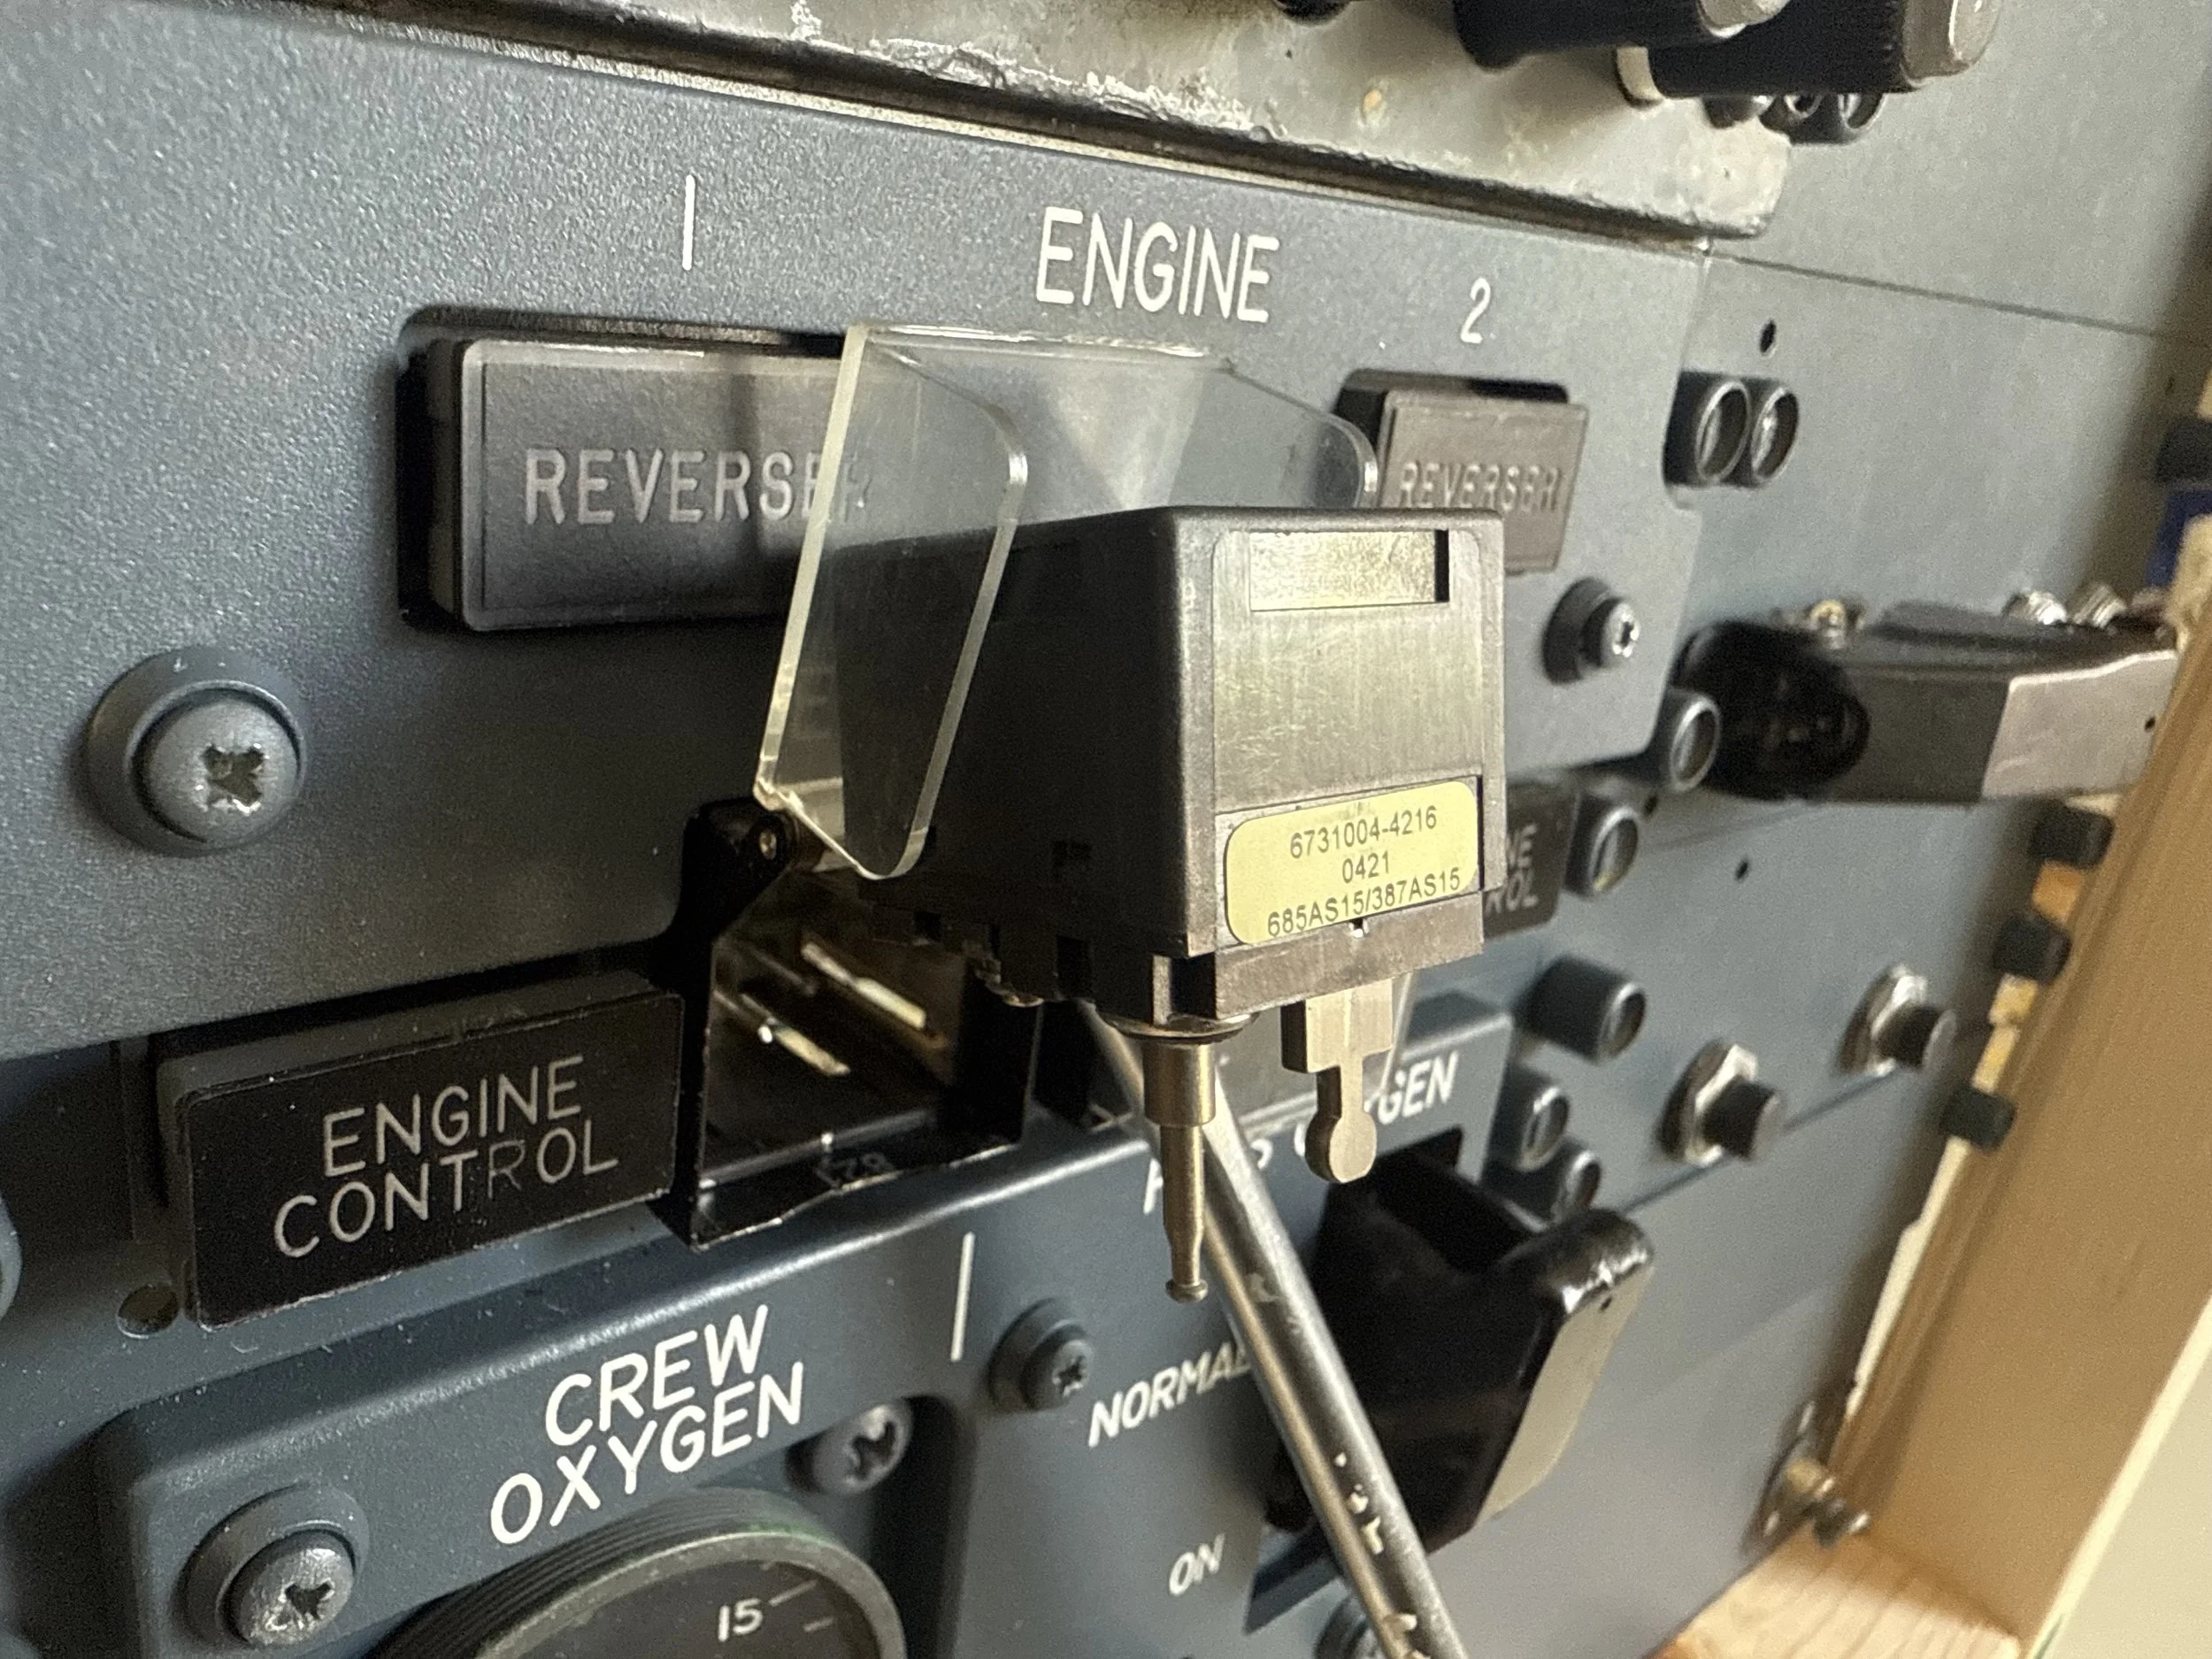
At first, I deliberated using a overhead manufactured by Flight Deck Solutions - mainly because it was ‘plug and fly’ (remember, this was in 2011 prior to OEM components being a feasible option). However, an OEM Boeing 737 overhead frame appeared on the market at a reasonable price, and I was fortunate in securing the forward and aft sections along with Cole starter switches, some gauges, light switch toggles and several other switches and panels. This said, there are number of panels, korrys and toggles missing.
OEM Panels
The overhead forward and aft frame (not the panels and gauges) comes from a 737-500 classic series aircraft. There is a difference between the classic overhead and the Next Generation overhead (panels and light plates), but the frames are identical. To this frame various OEM Next Generation panels have be added using DZUS connectors.
Timeline
The overhead is not a panel you can construct in a few days or weeks and finding the correct OEM panels in reasonable condition has taken longer than anticipated. At the beginning of the project I decided that I would not implement an OEM overhead until I had 95% of the panels and gauges.
The simulator is flyable without an overhead, so a time frame has not been set for completion; this is a project that ticks along in the background.
737-800 overhead functionality
Overhead Functionality
The adjacent video provides a good overview of the overhead functionality.
Update (01 June 2025) - Building the Overheads
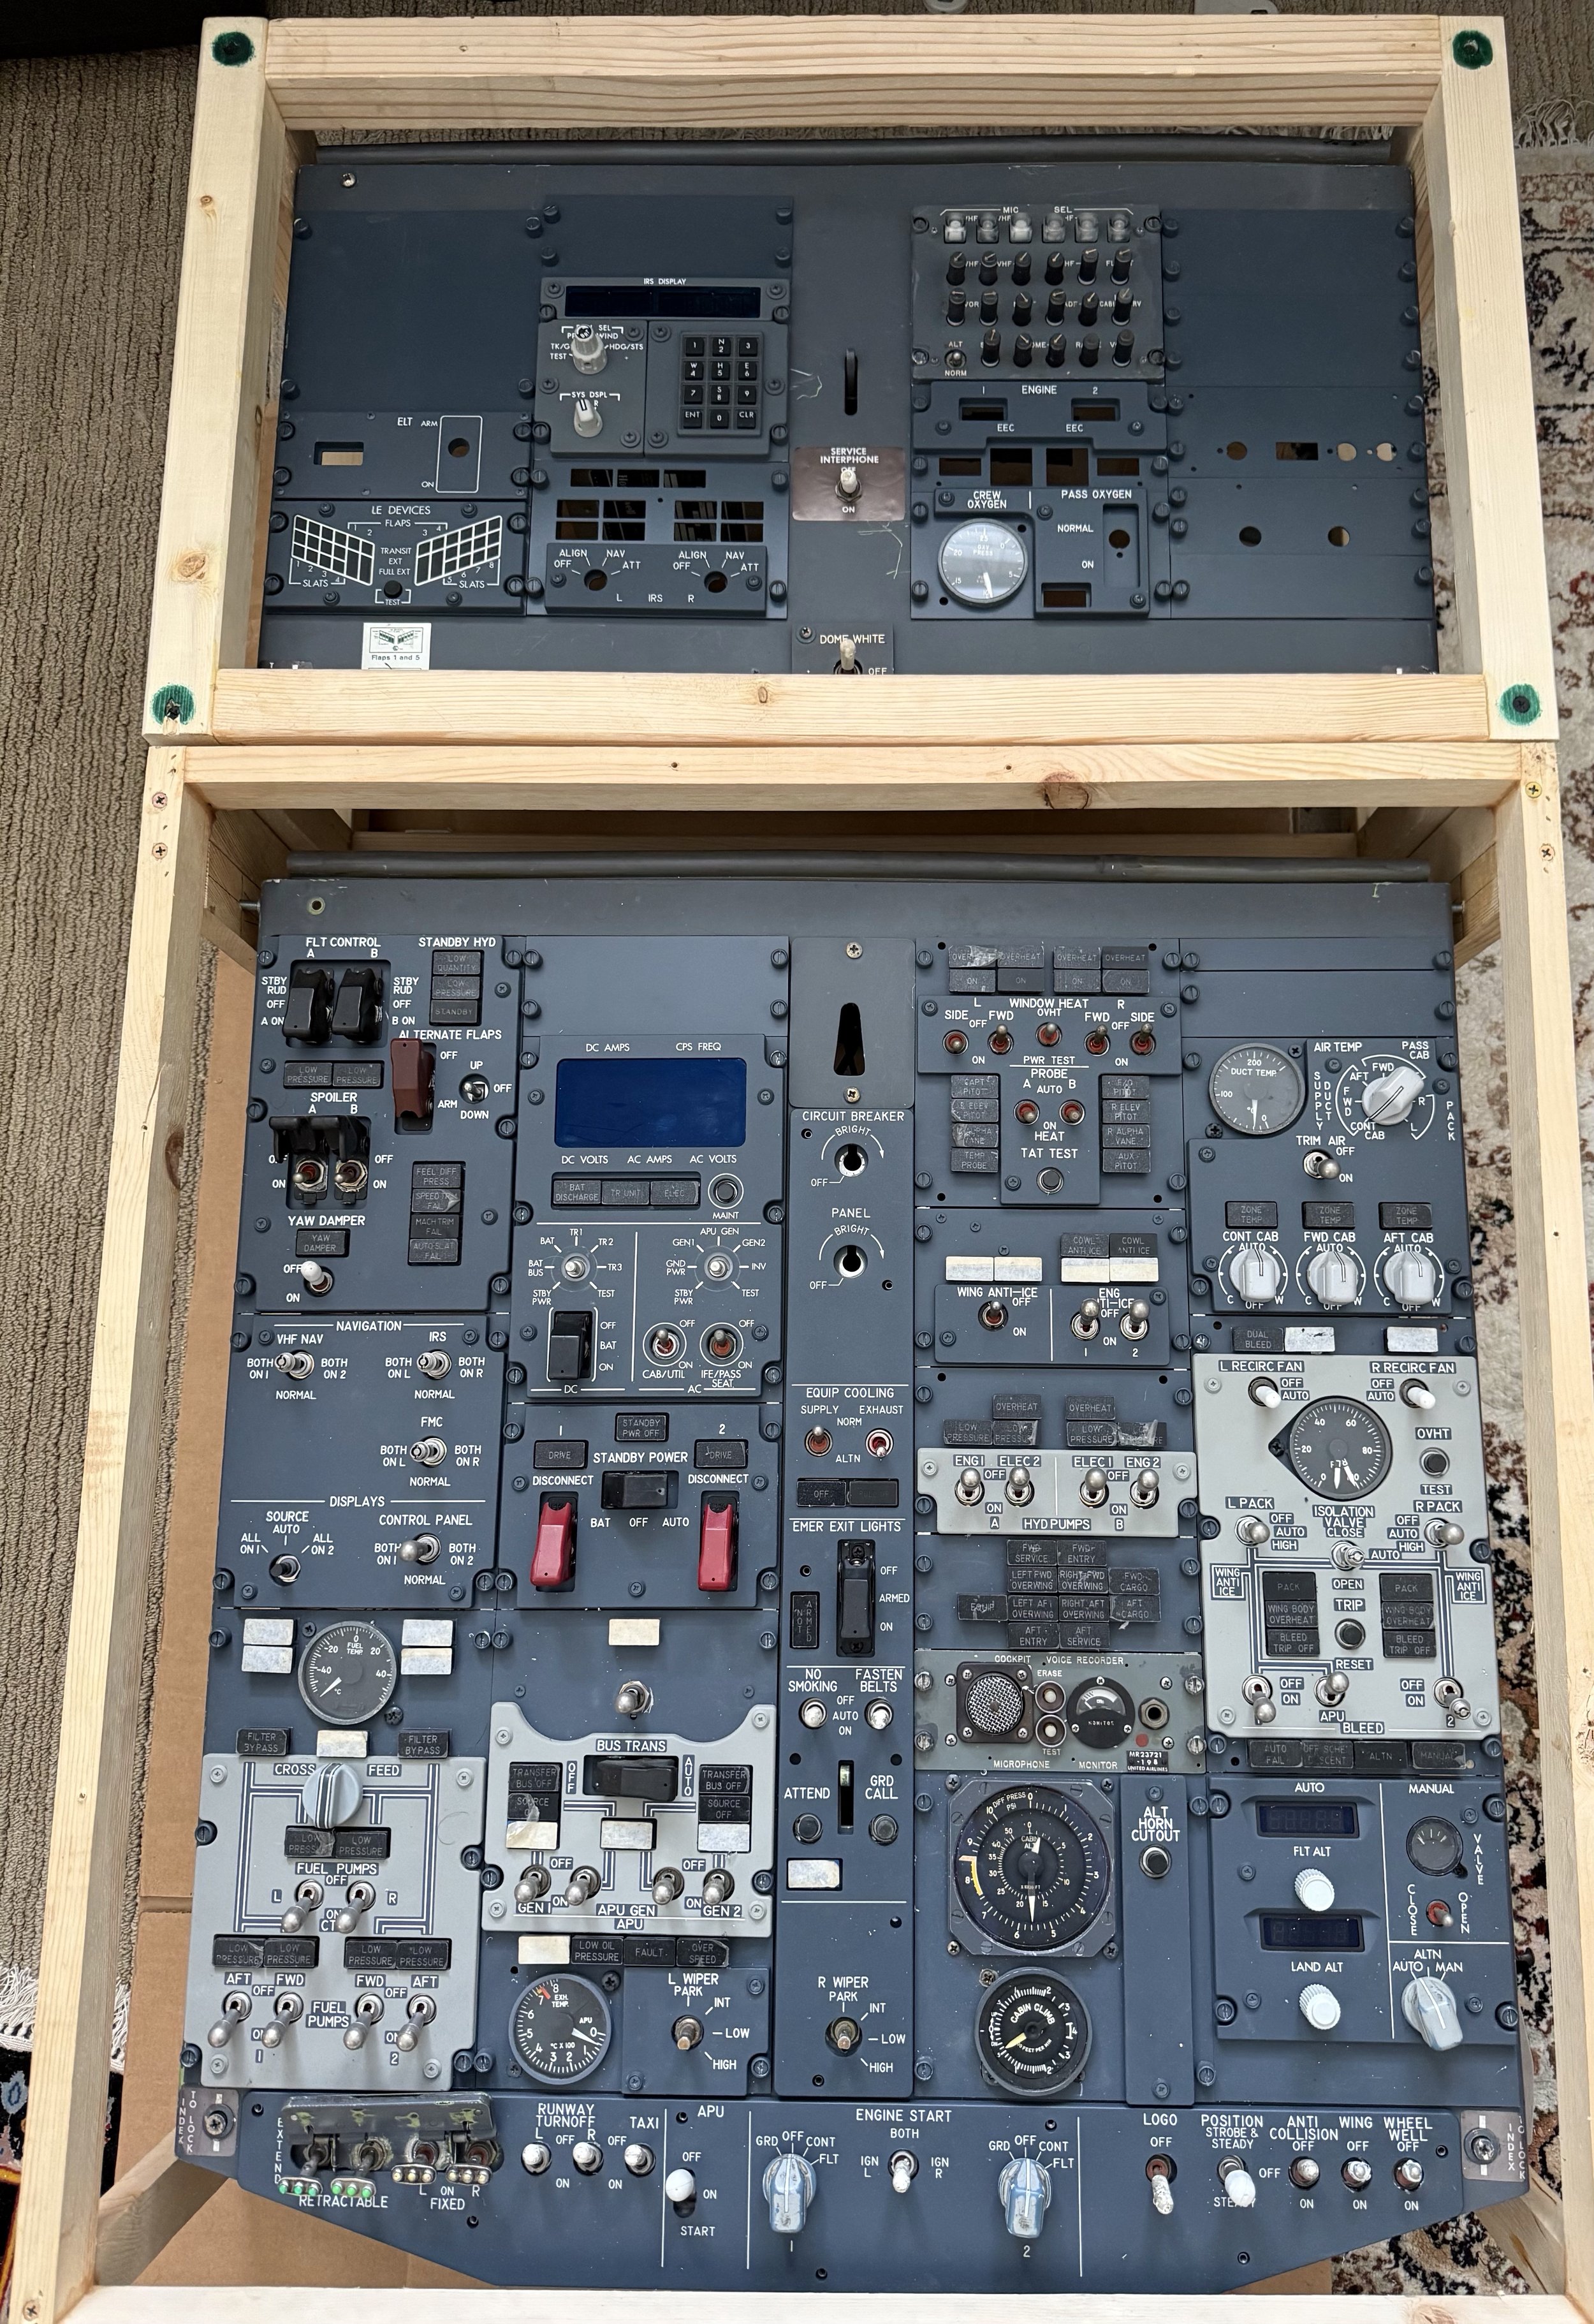
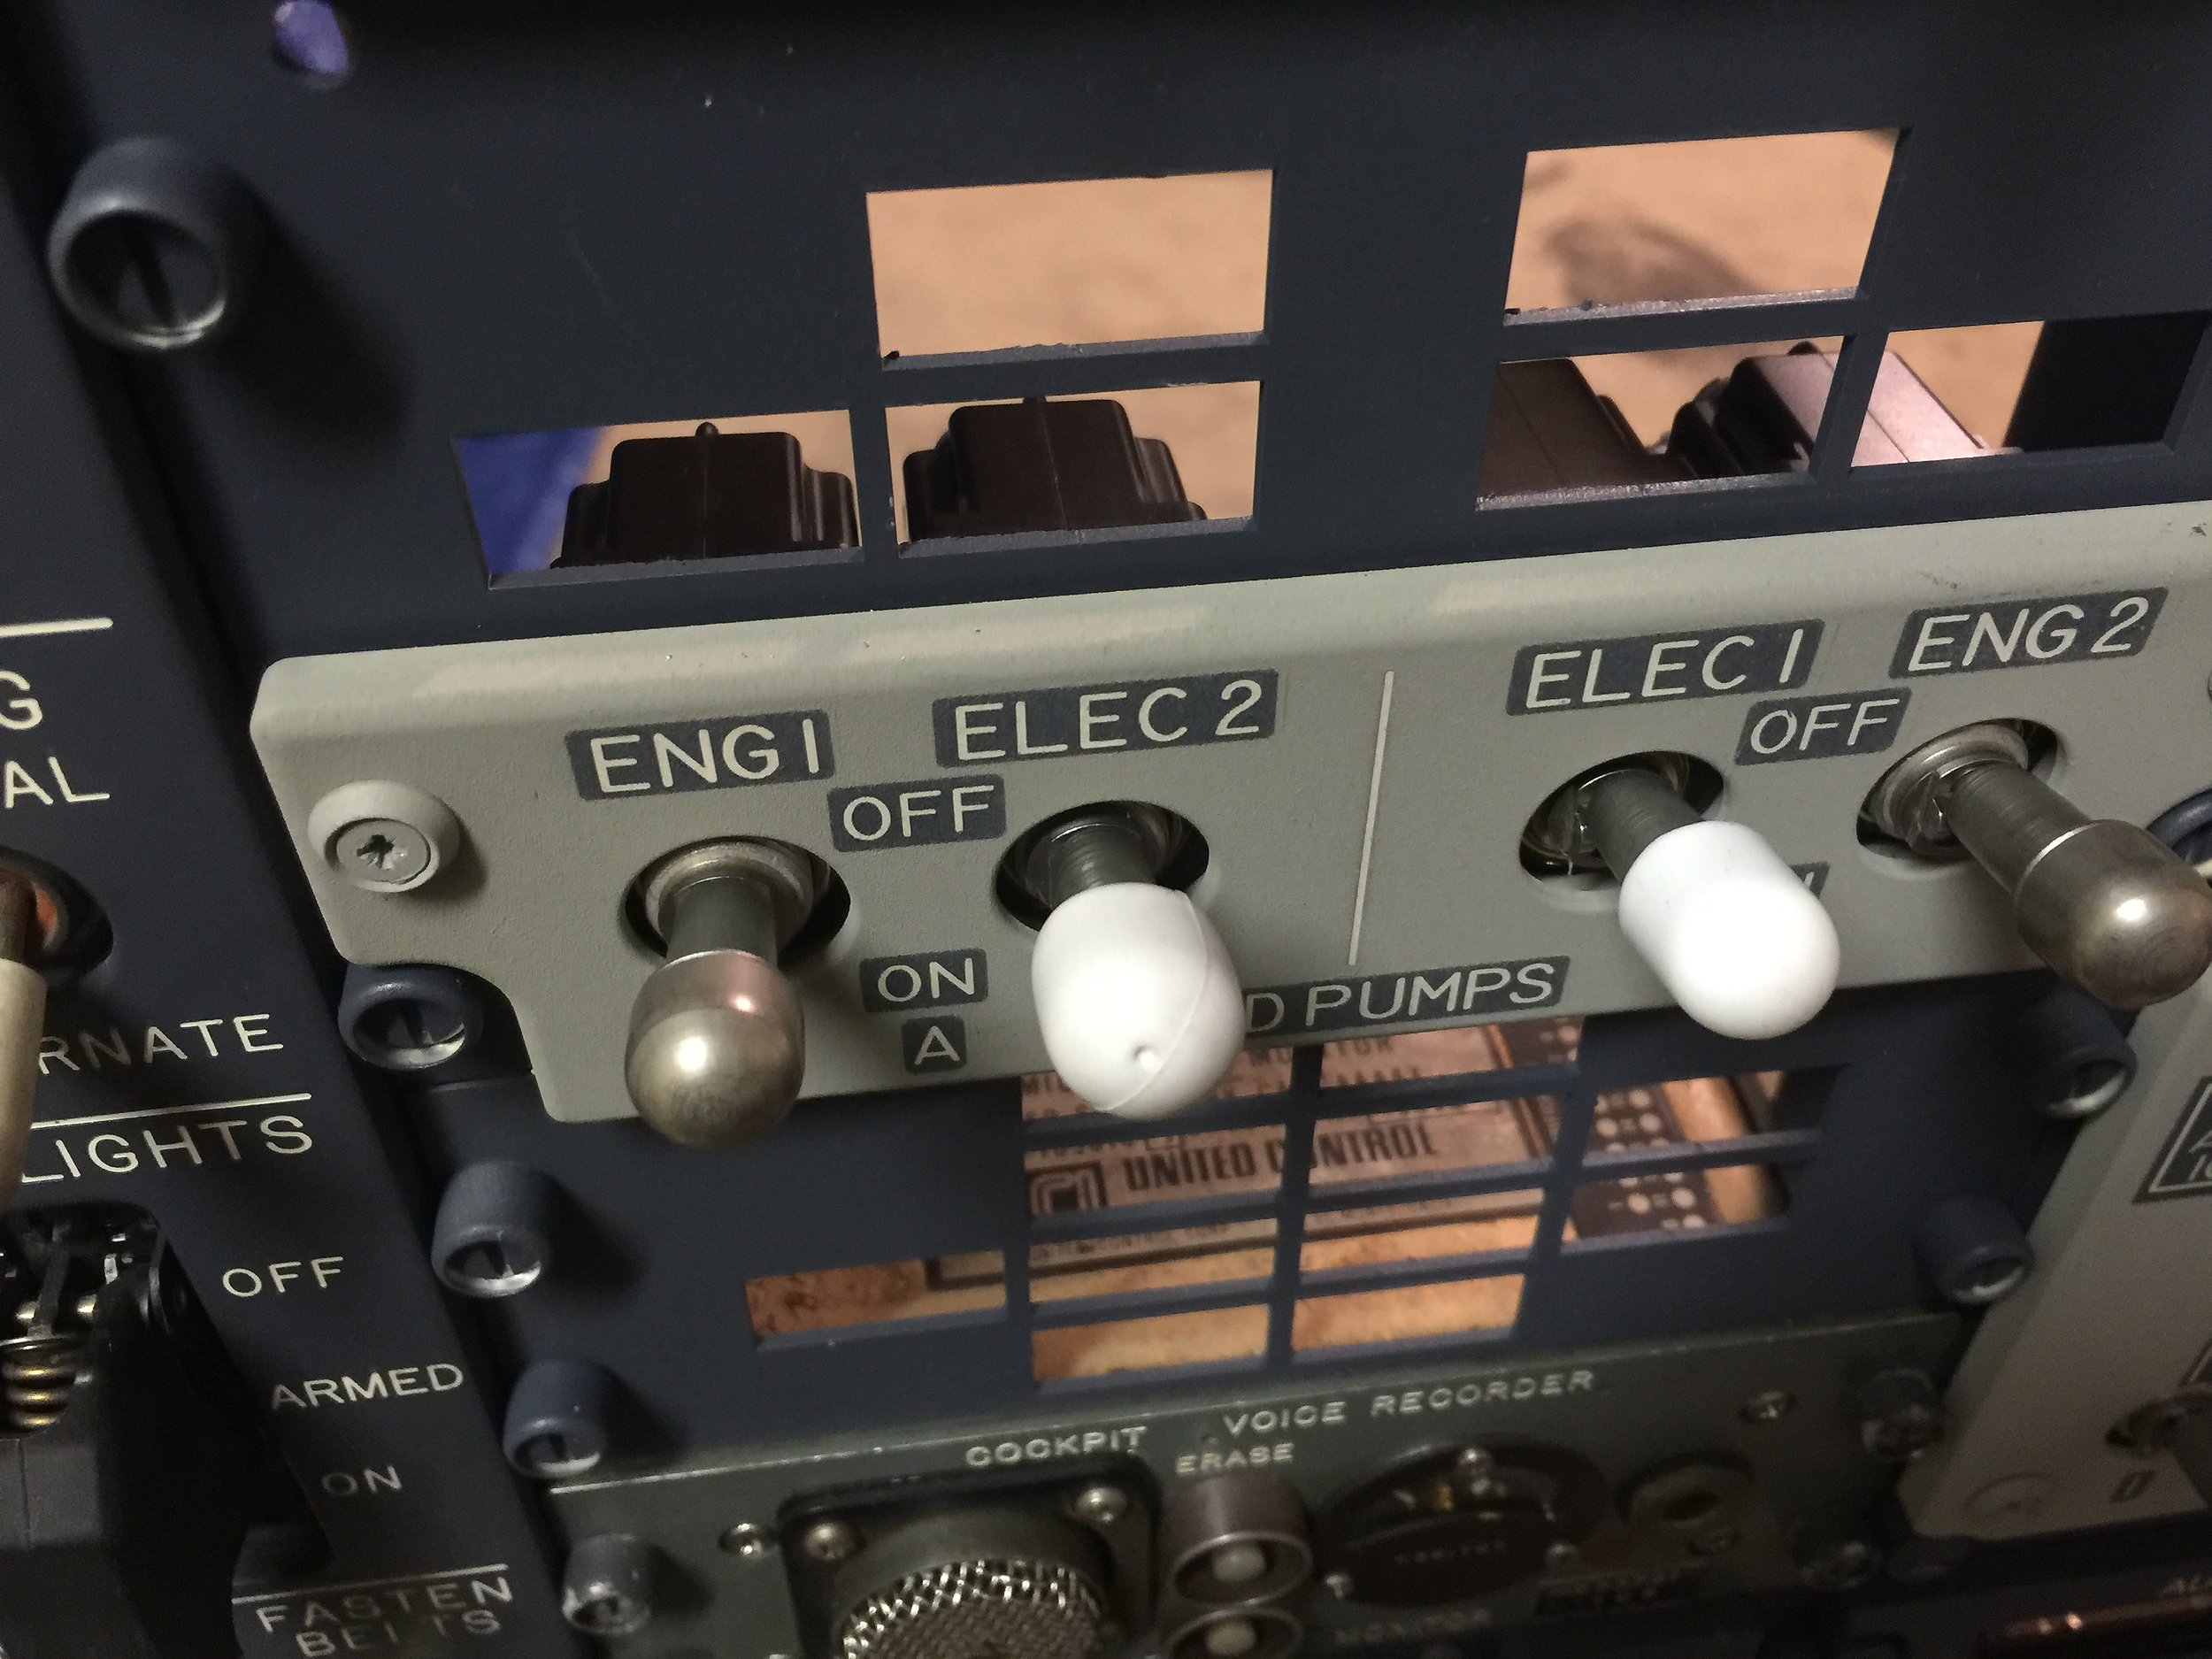
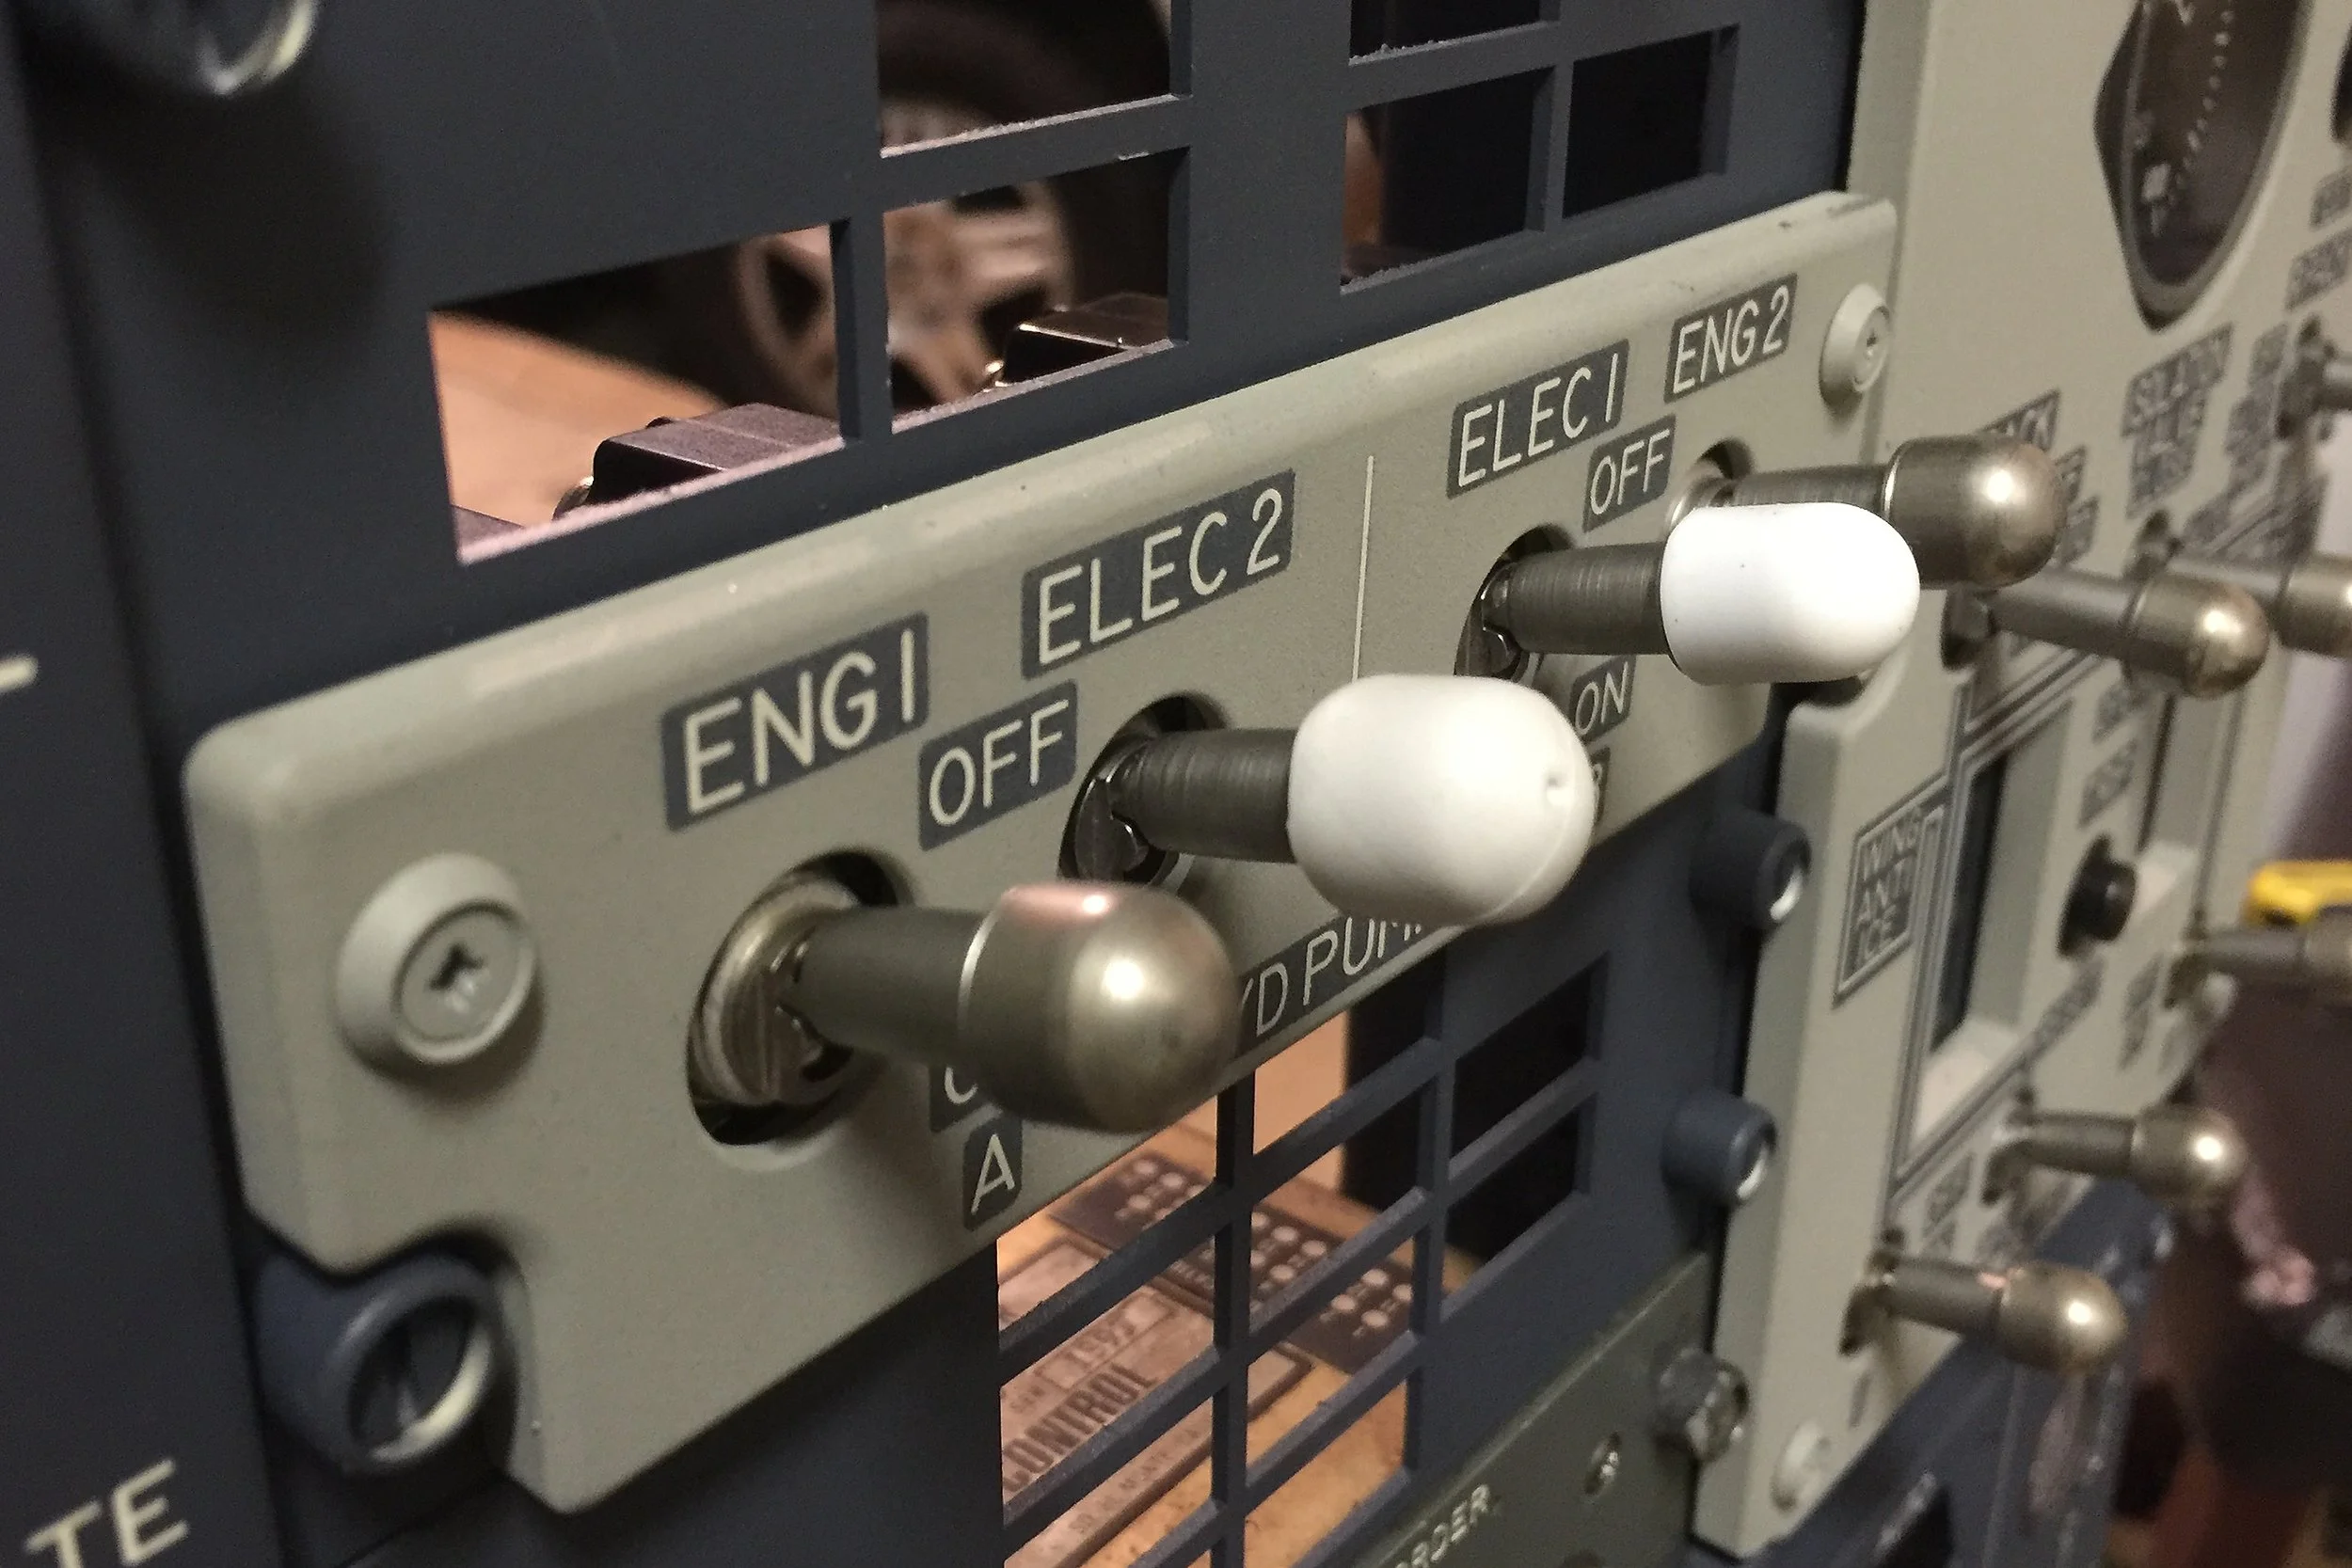
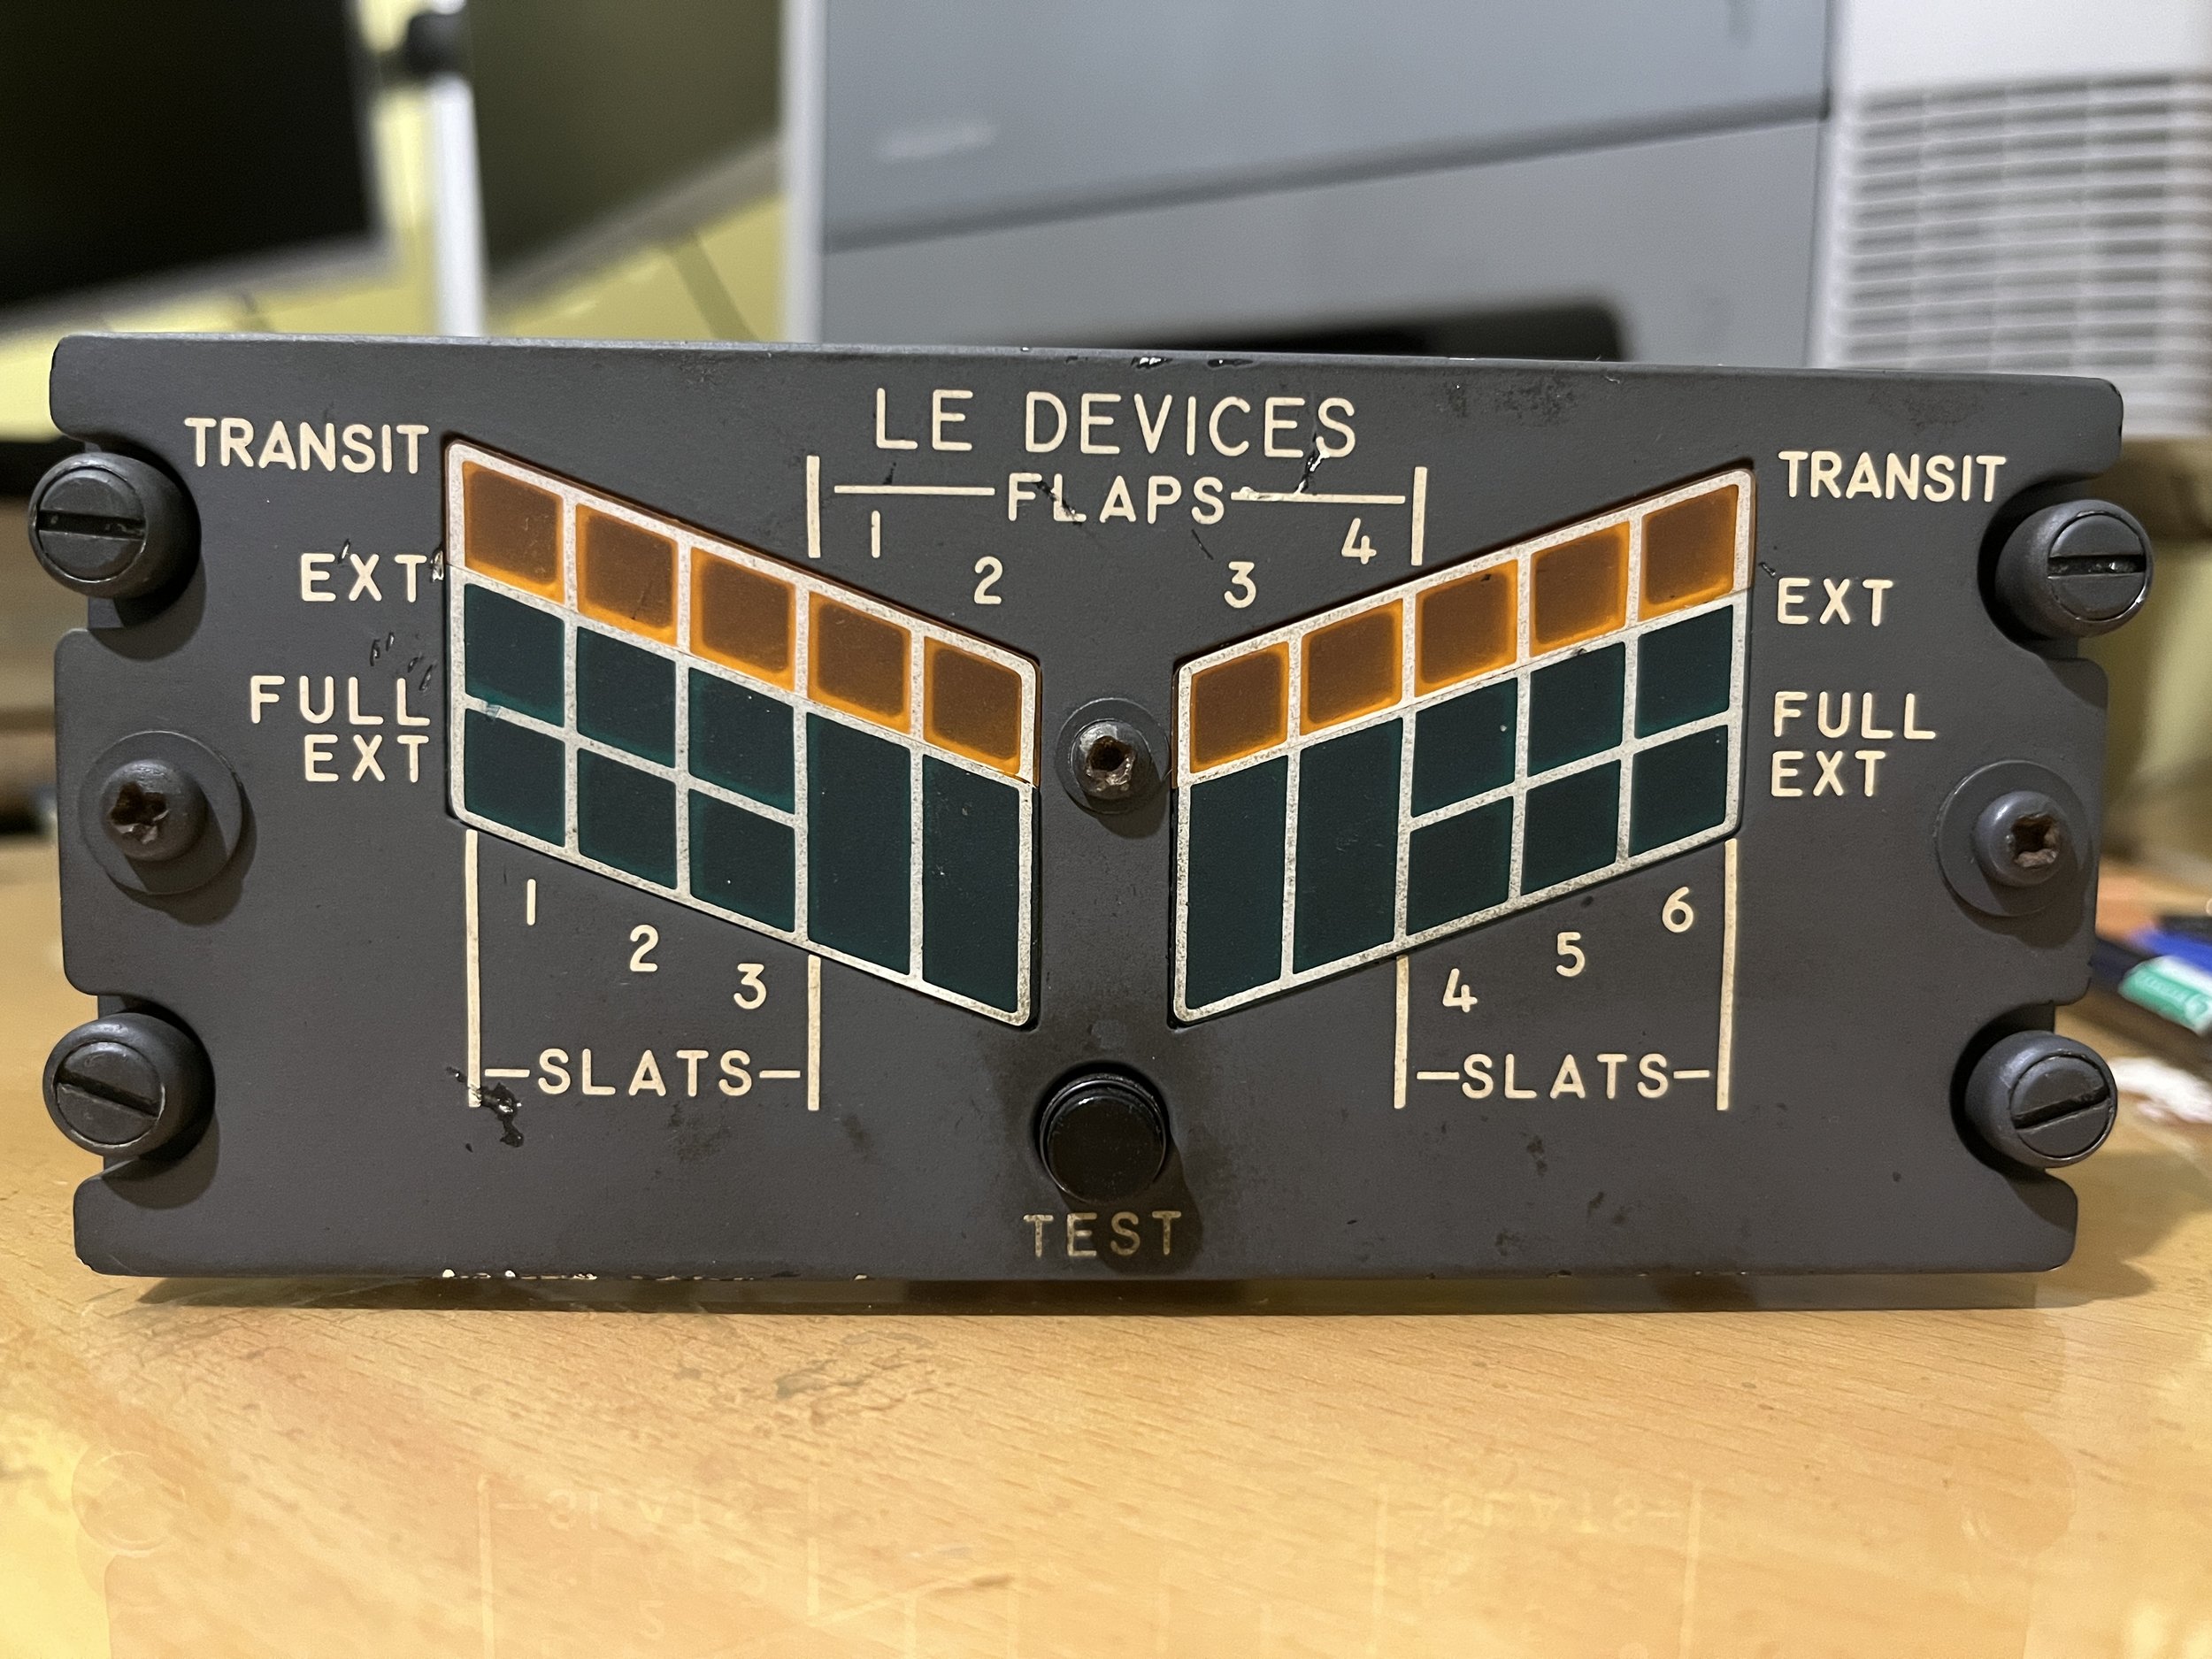
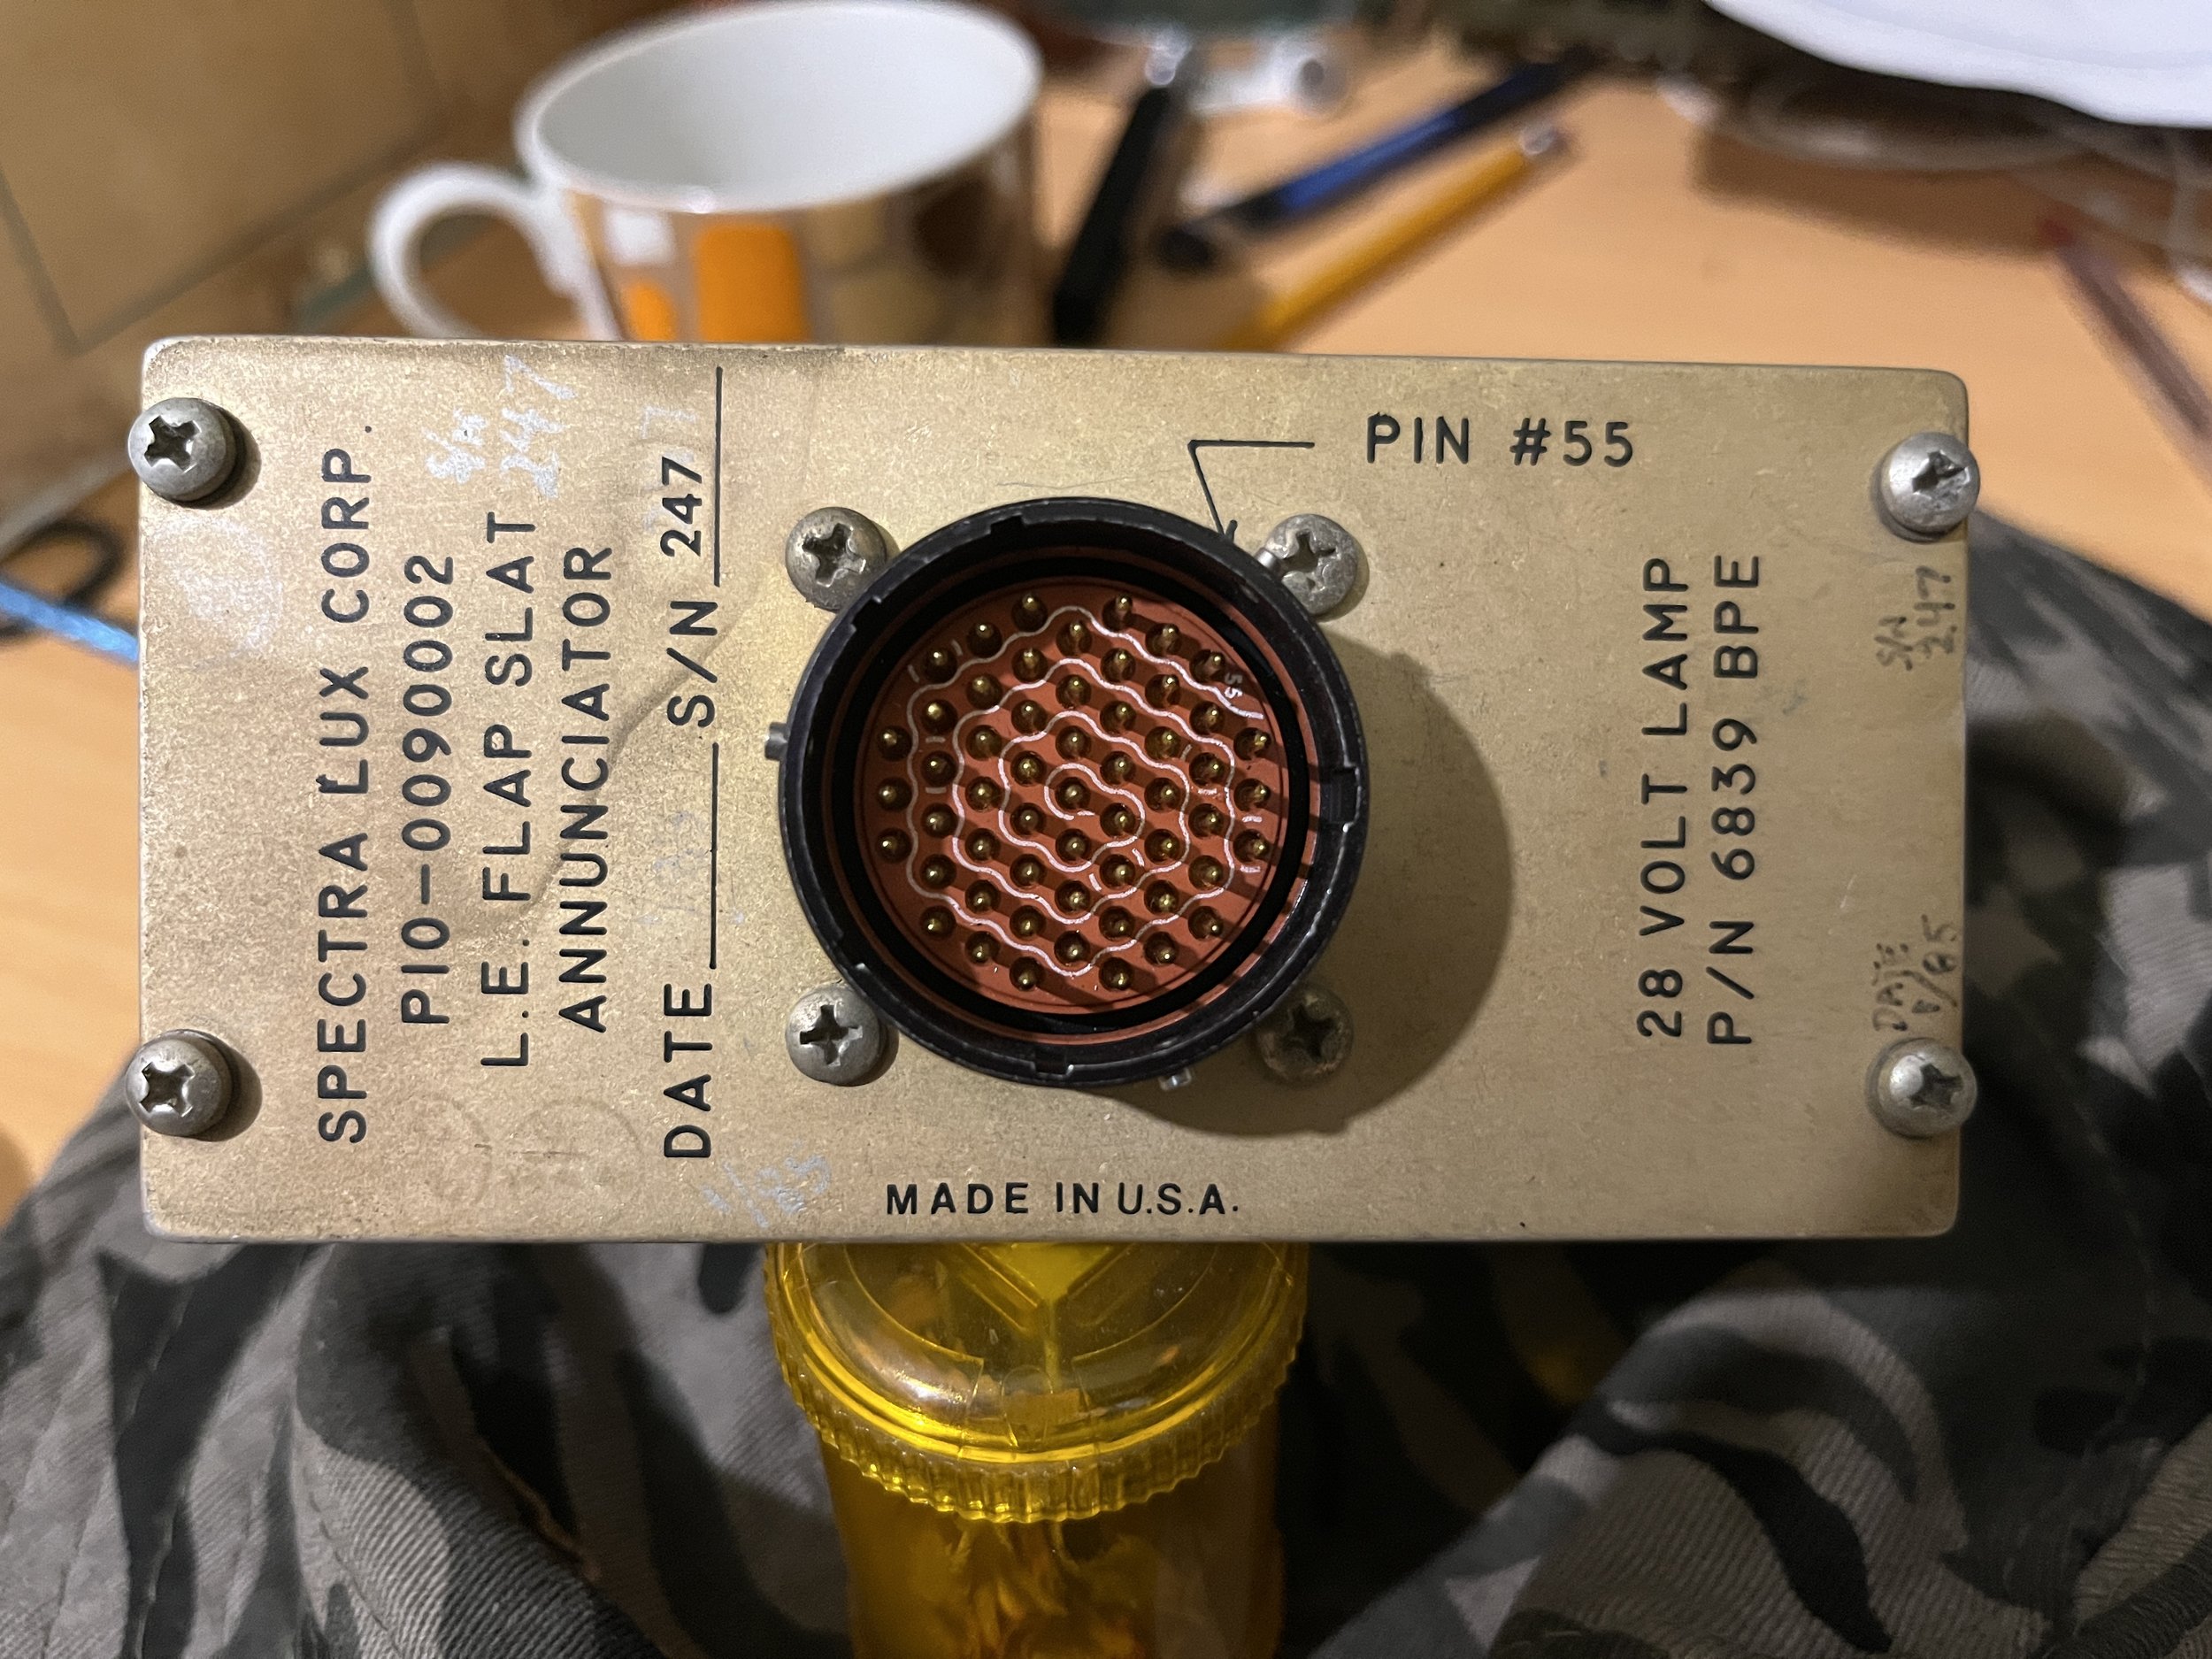
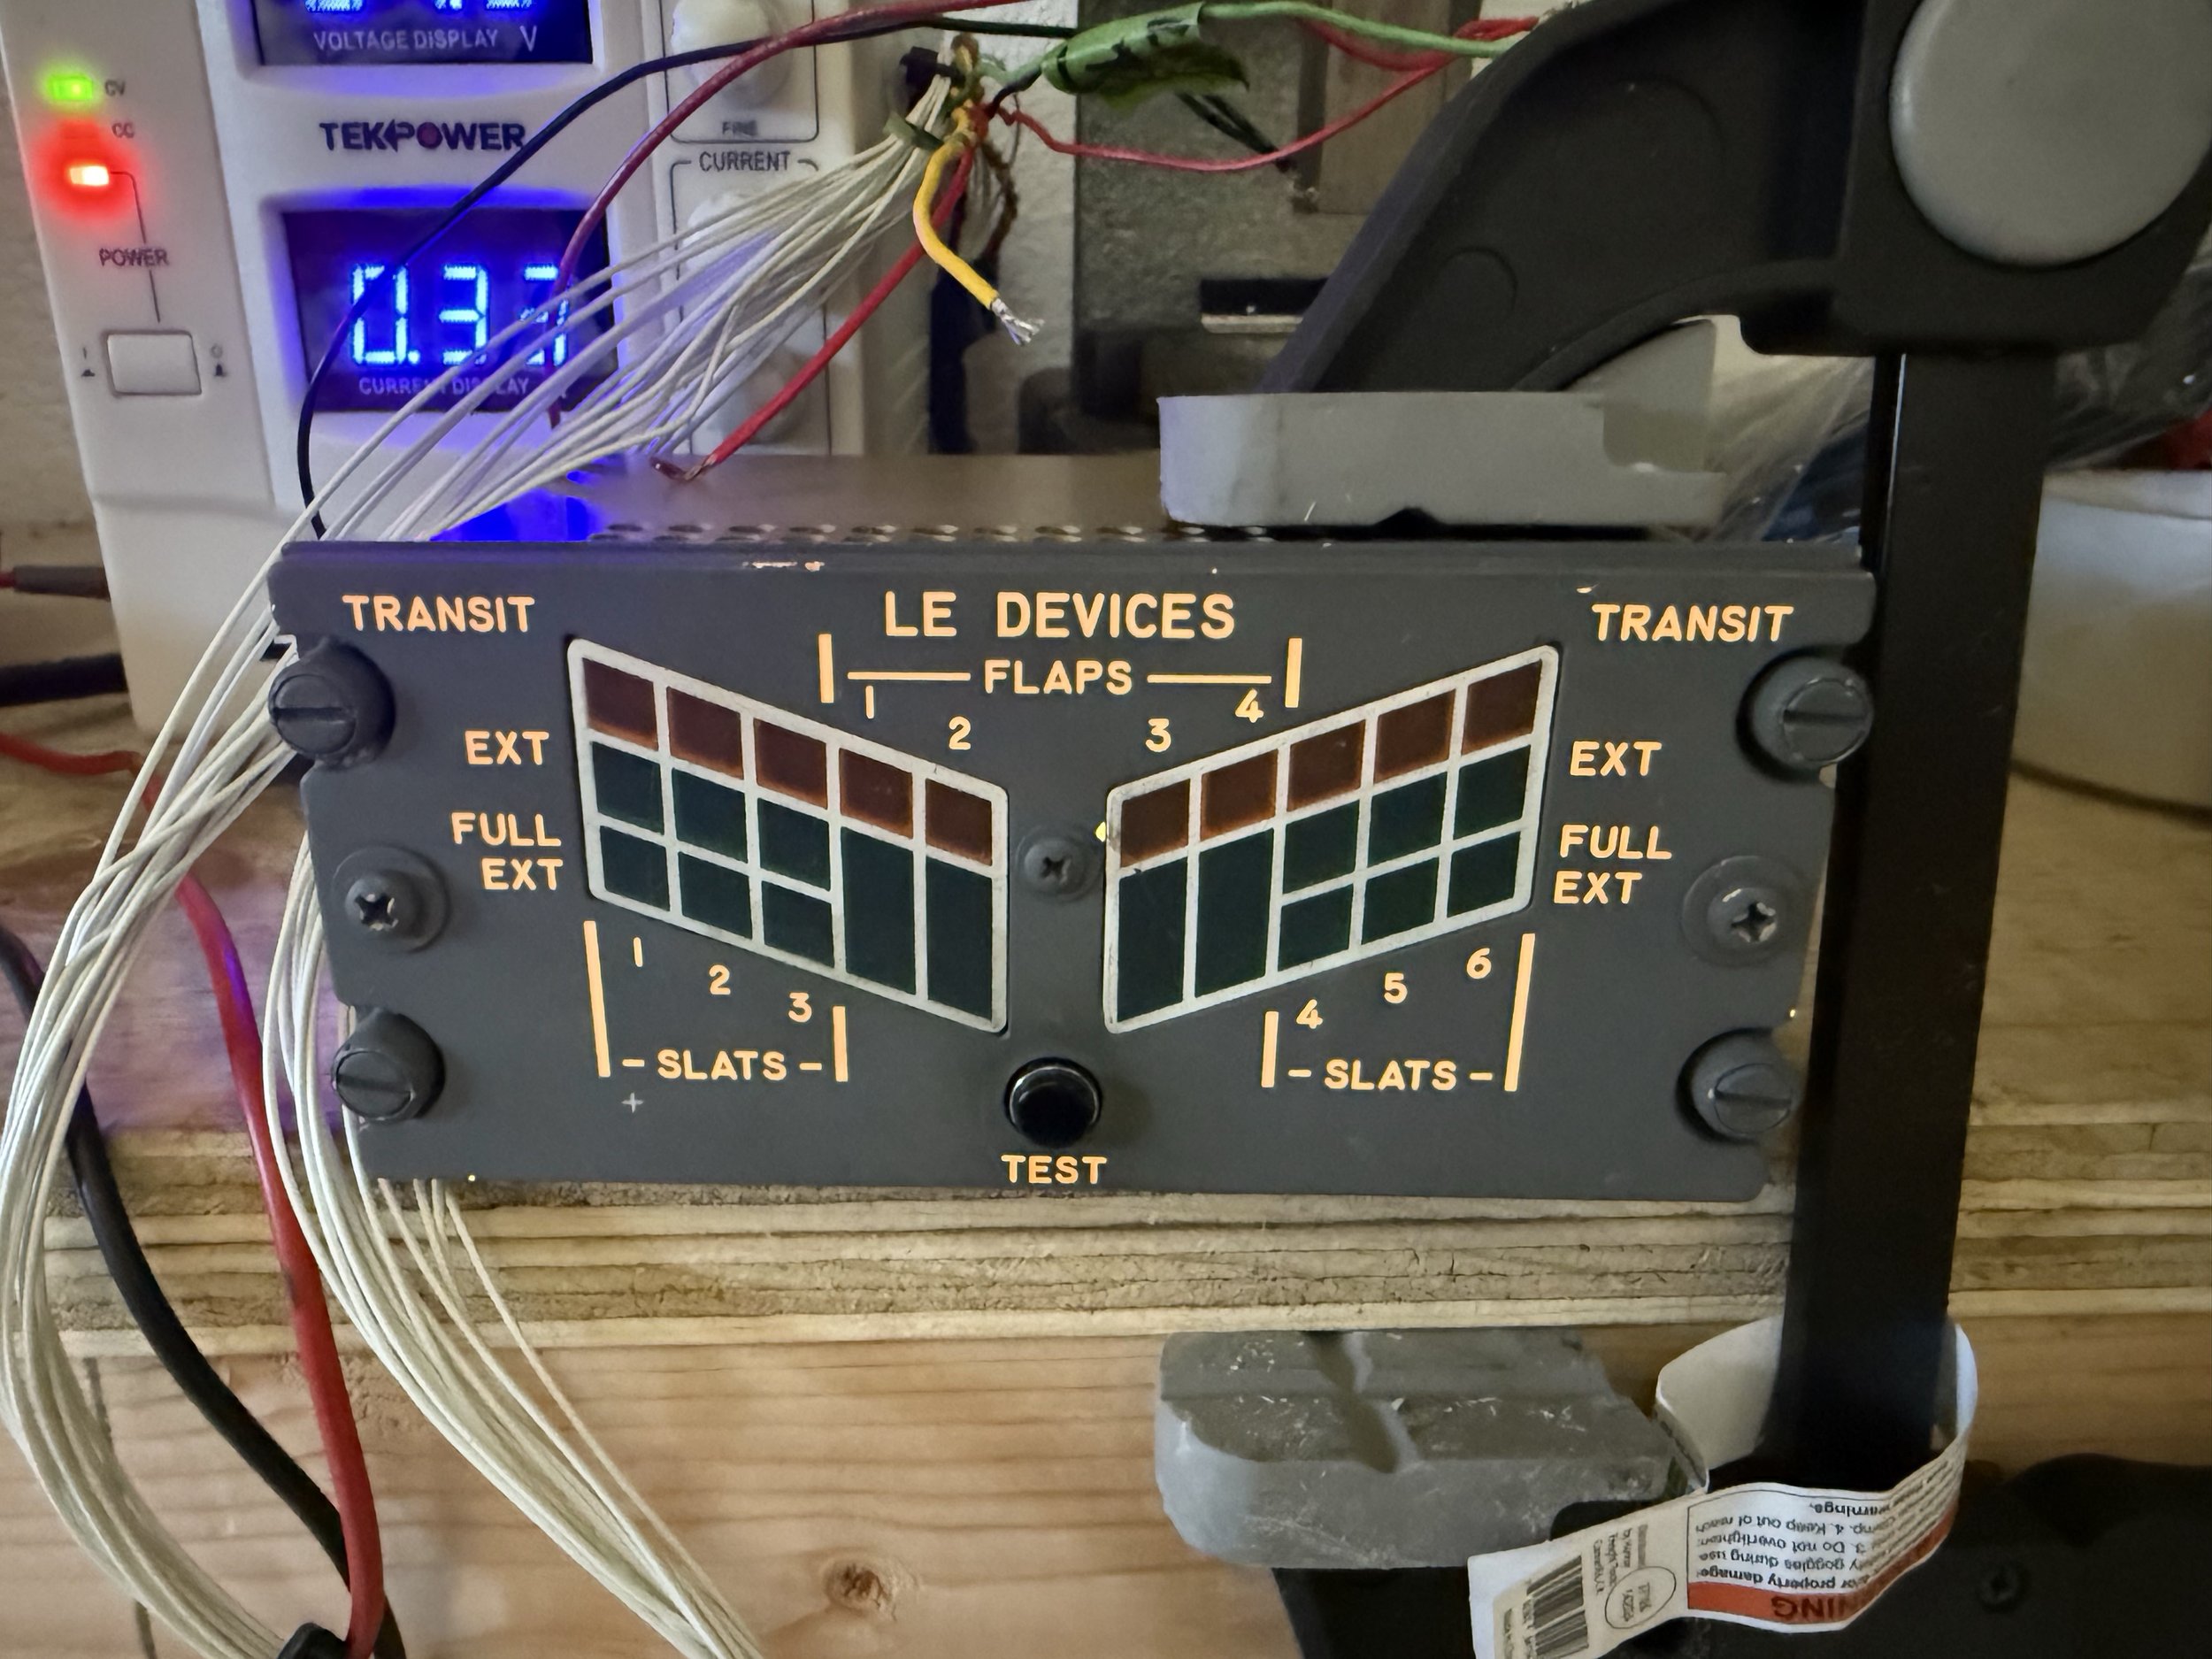
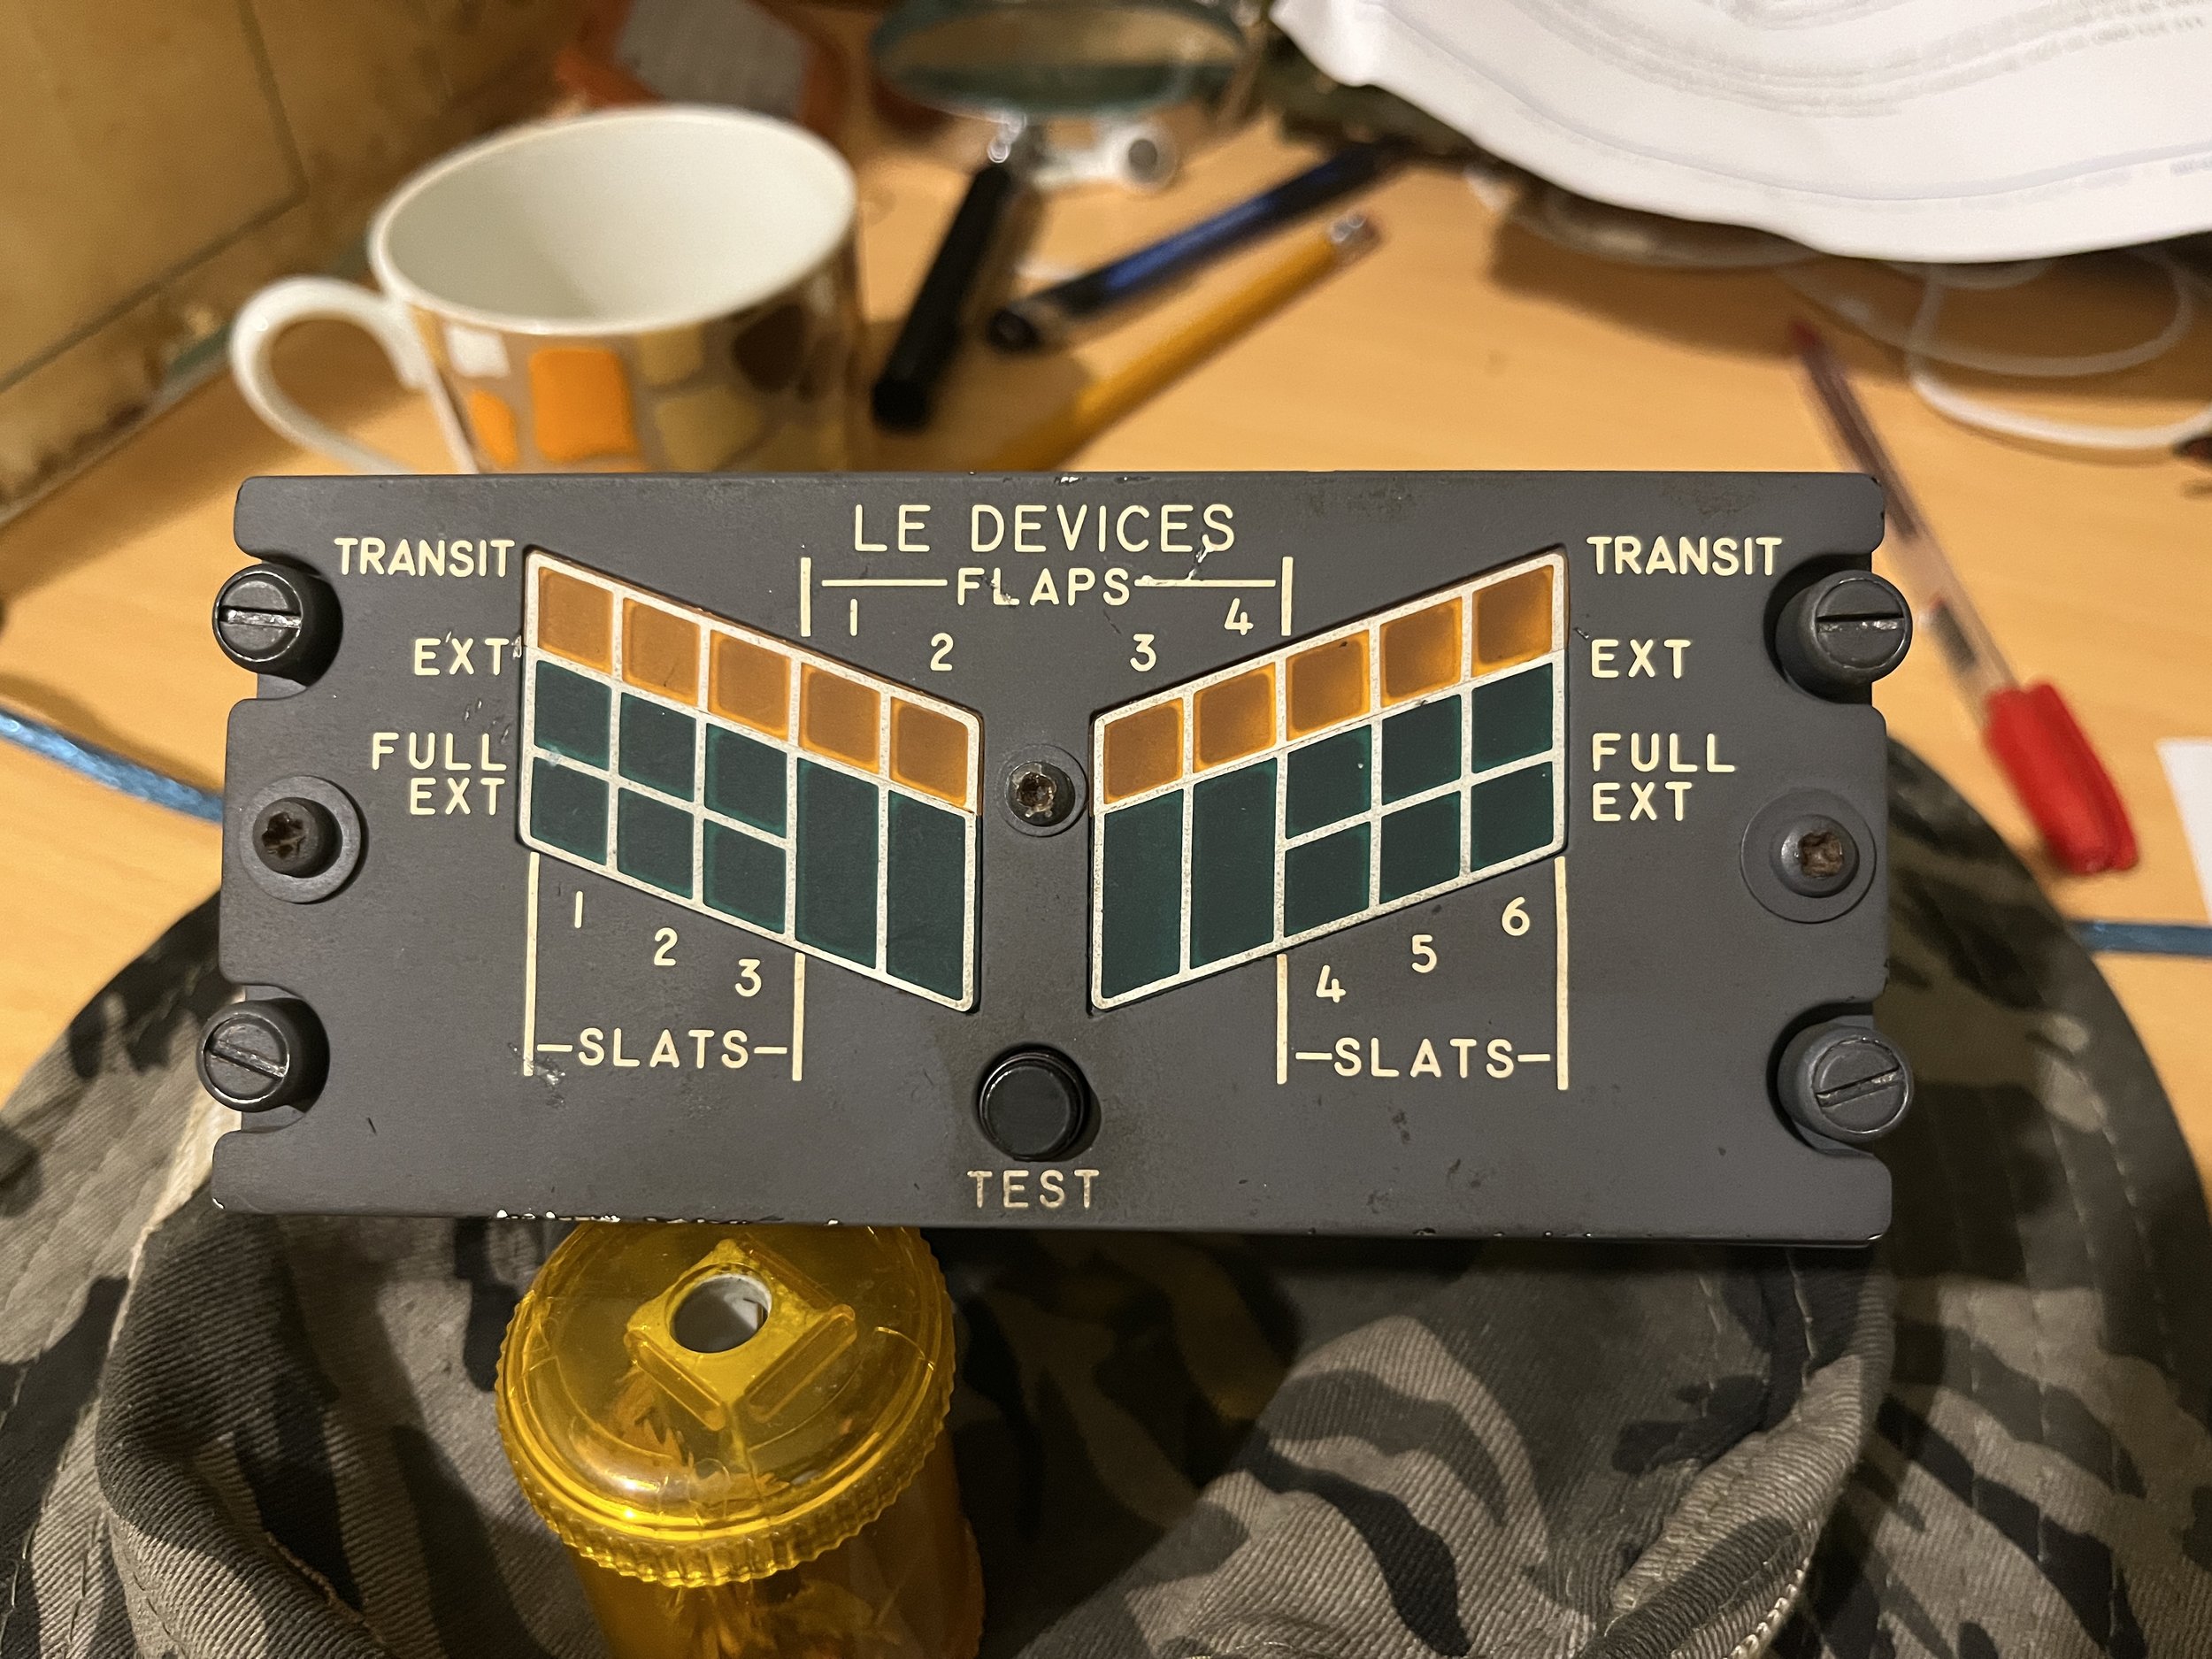
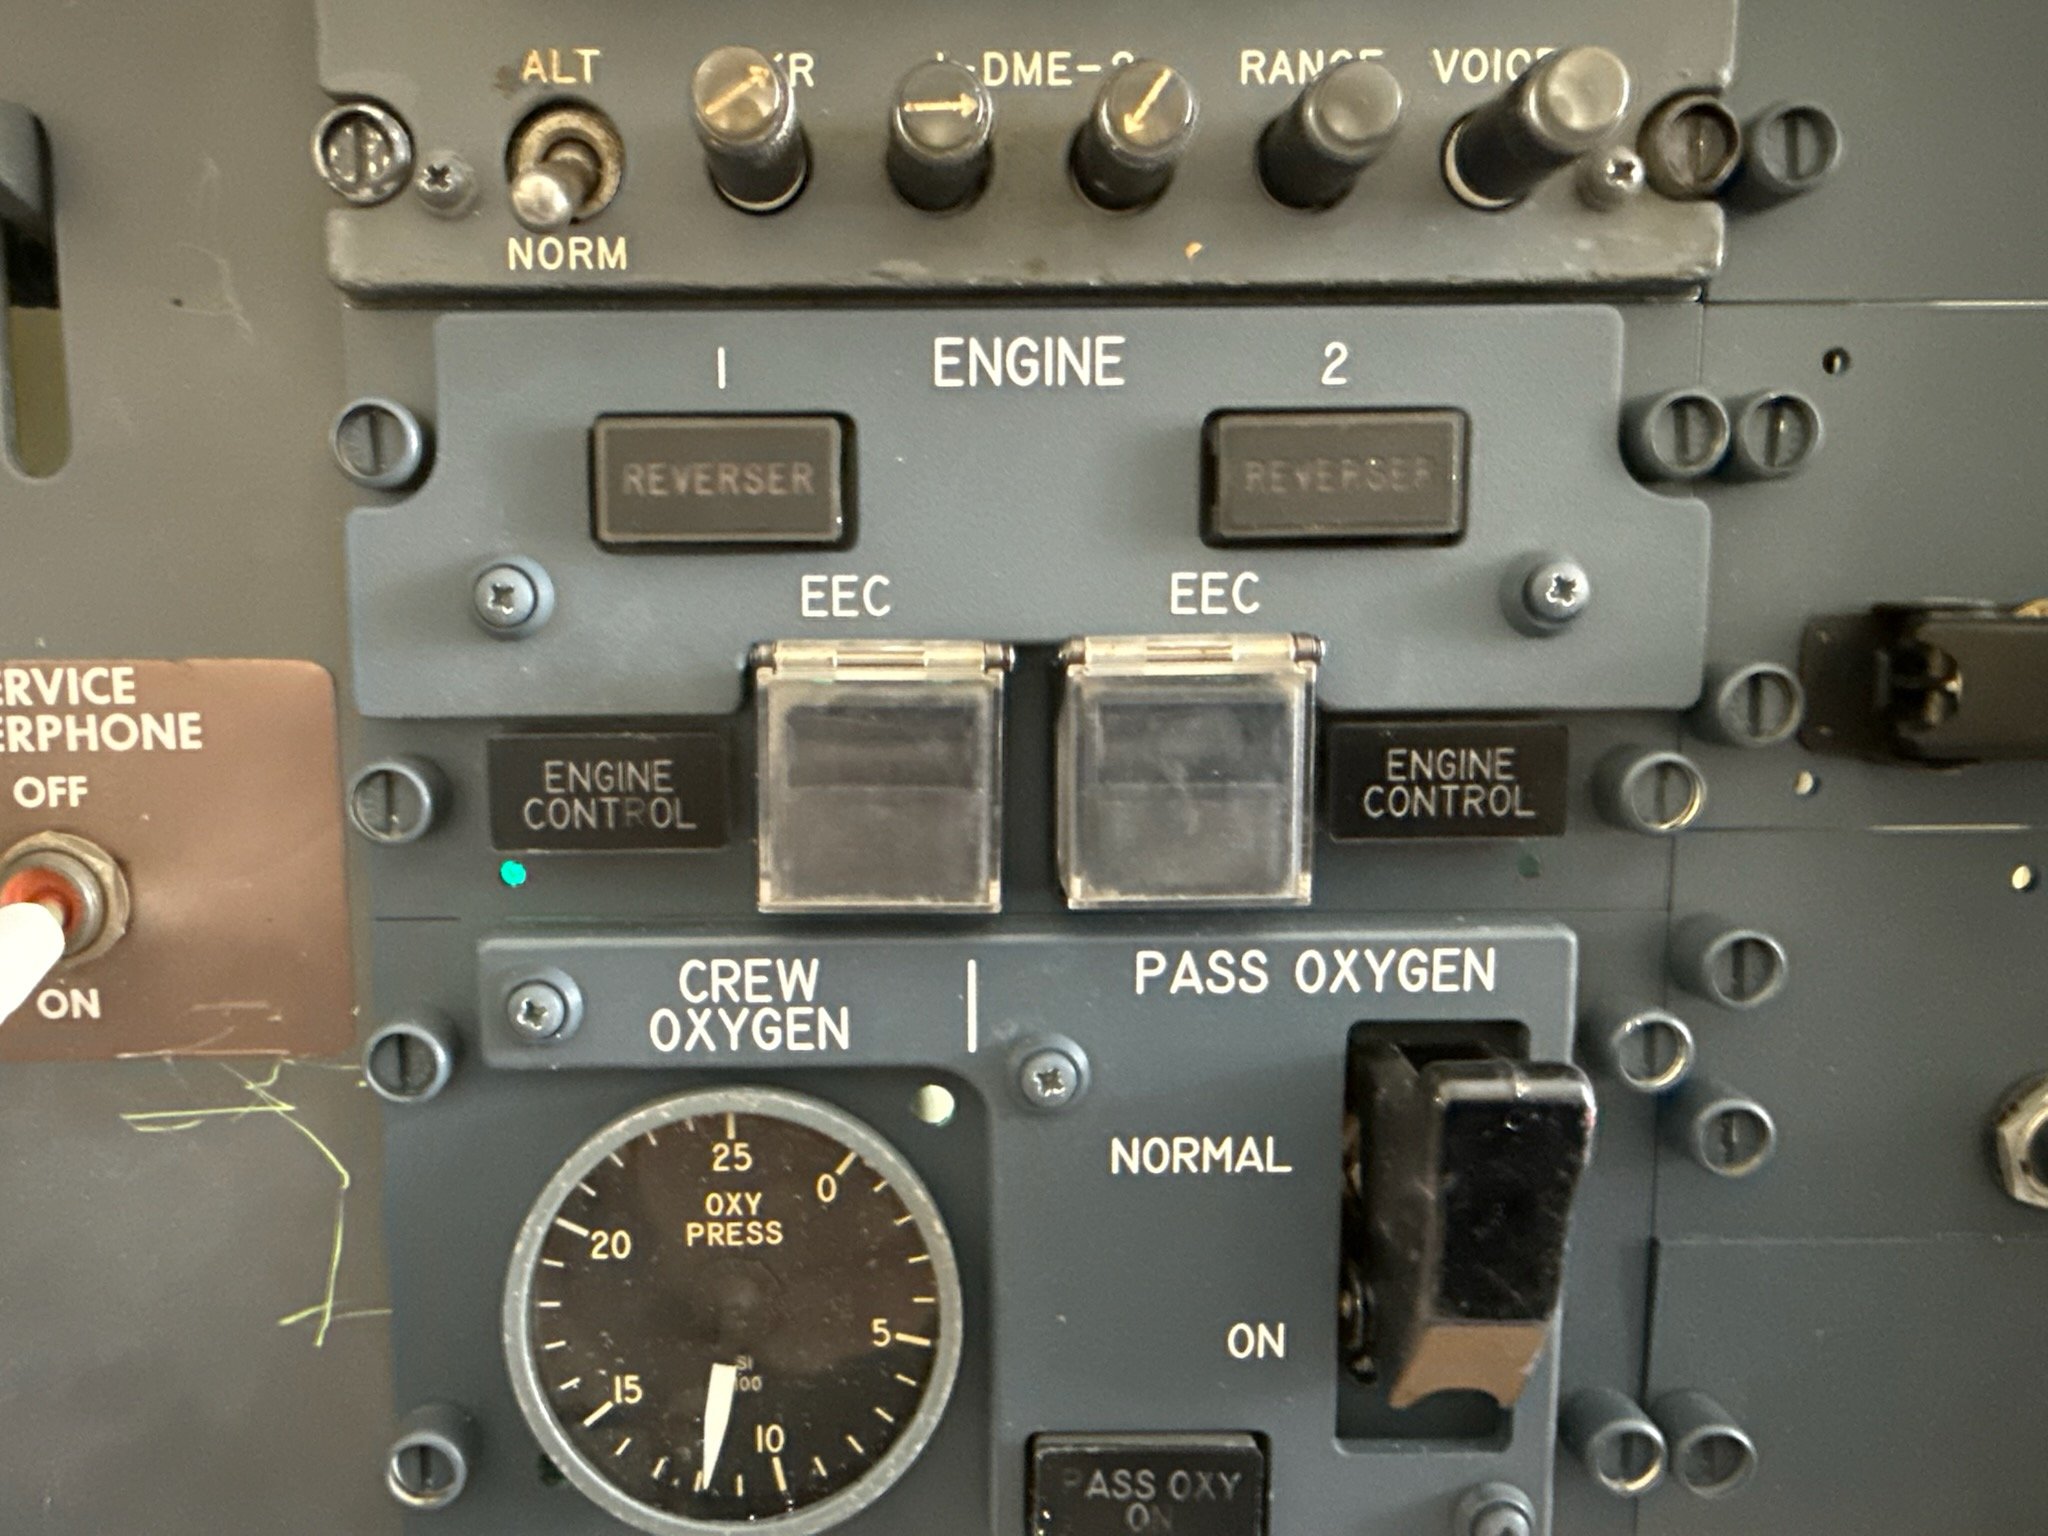
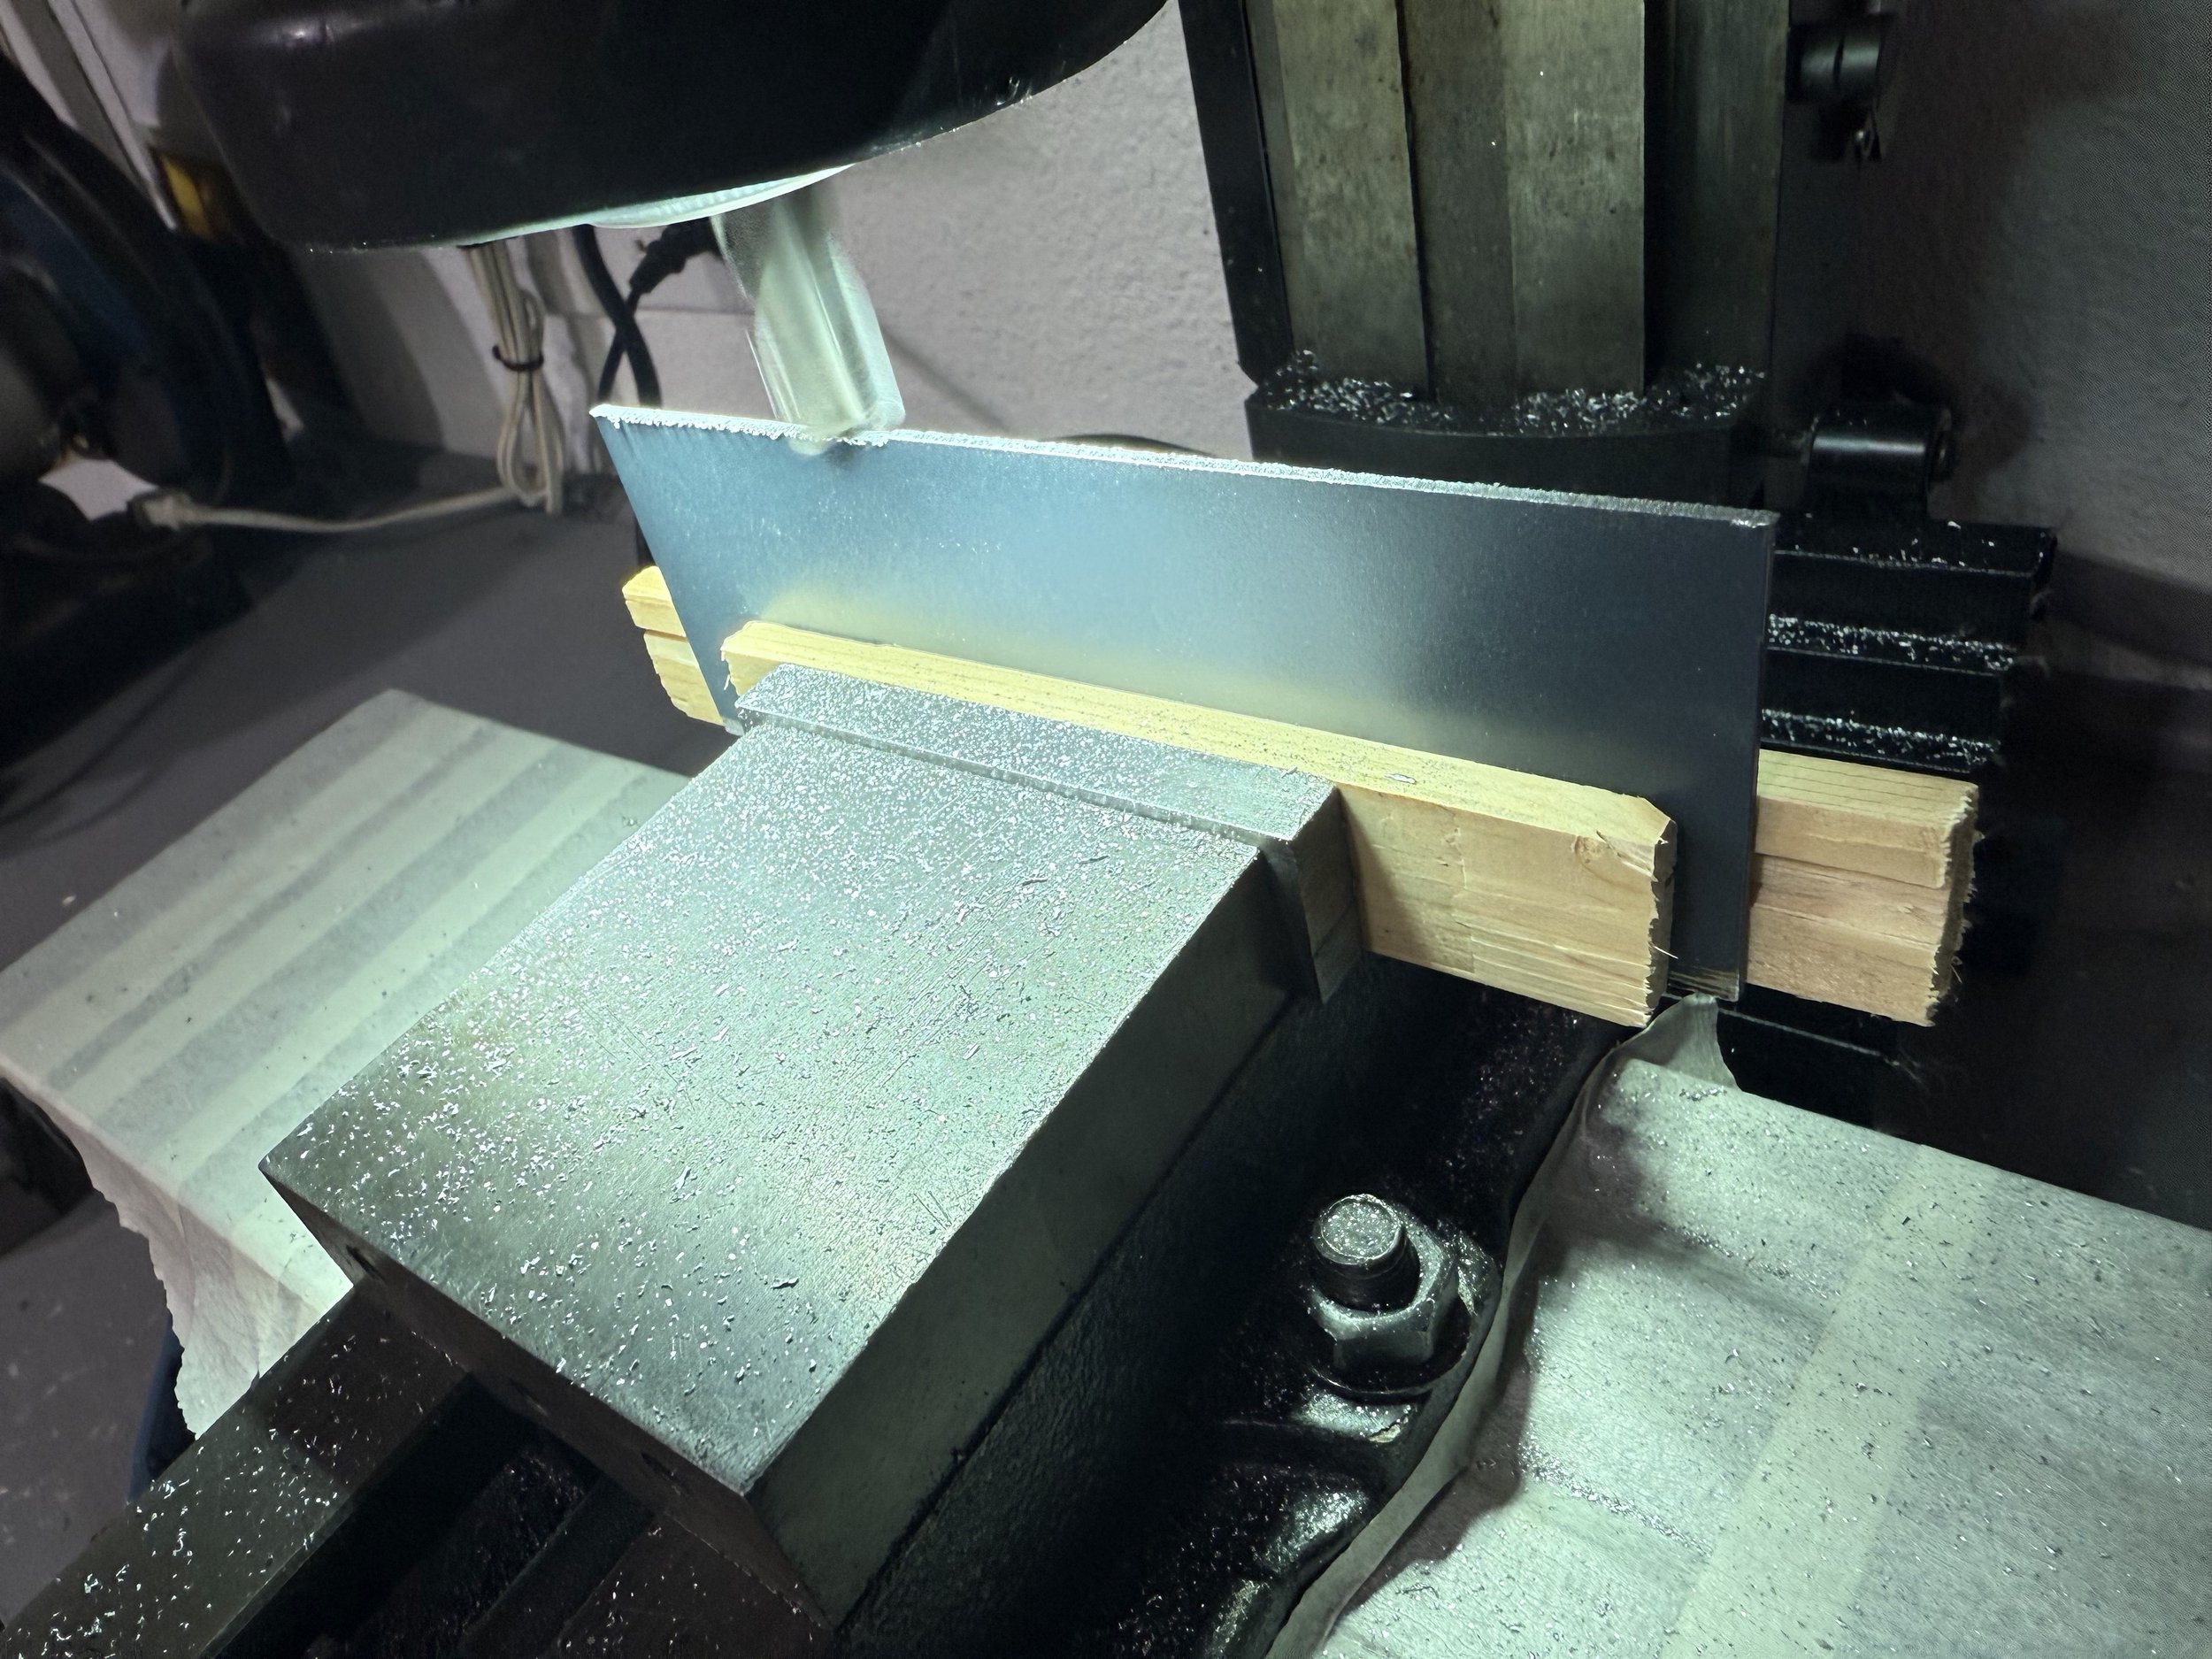
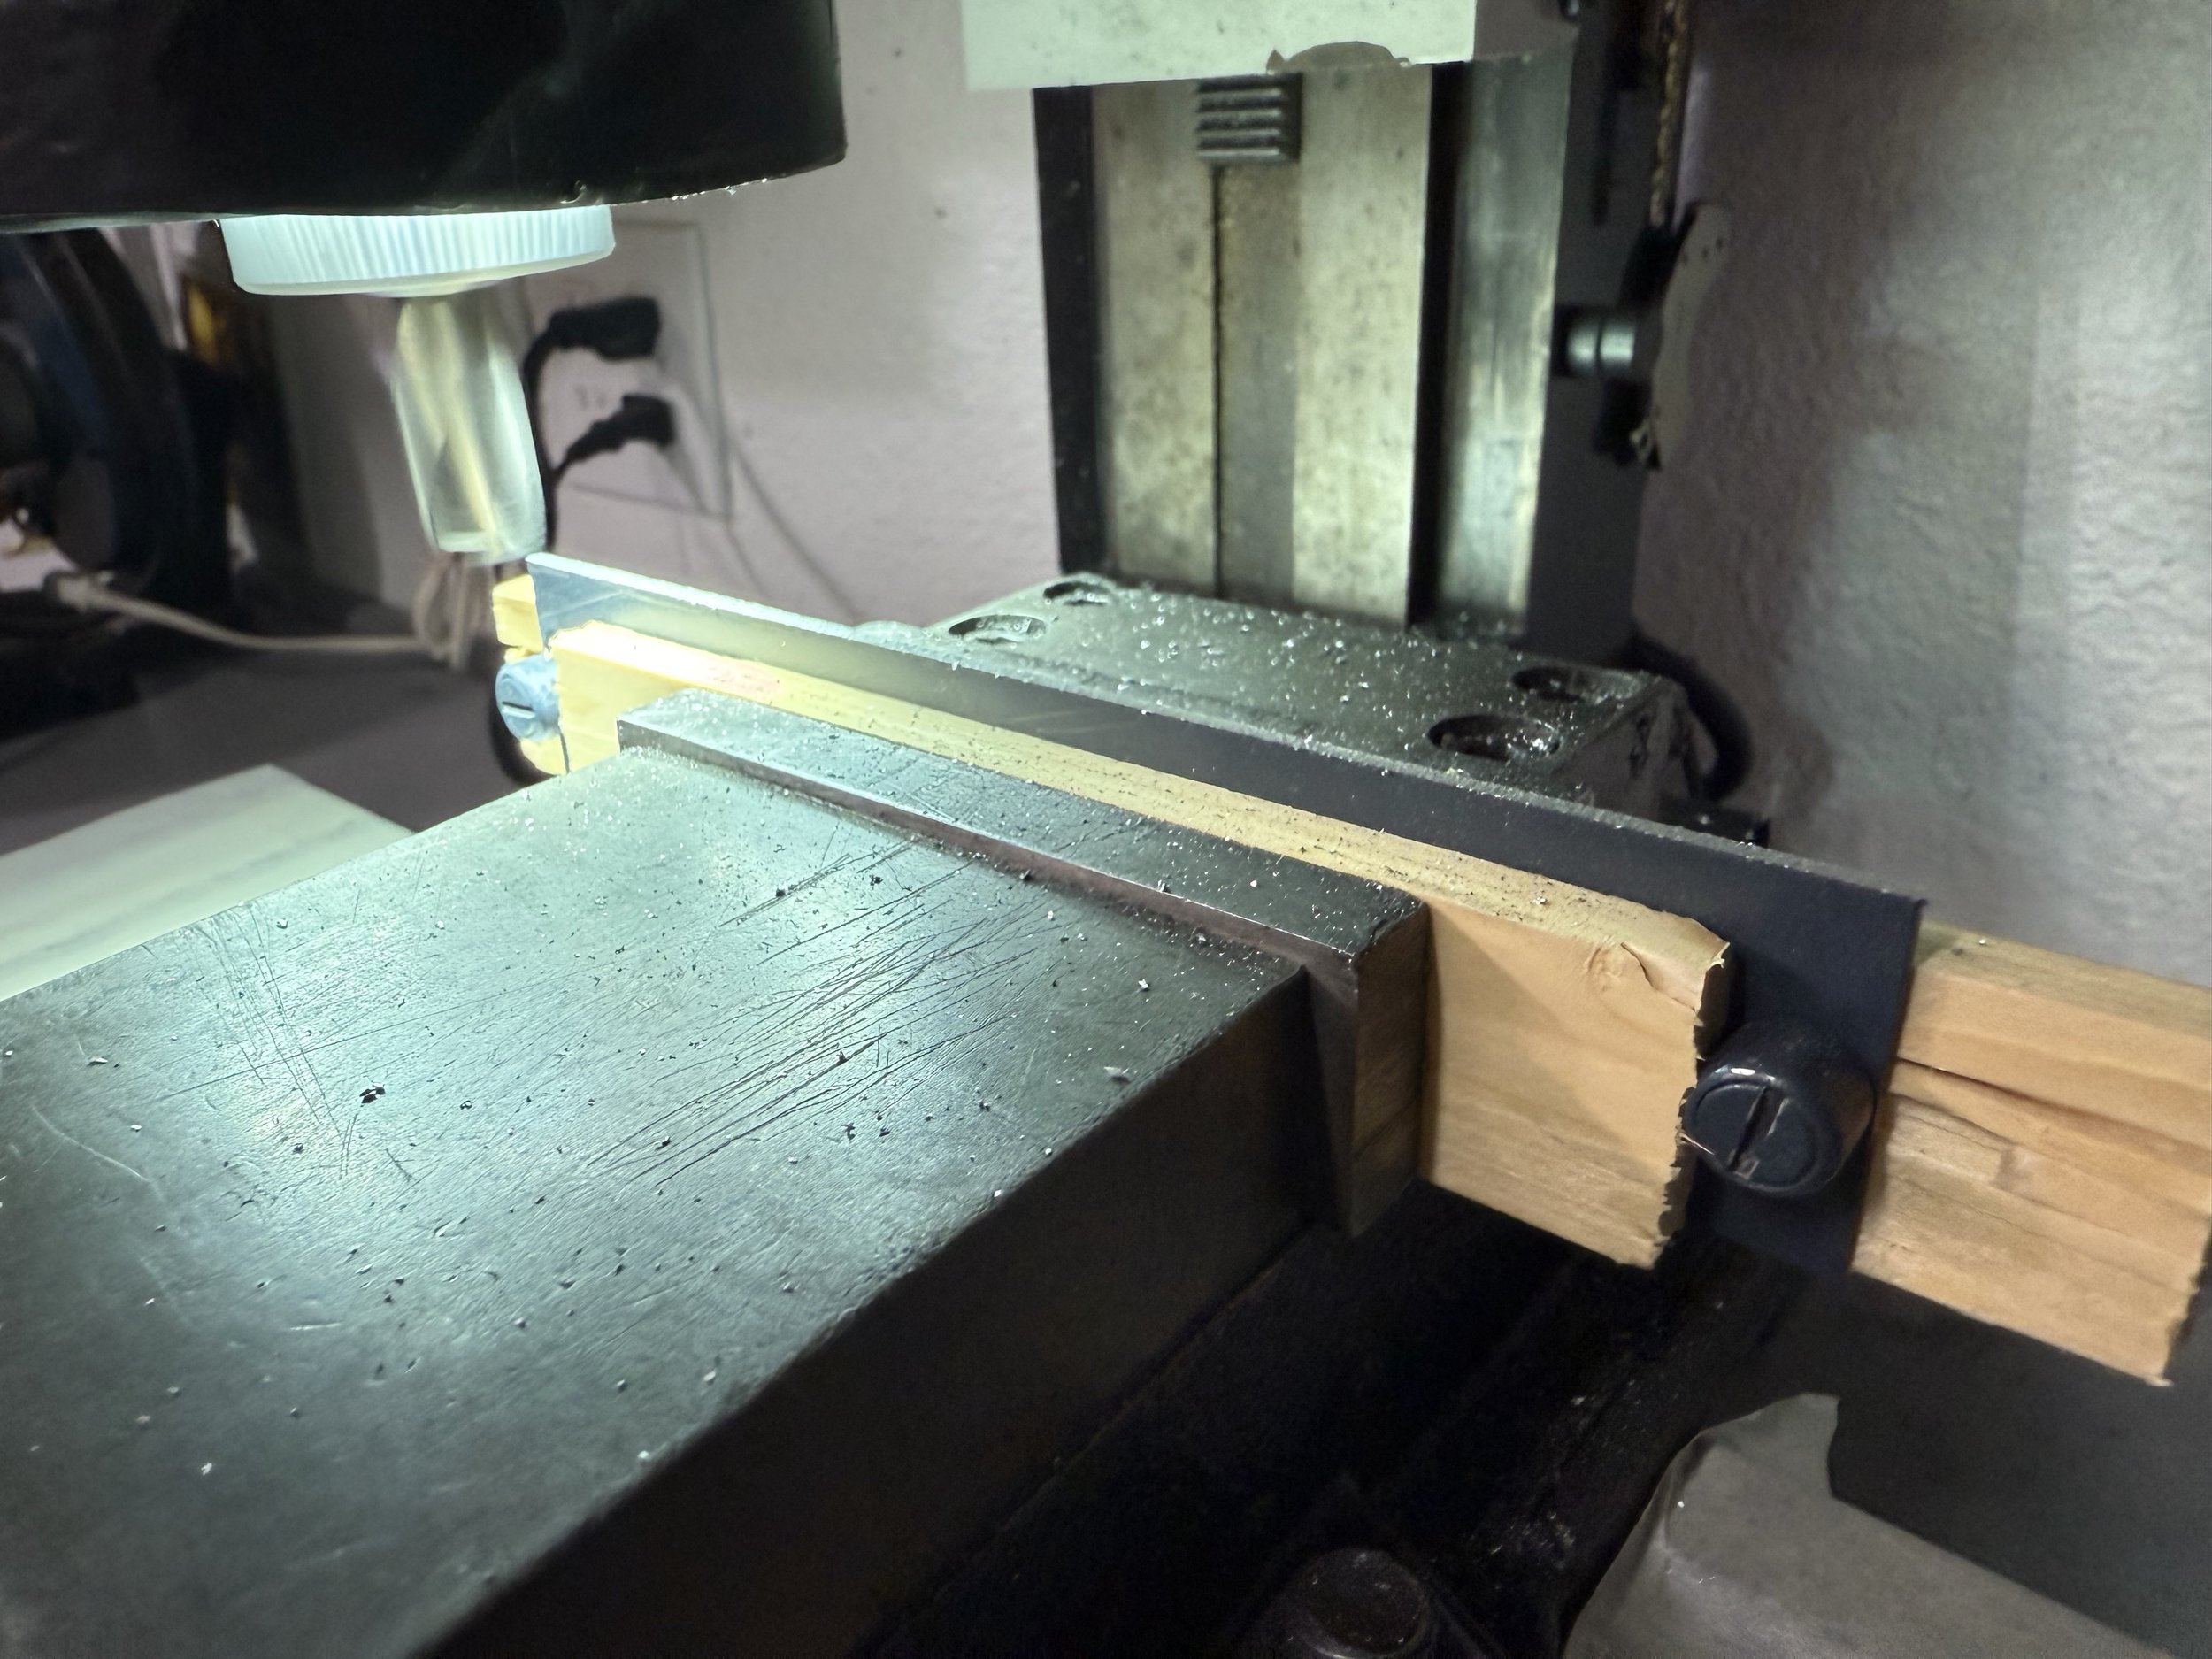
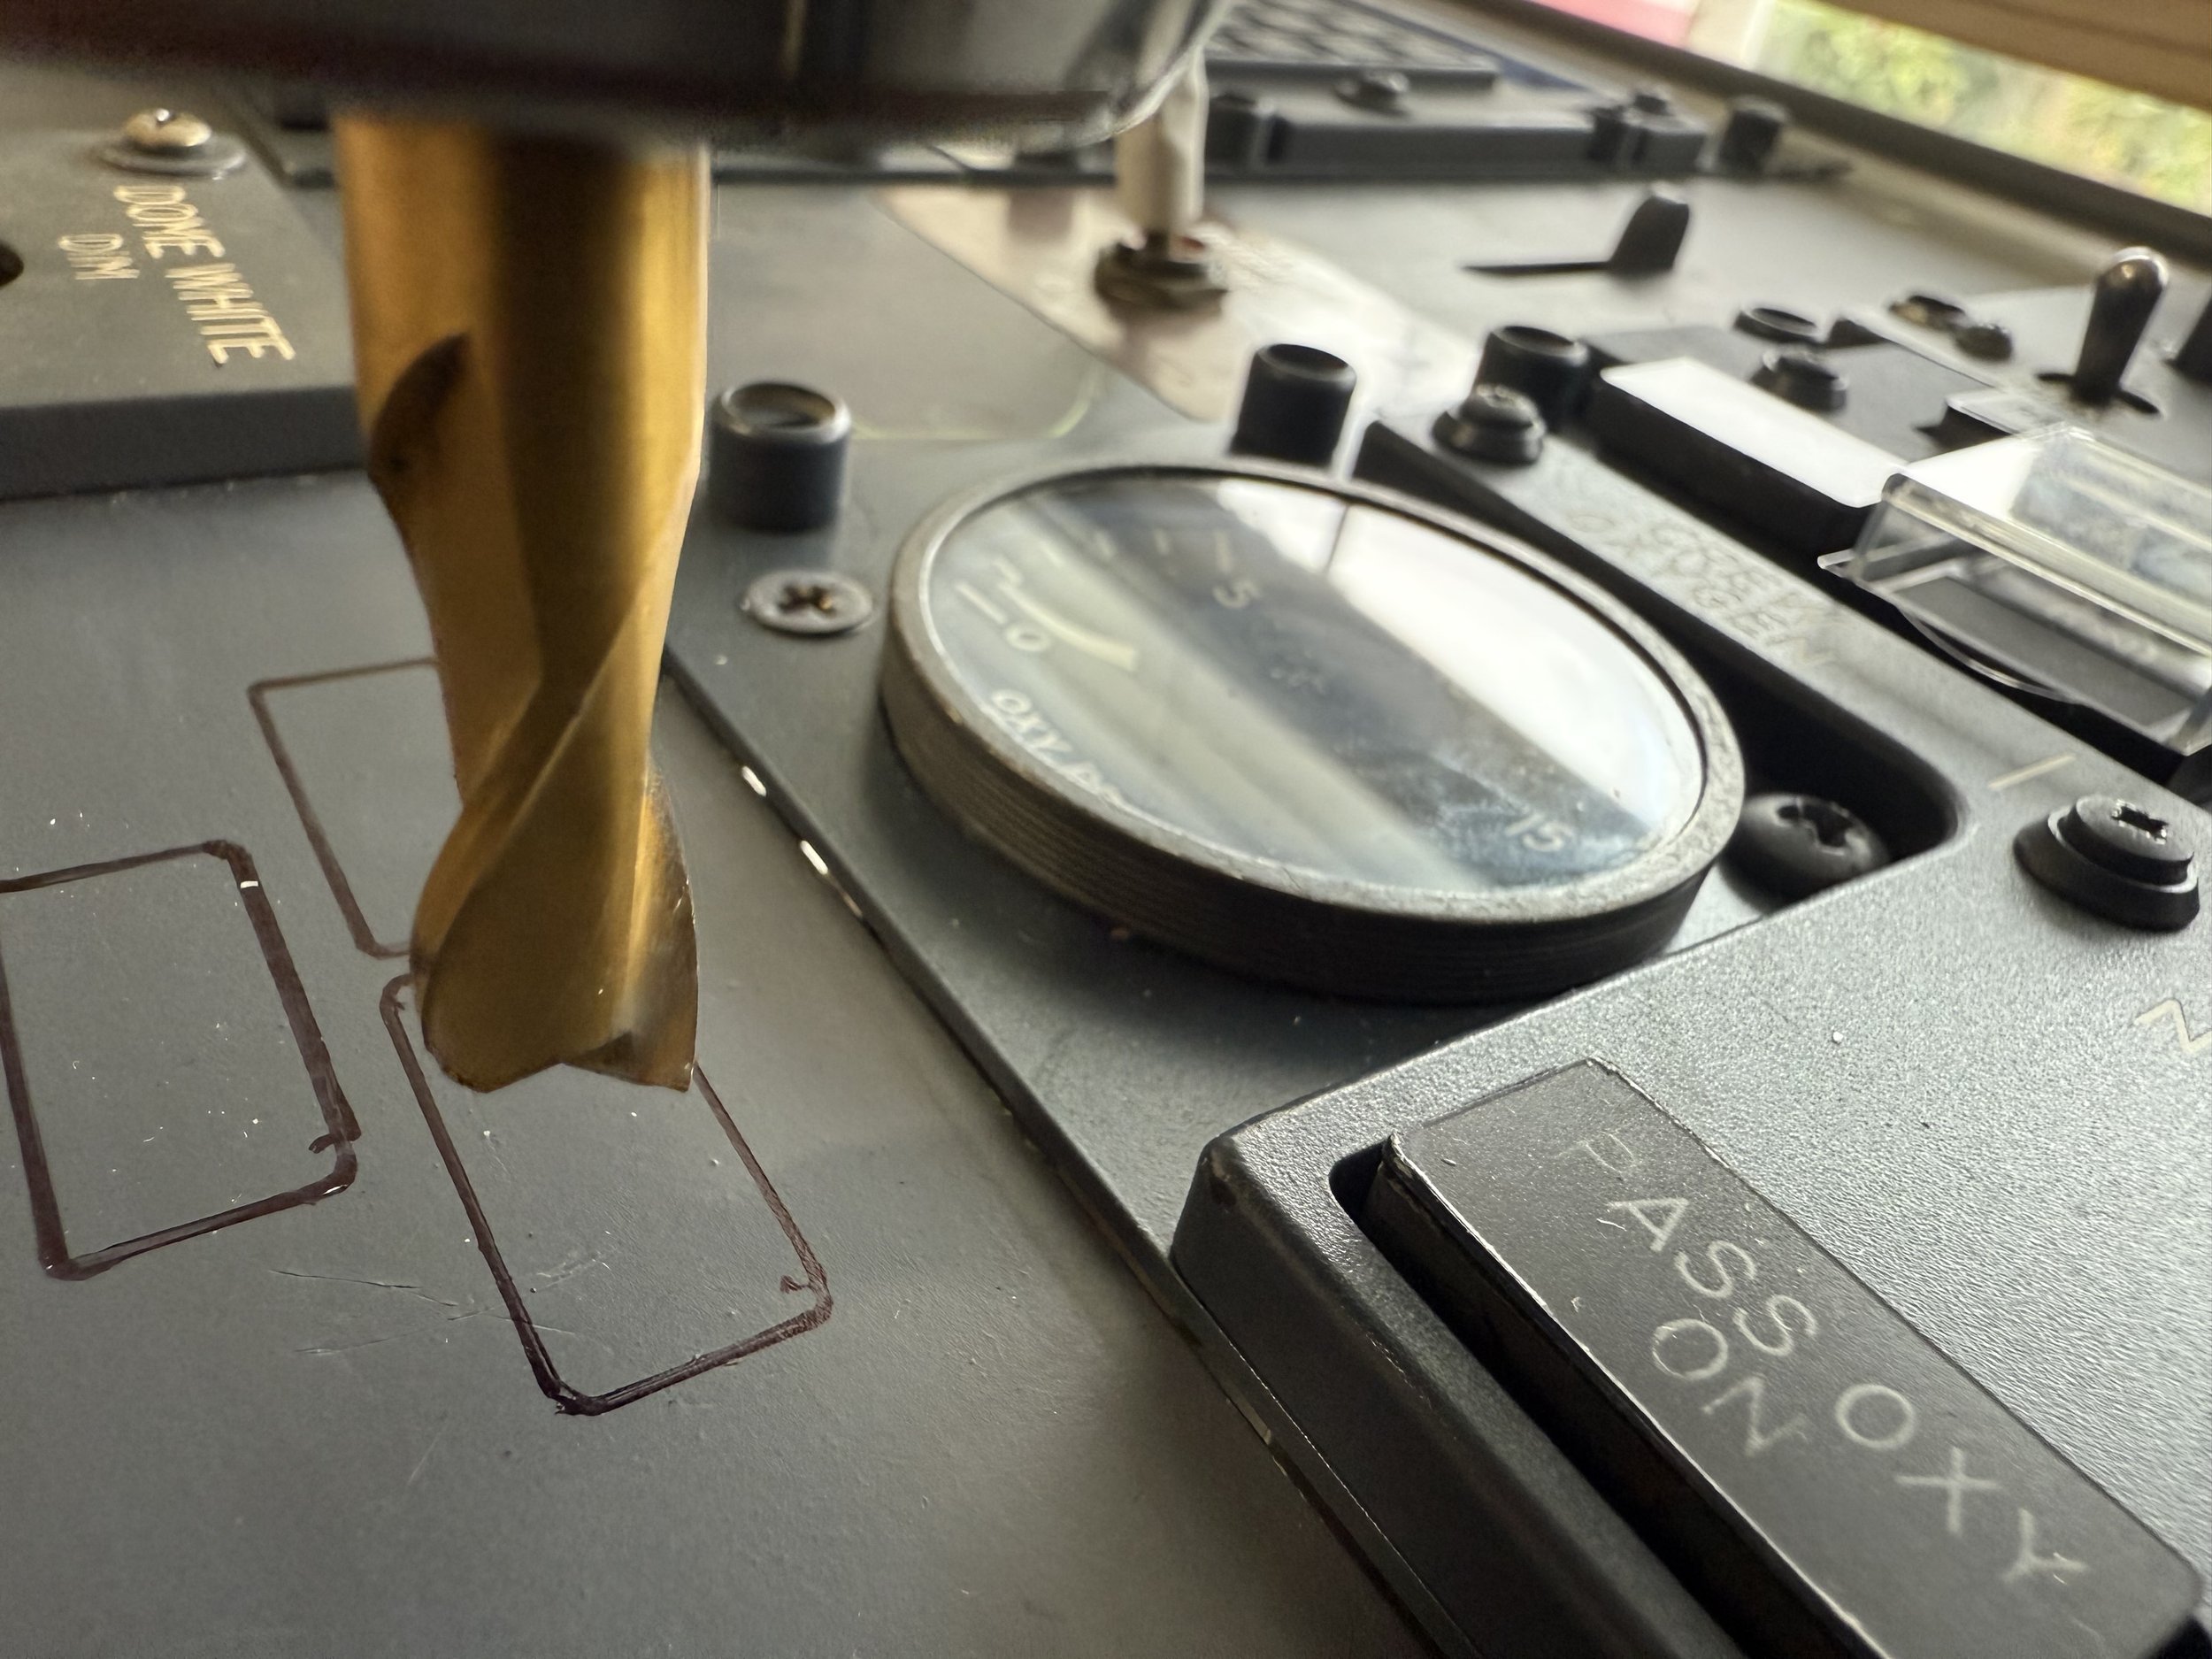
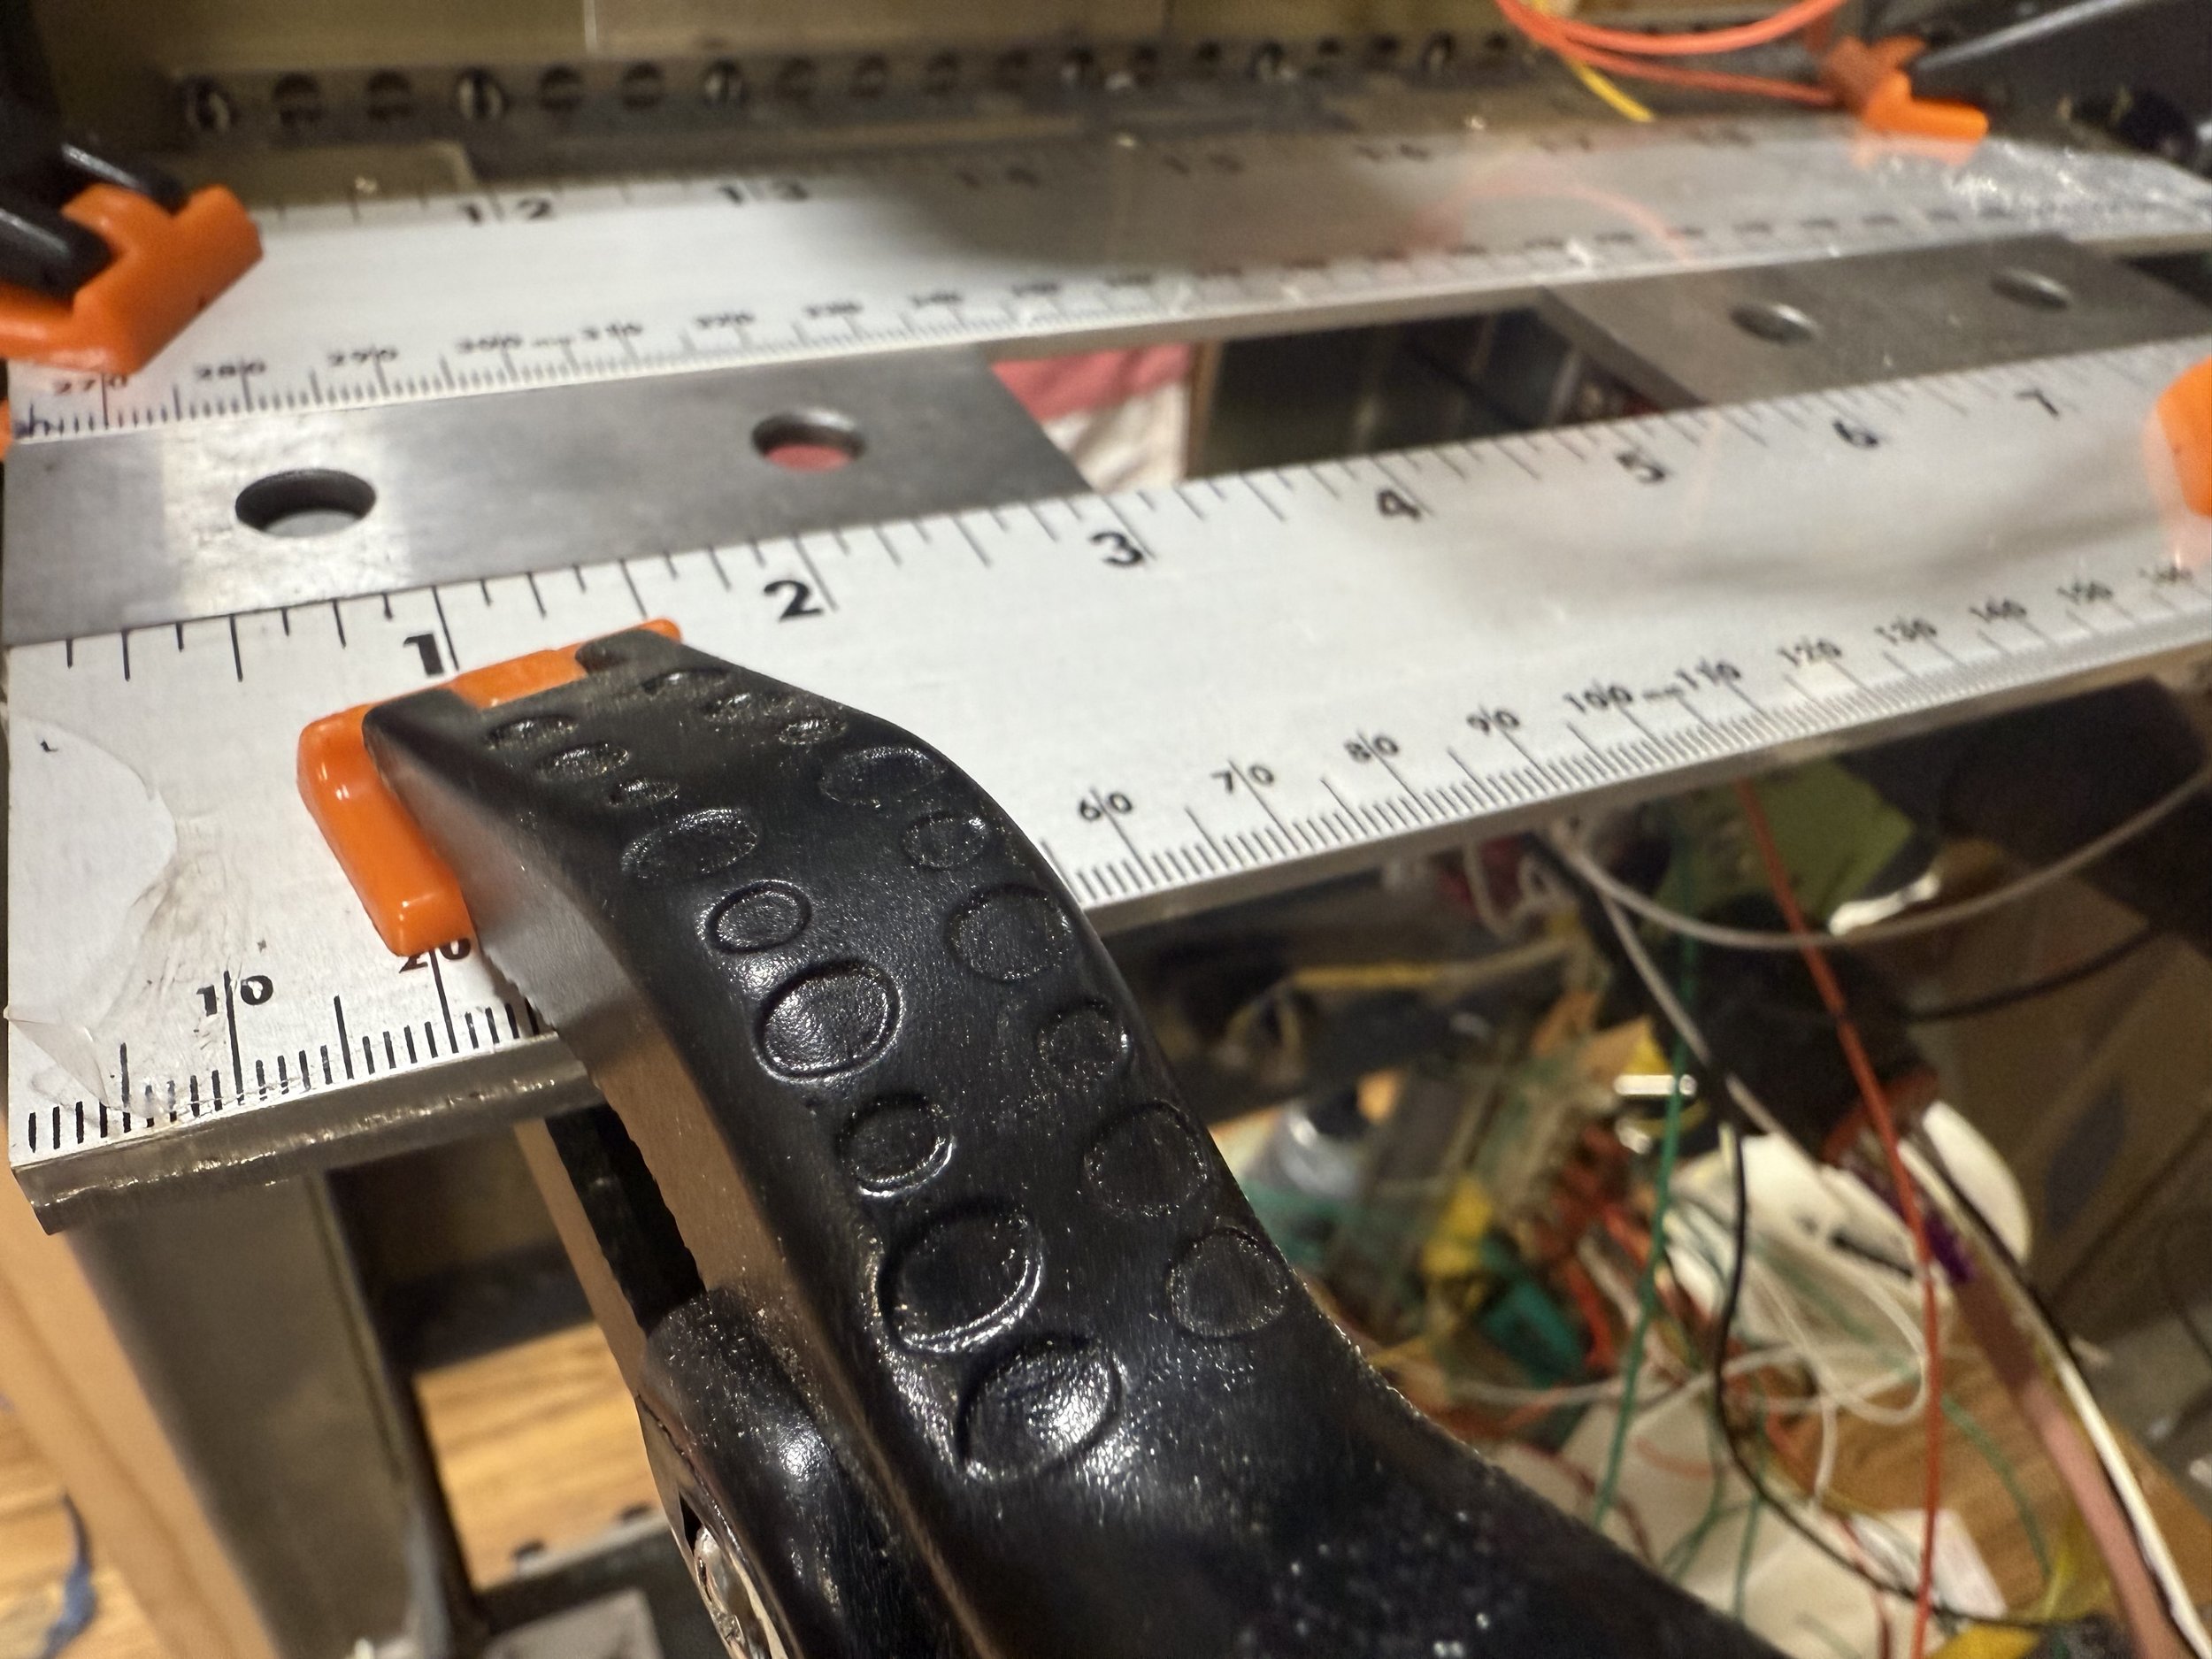
It has taken an inordinate amount of time to find the required OEM panels and Canon plugs, and after several years the forward and aft overhead, with the help of a friend, is being assembled. The OEM forward and aft frame have been temporarily mounted inside a wooden frame to make working on the panel easier.
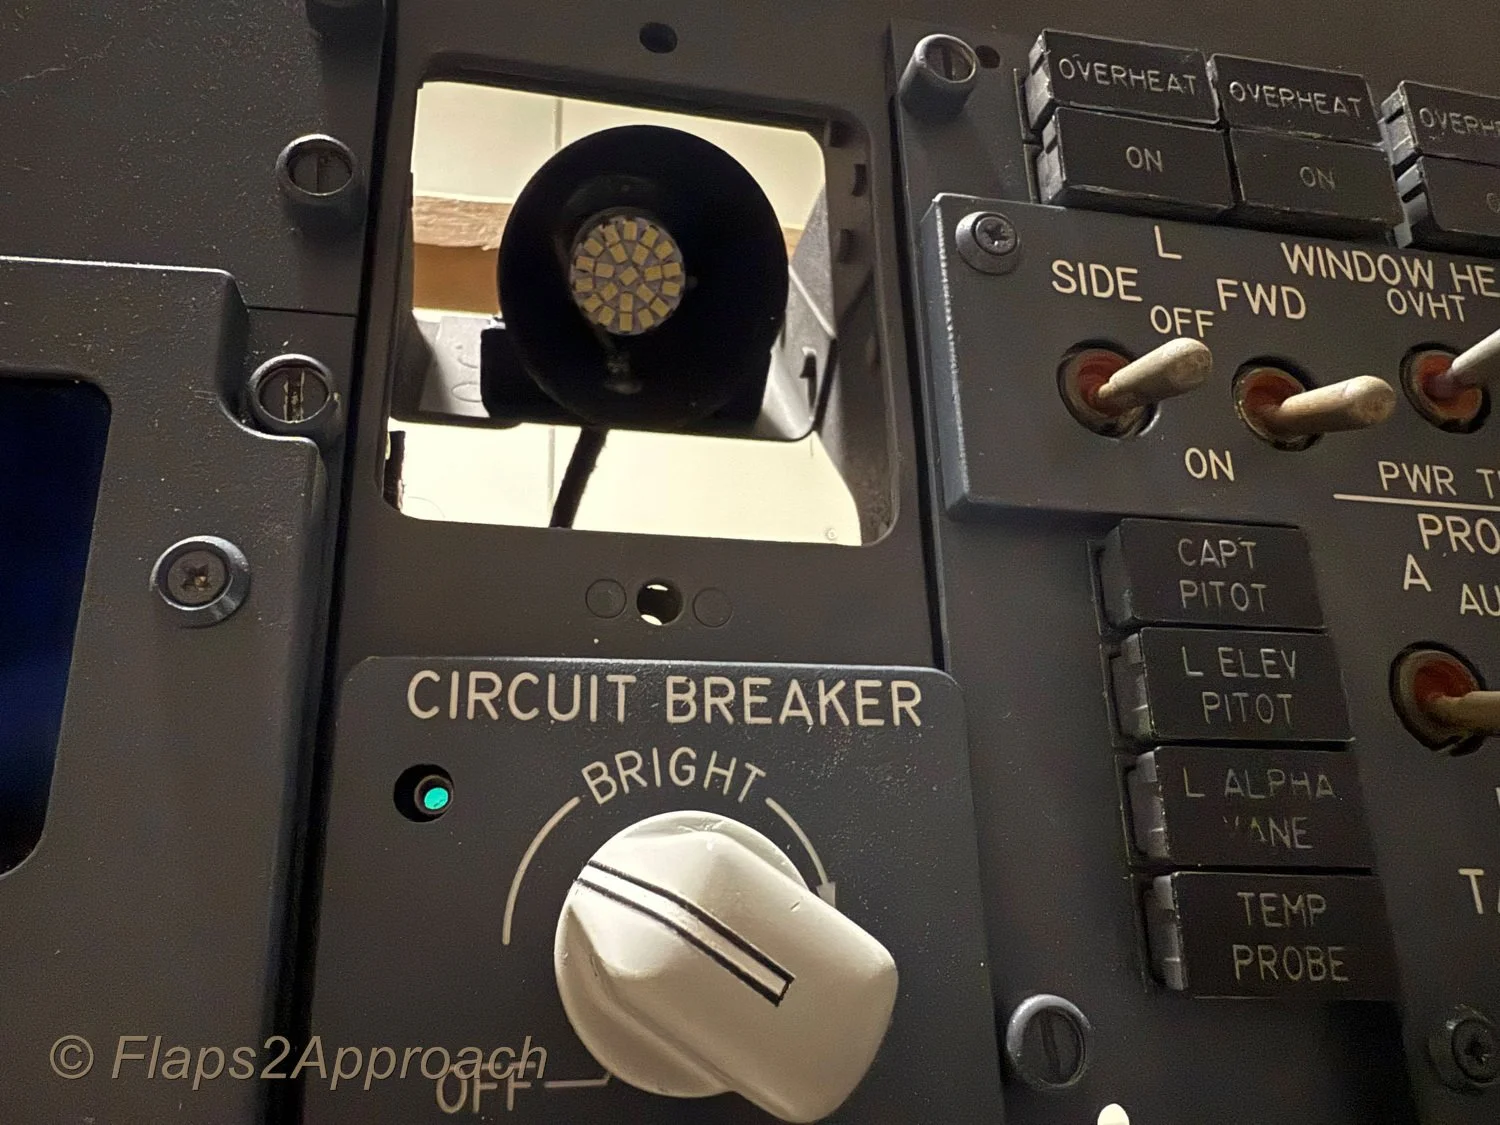
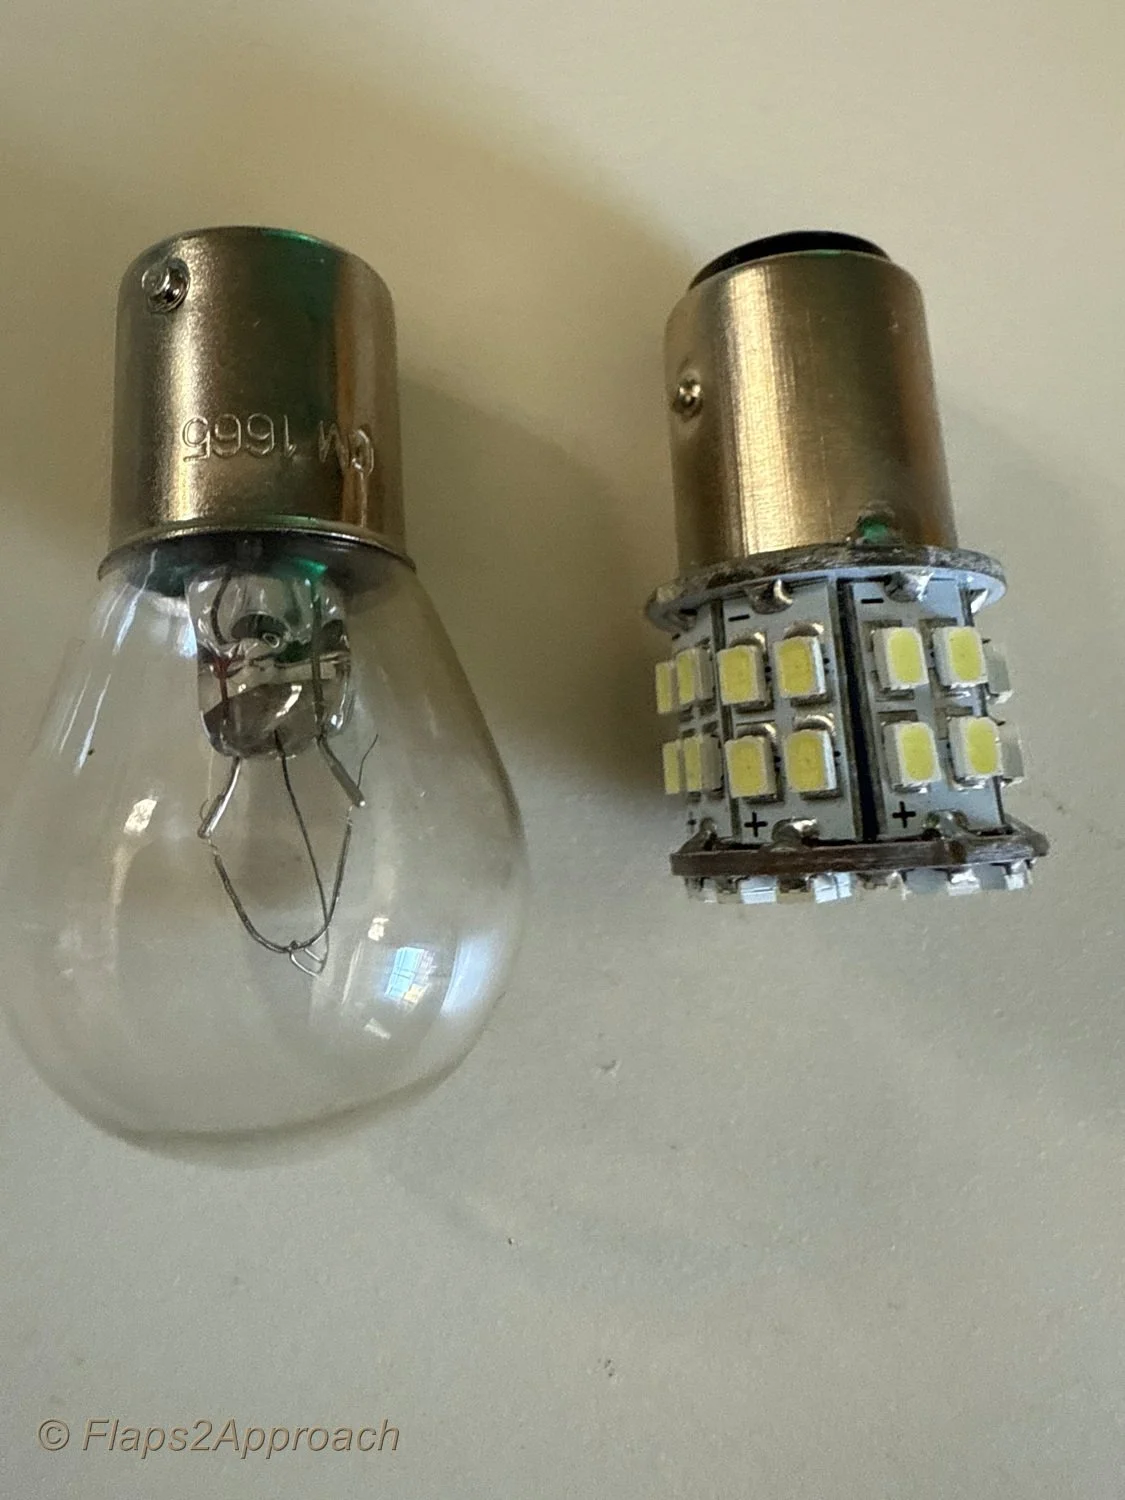
For the most part, the conversion of the panels for use with ProSim737 has been completed using Phidgets and the original avionics, which communicate via the ARINC 429 protocol.
It is hoped that the overhead will completed and be operational by late 2025.
Gallery: OEM Forward and Aft Overhead (during construction phase)
As the overhead build progresses, images and short 'working' videos will be published.
The images and videos in this gallery are preliminary, showcasing the overheads and OEM panels during the build process. Once the overheads are completed, these images will be replaced with higher quality images.
Upon completion, a series of articles will be written to detail the conversion process of the various panels
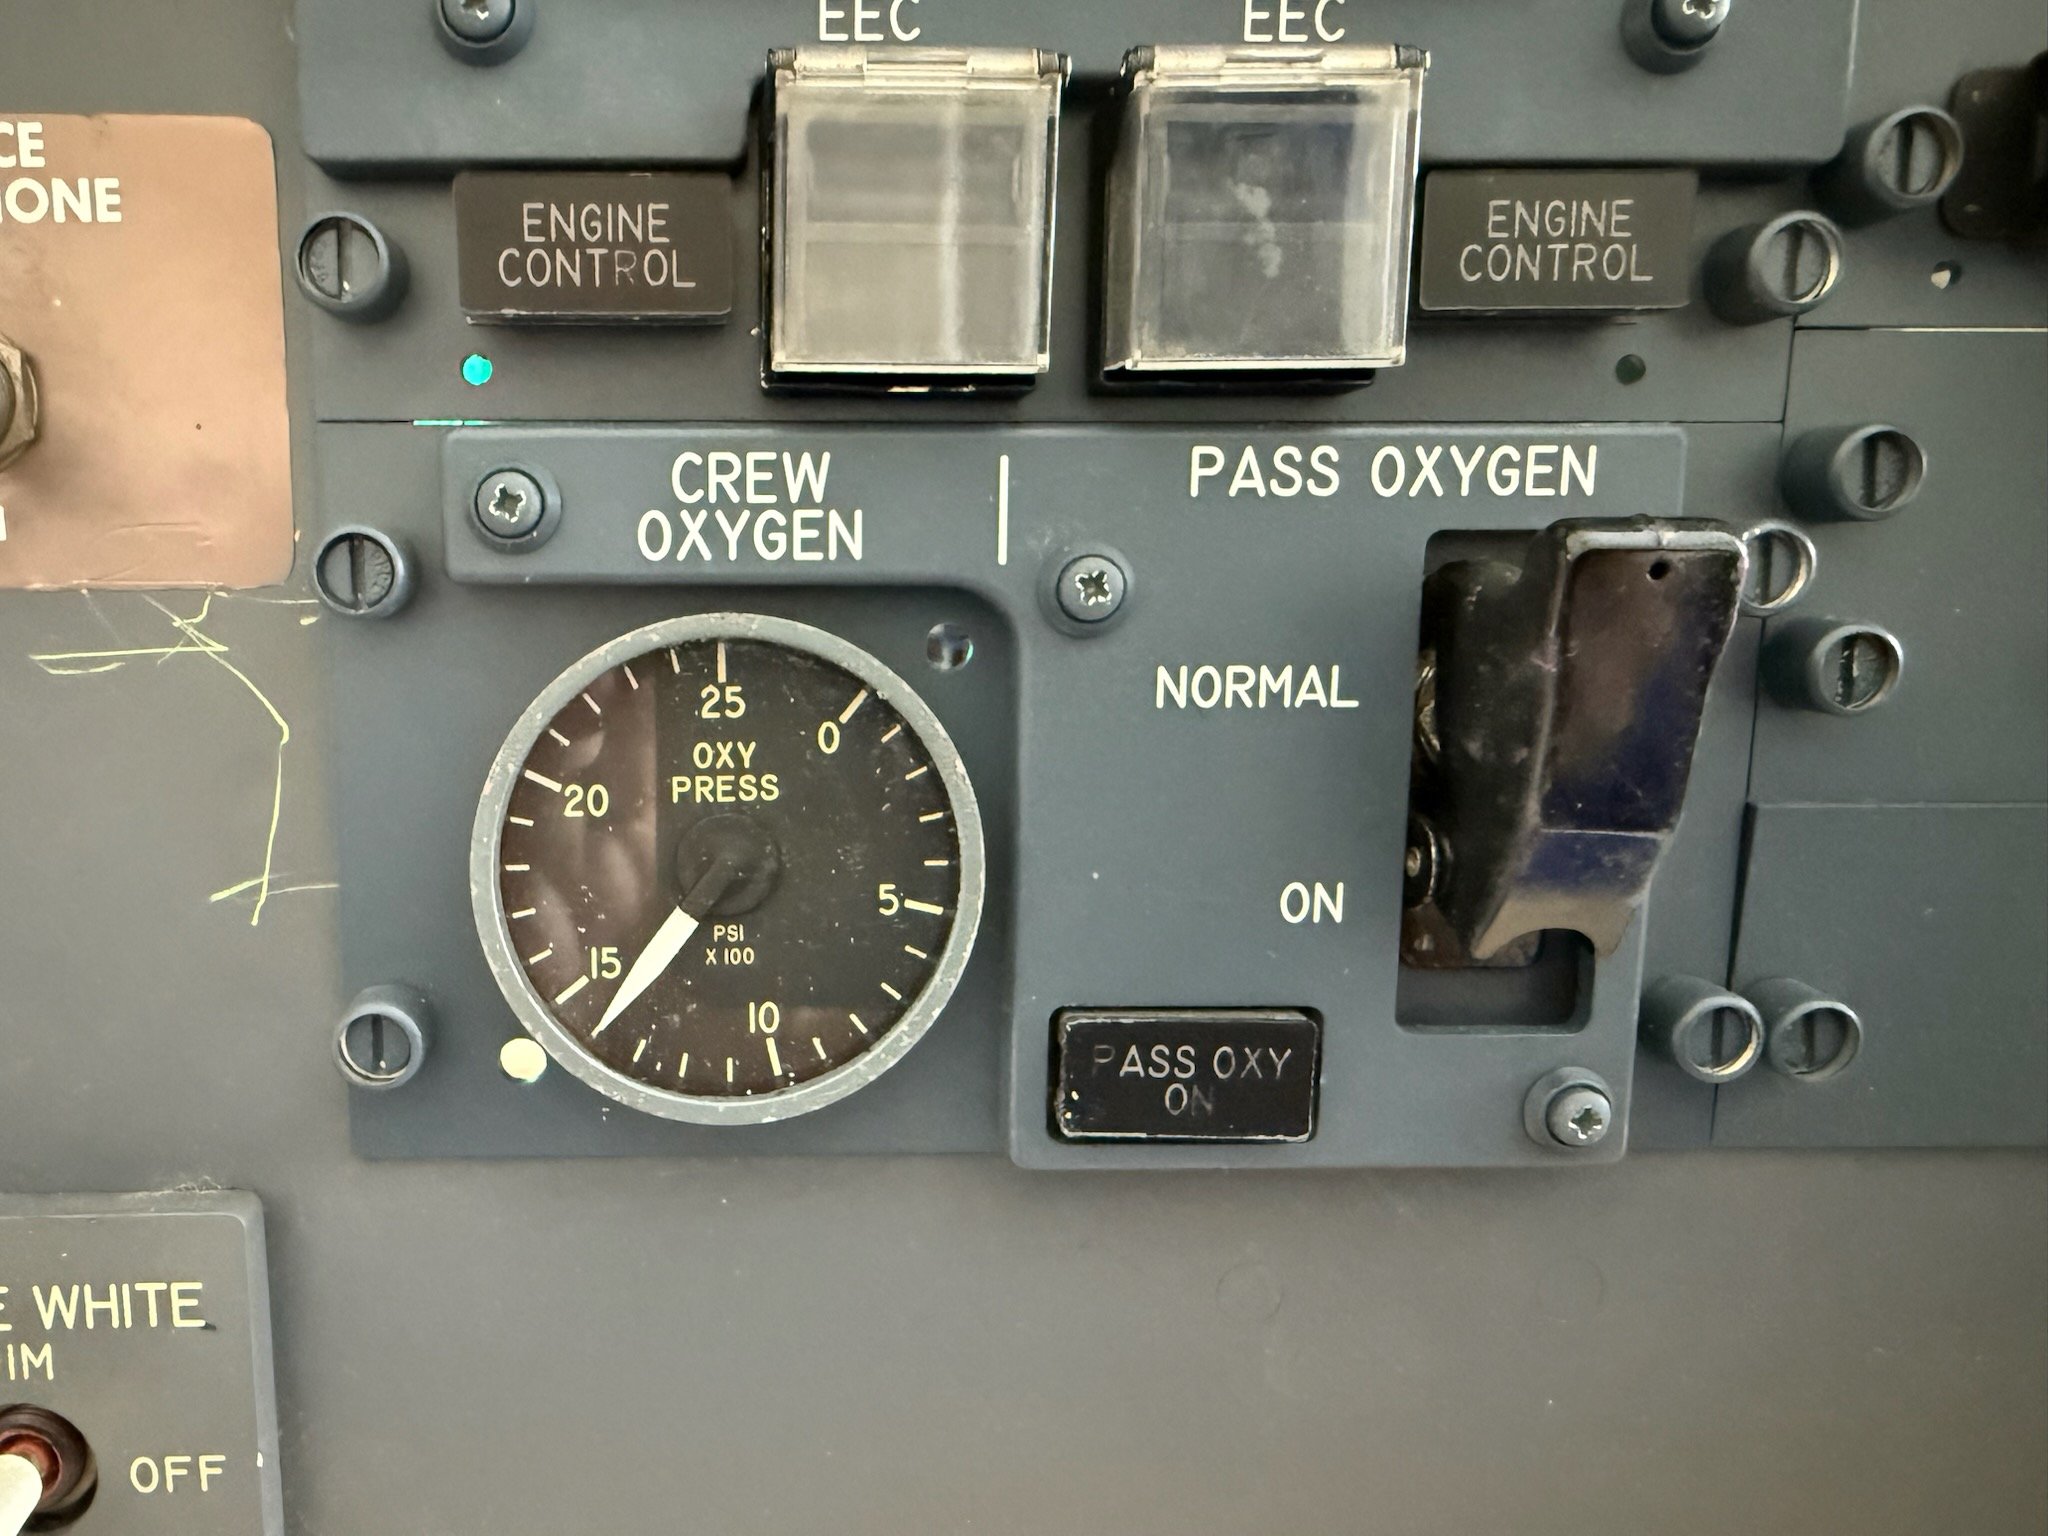
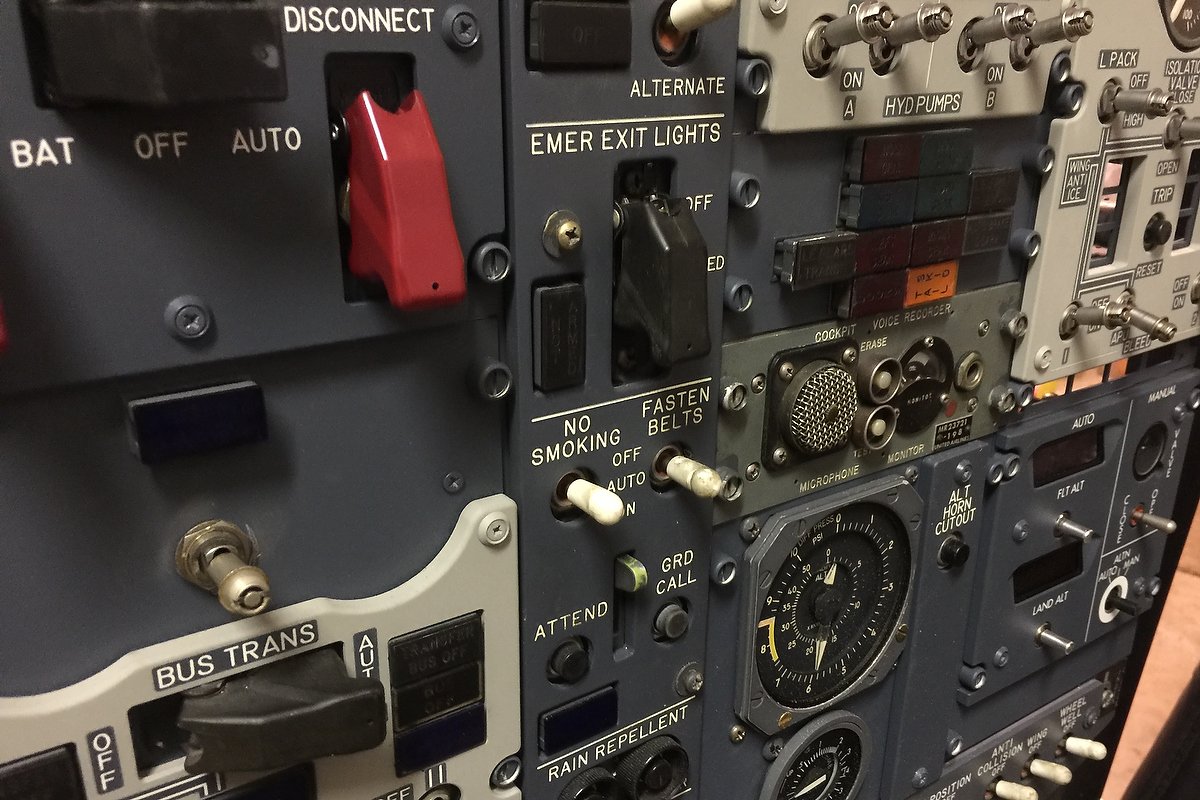
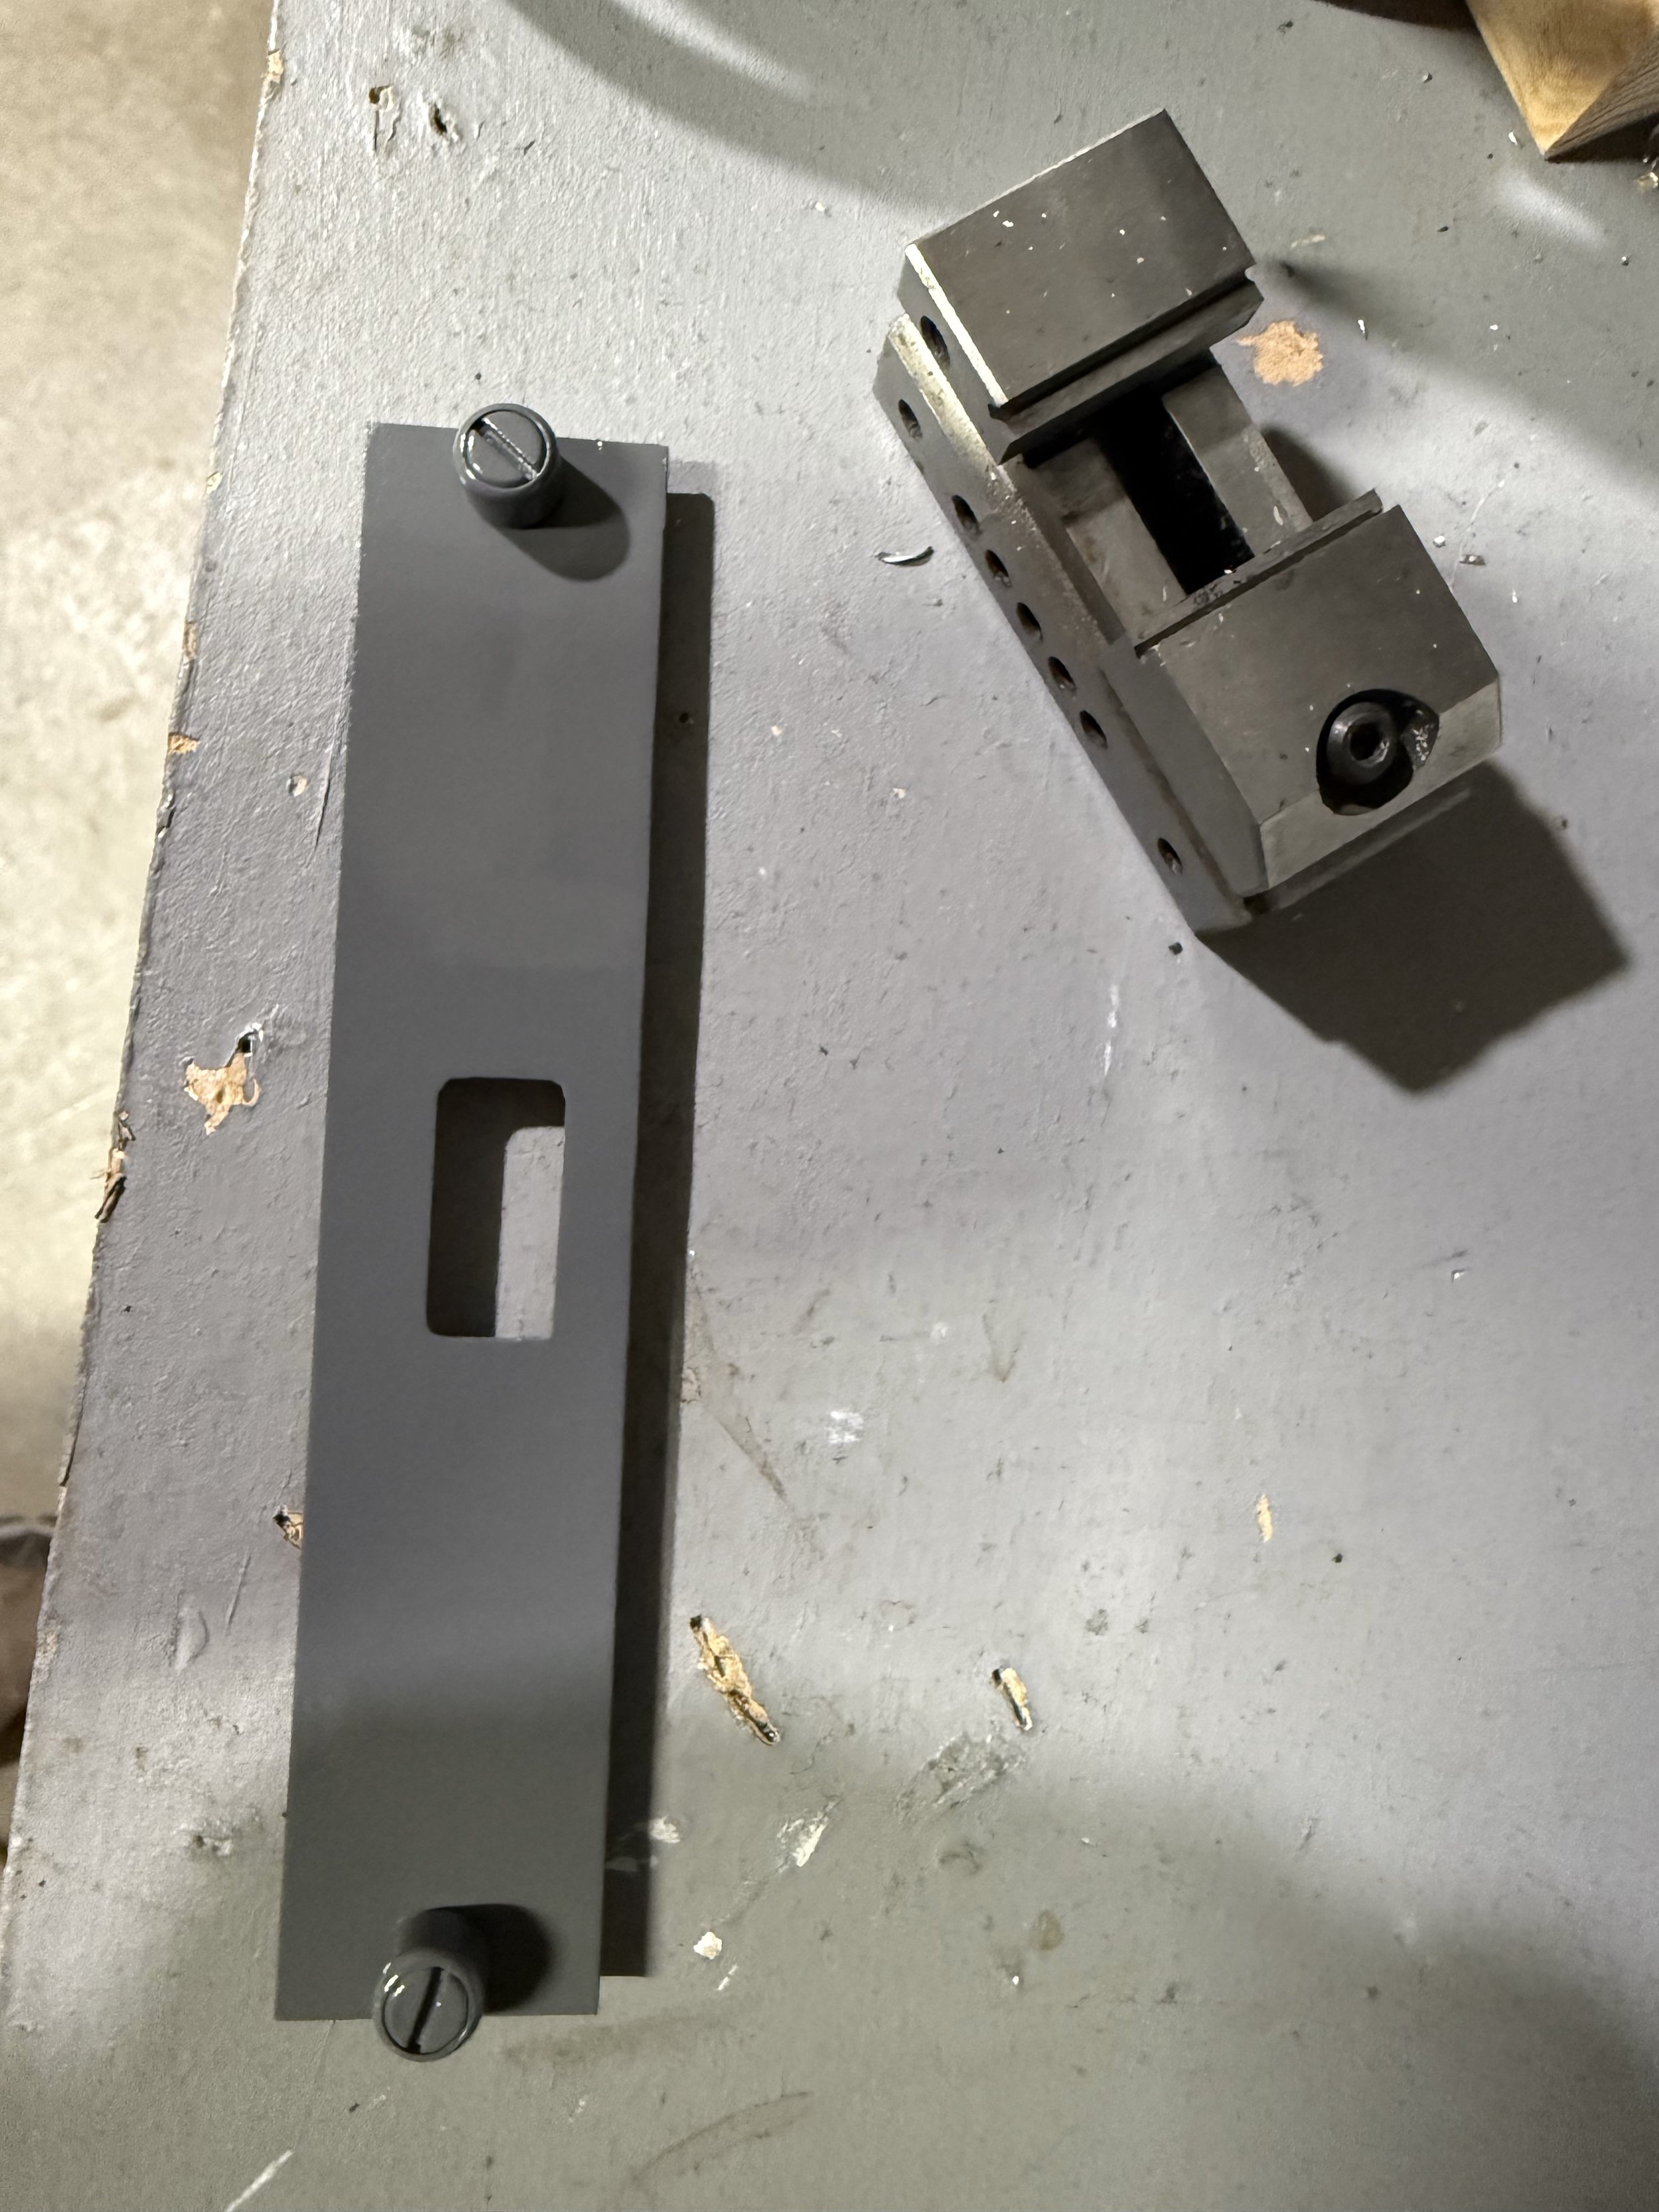
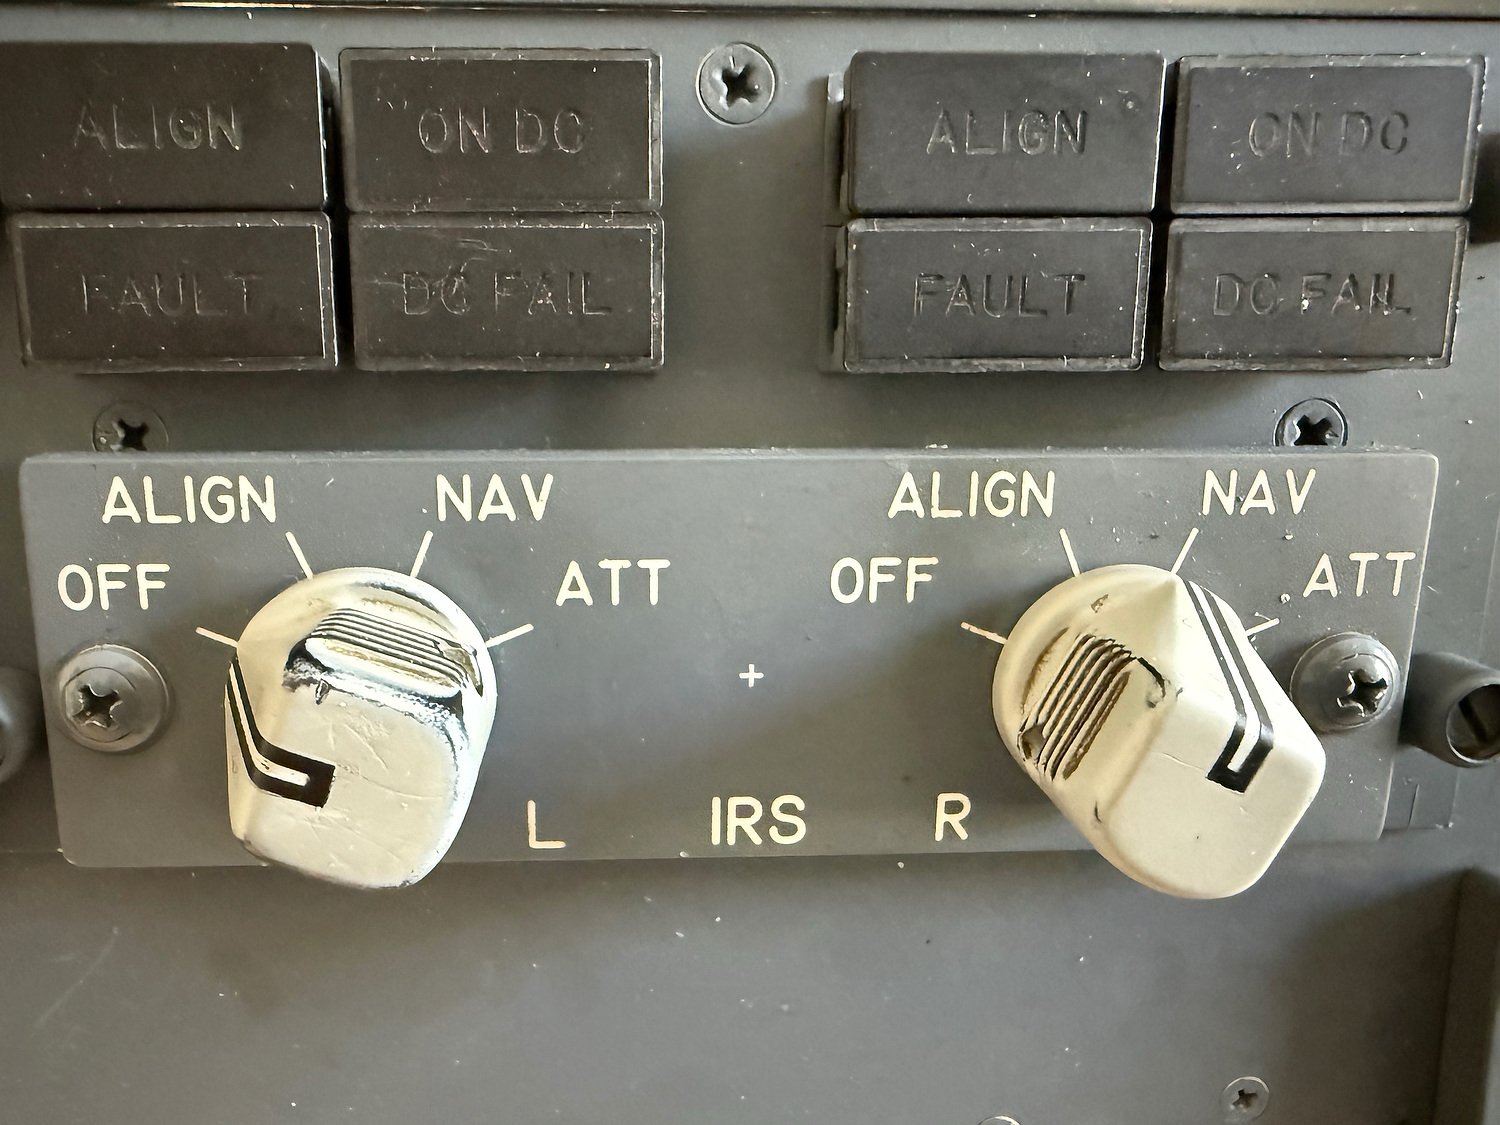
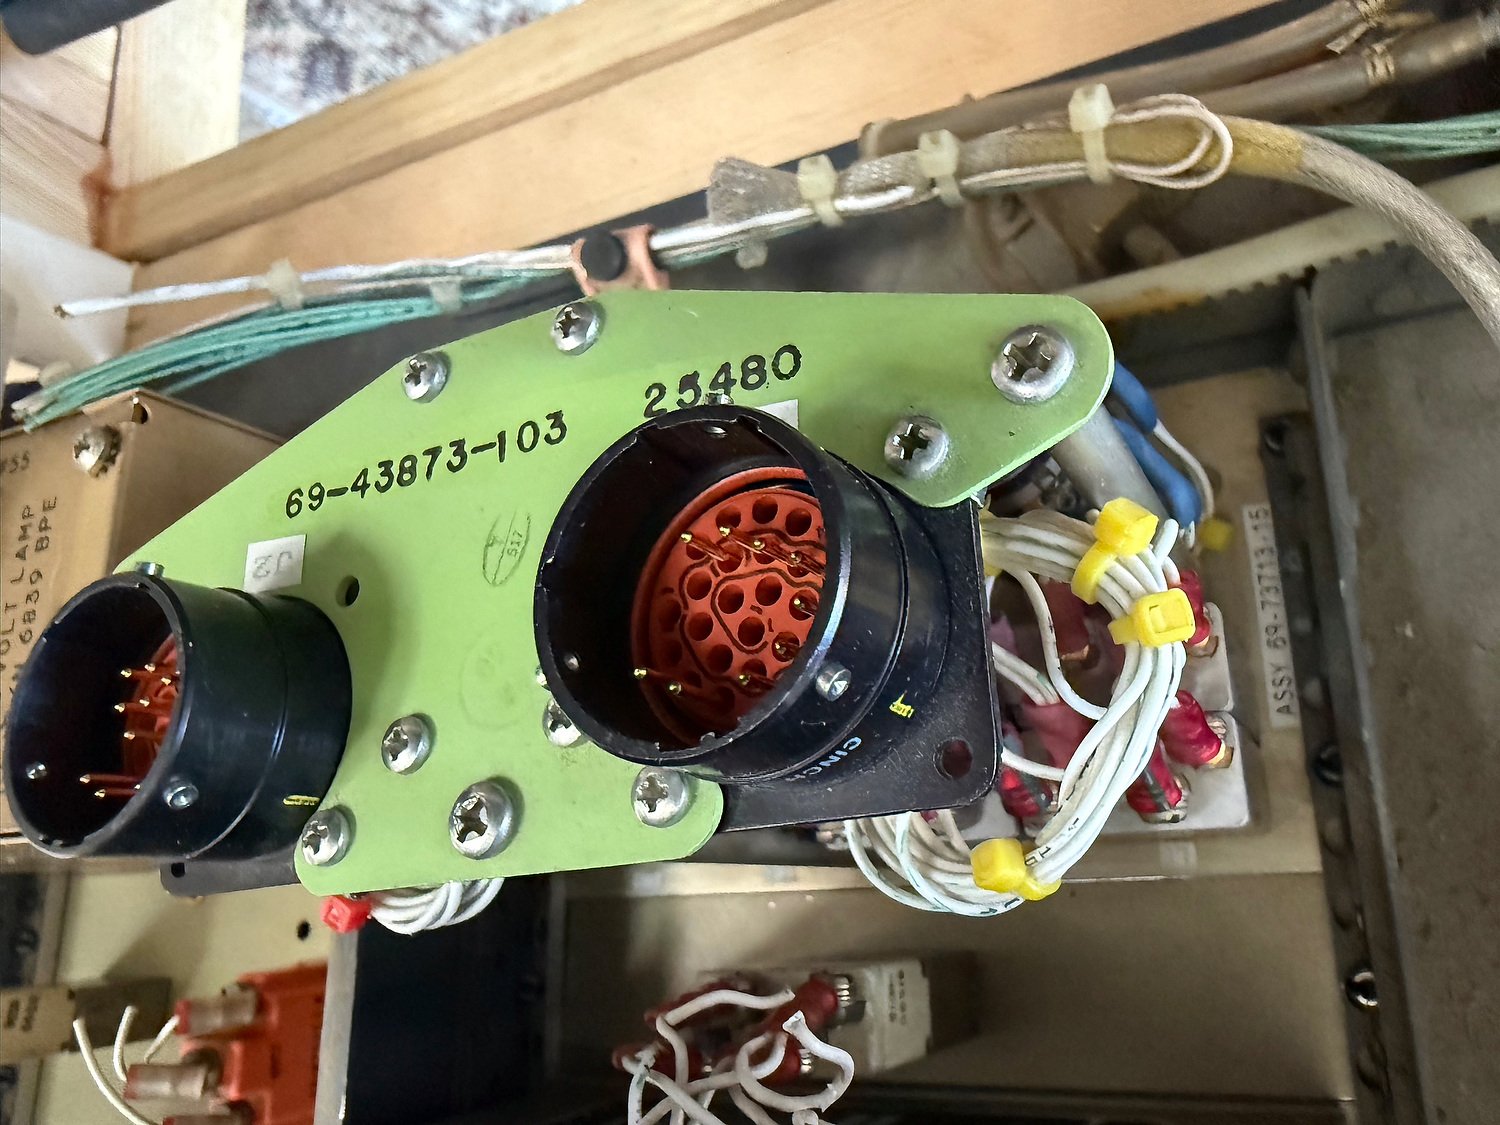
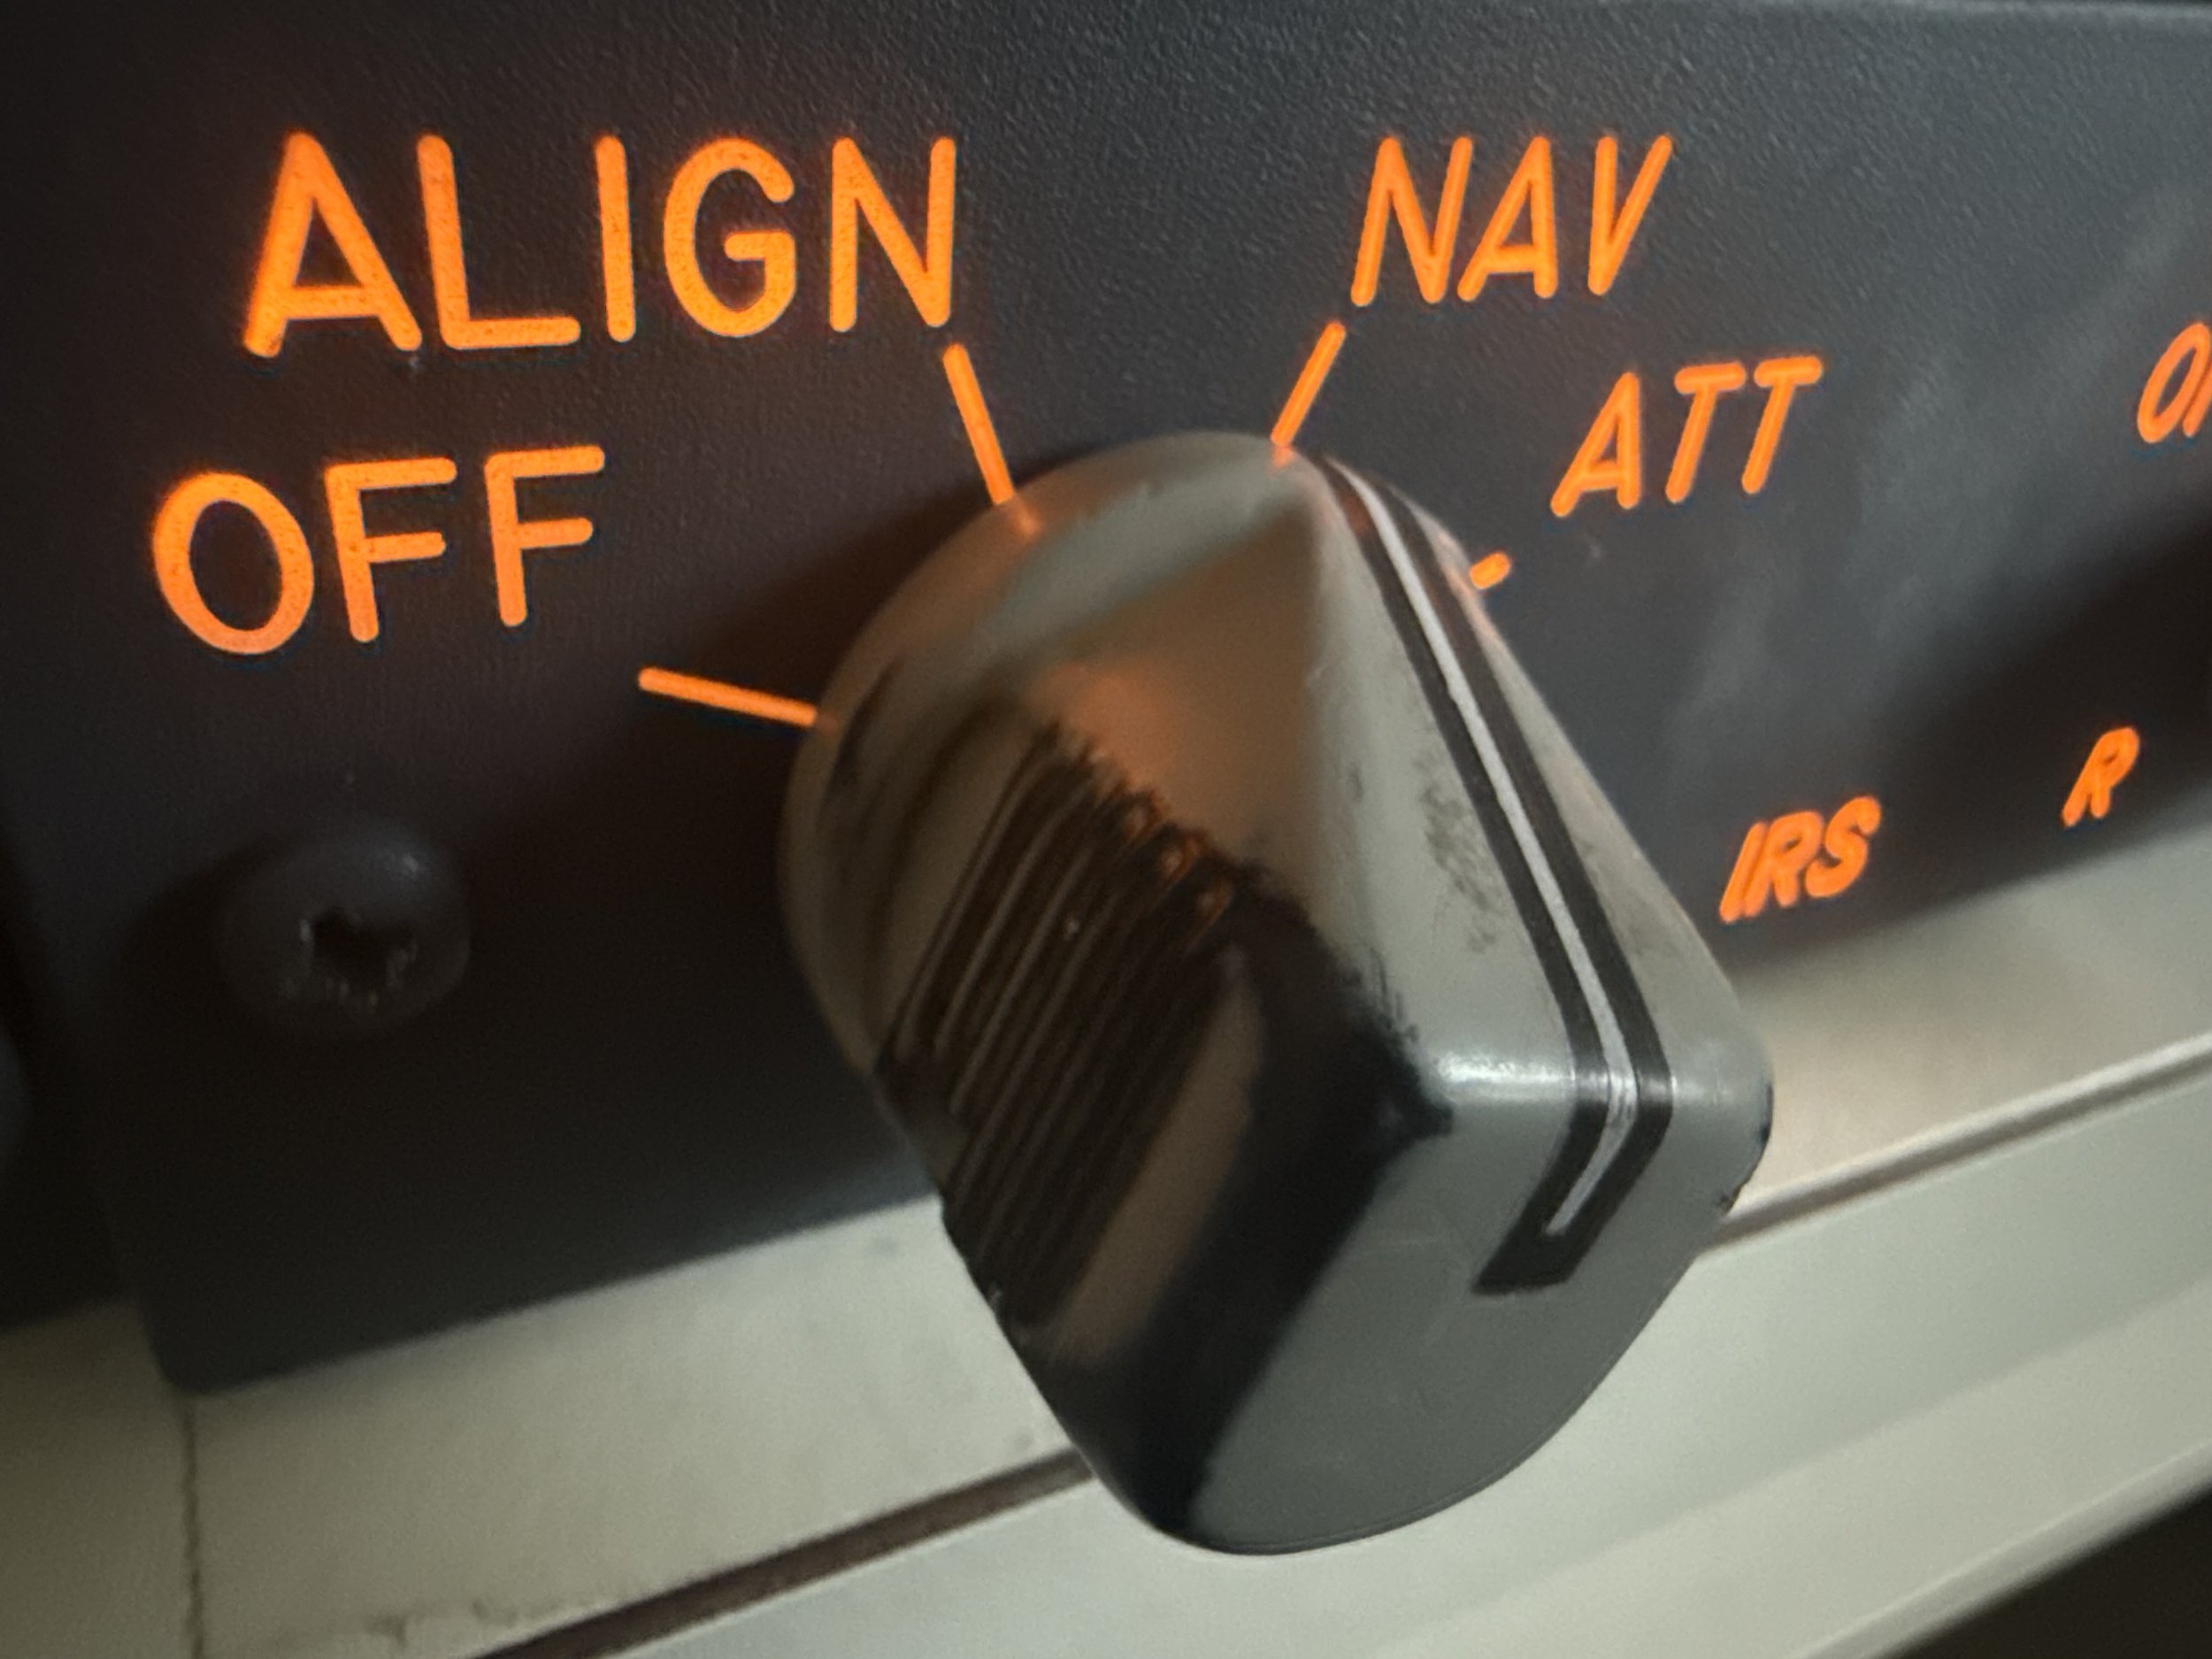
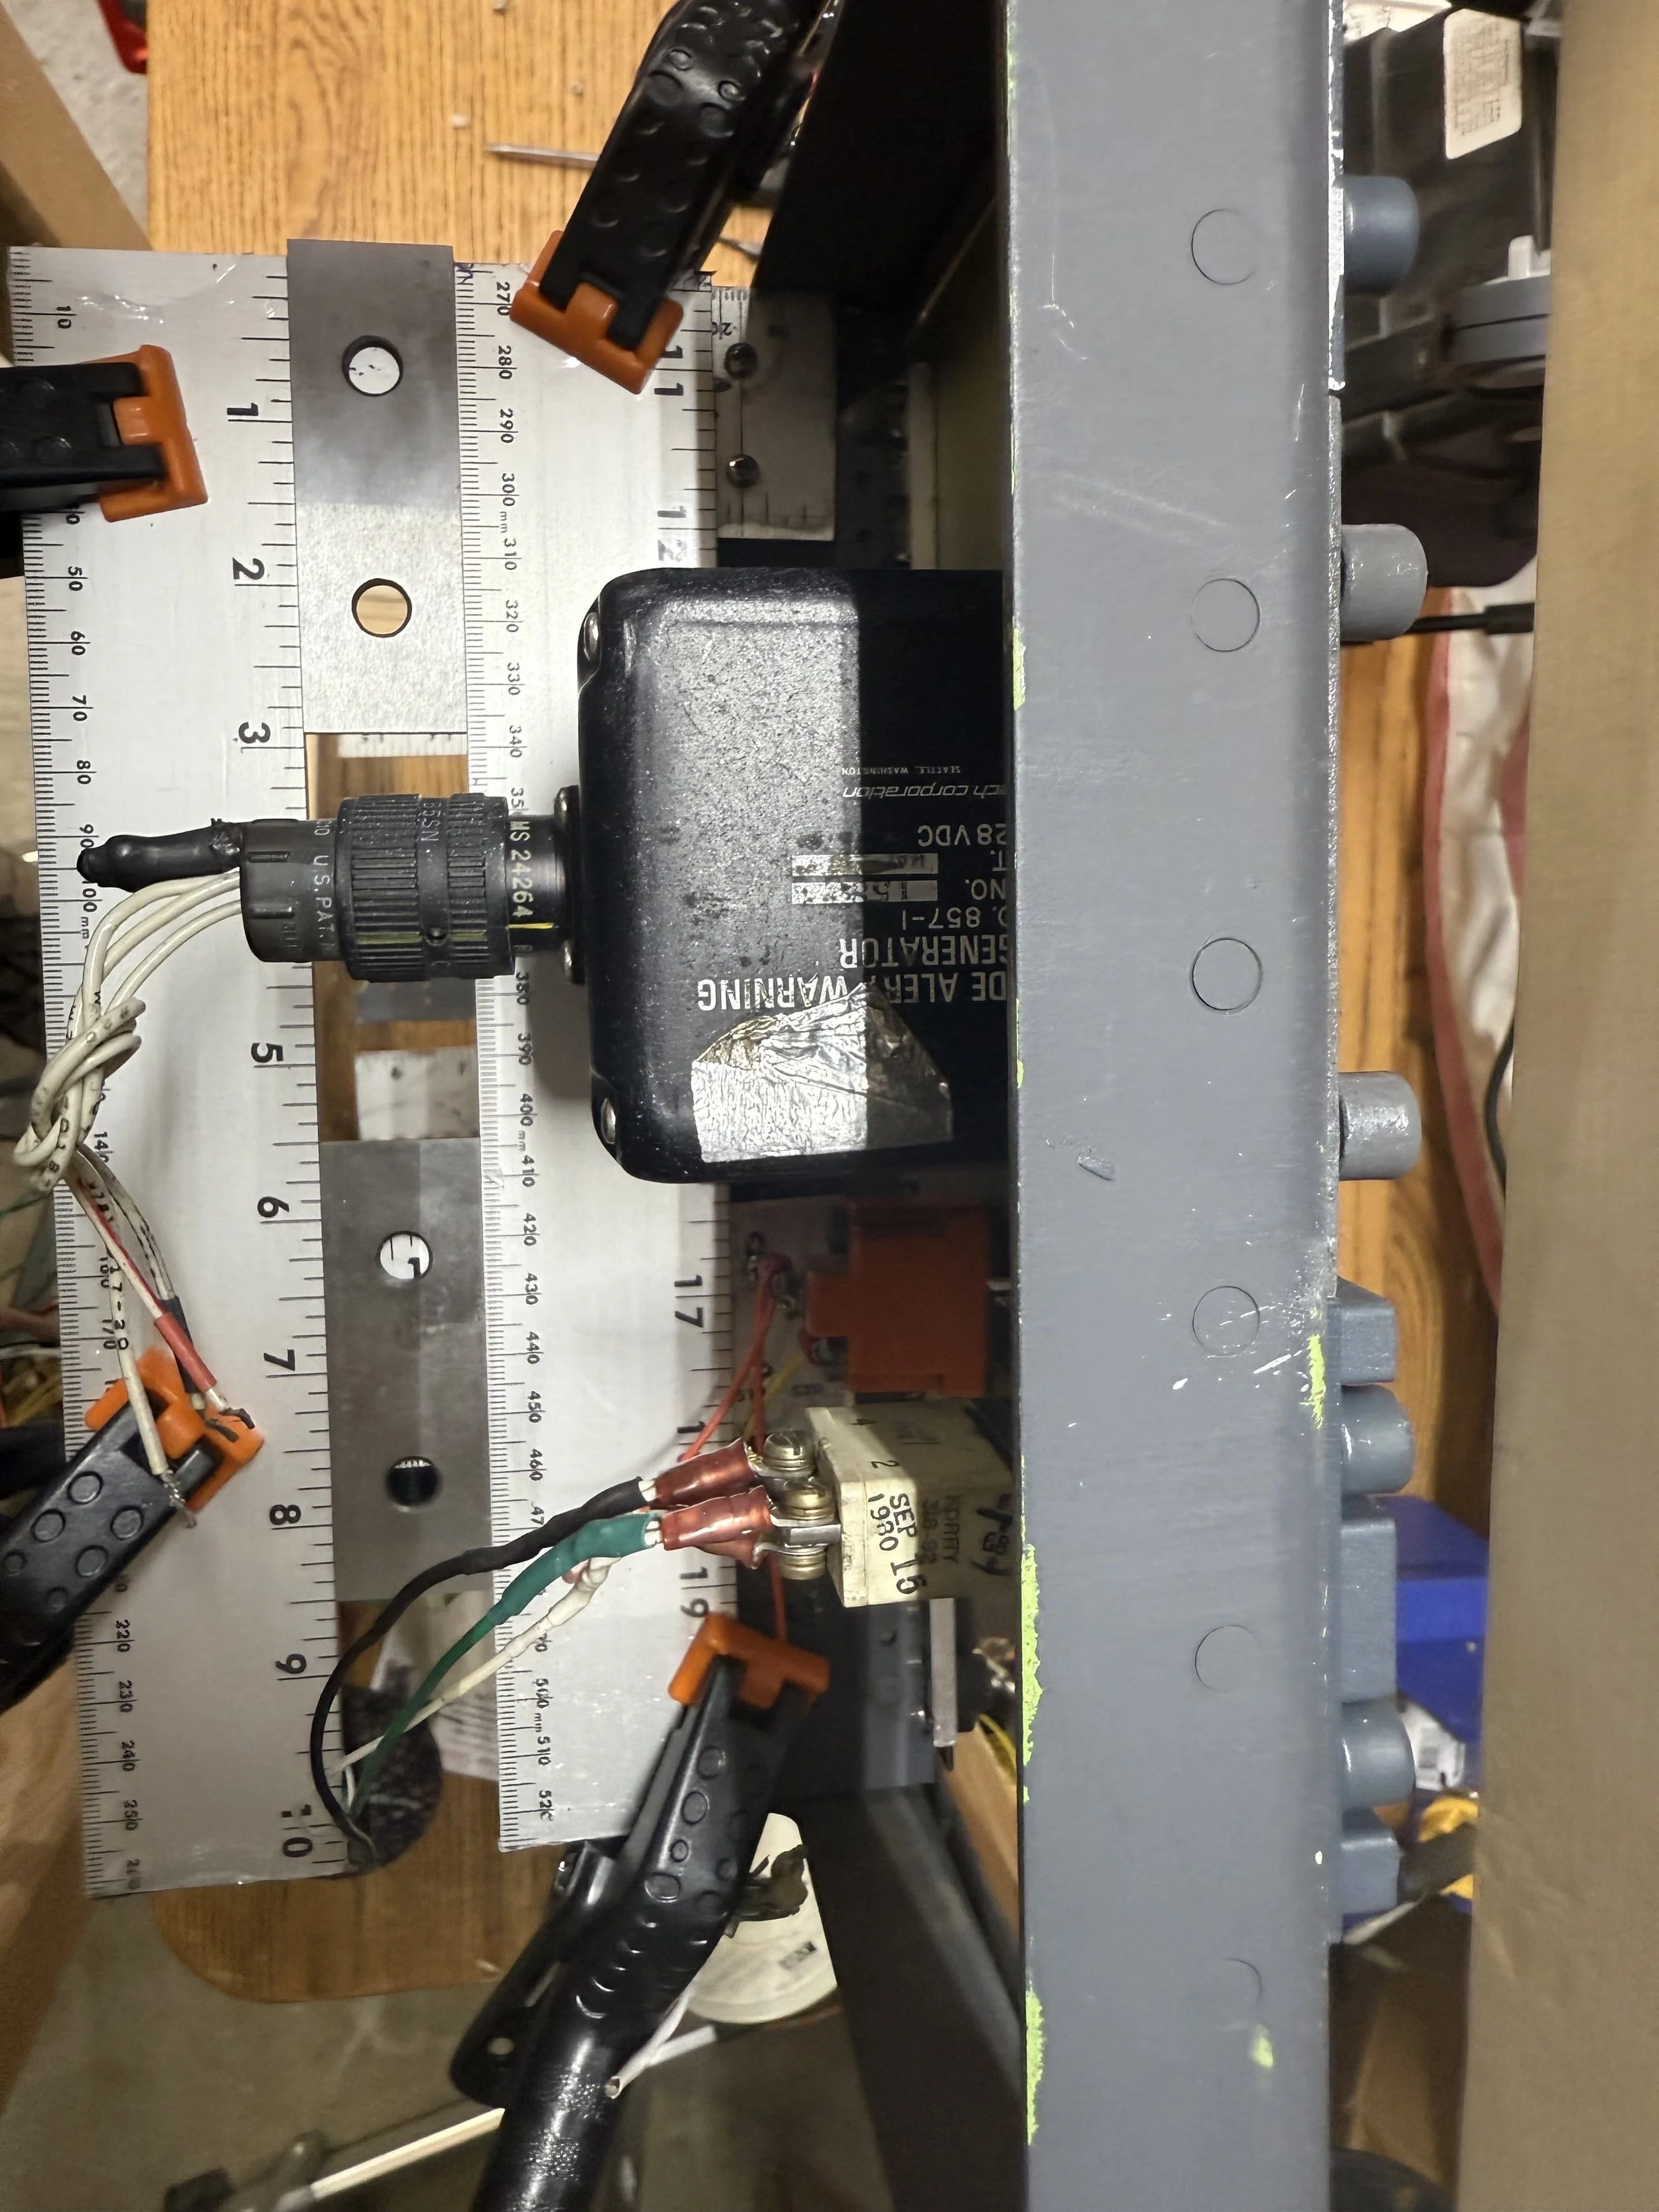
GALLERY 1: A showcase featuring the various panels and gauges used in the forward and aft overhead during the assembly phase.


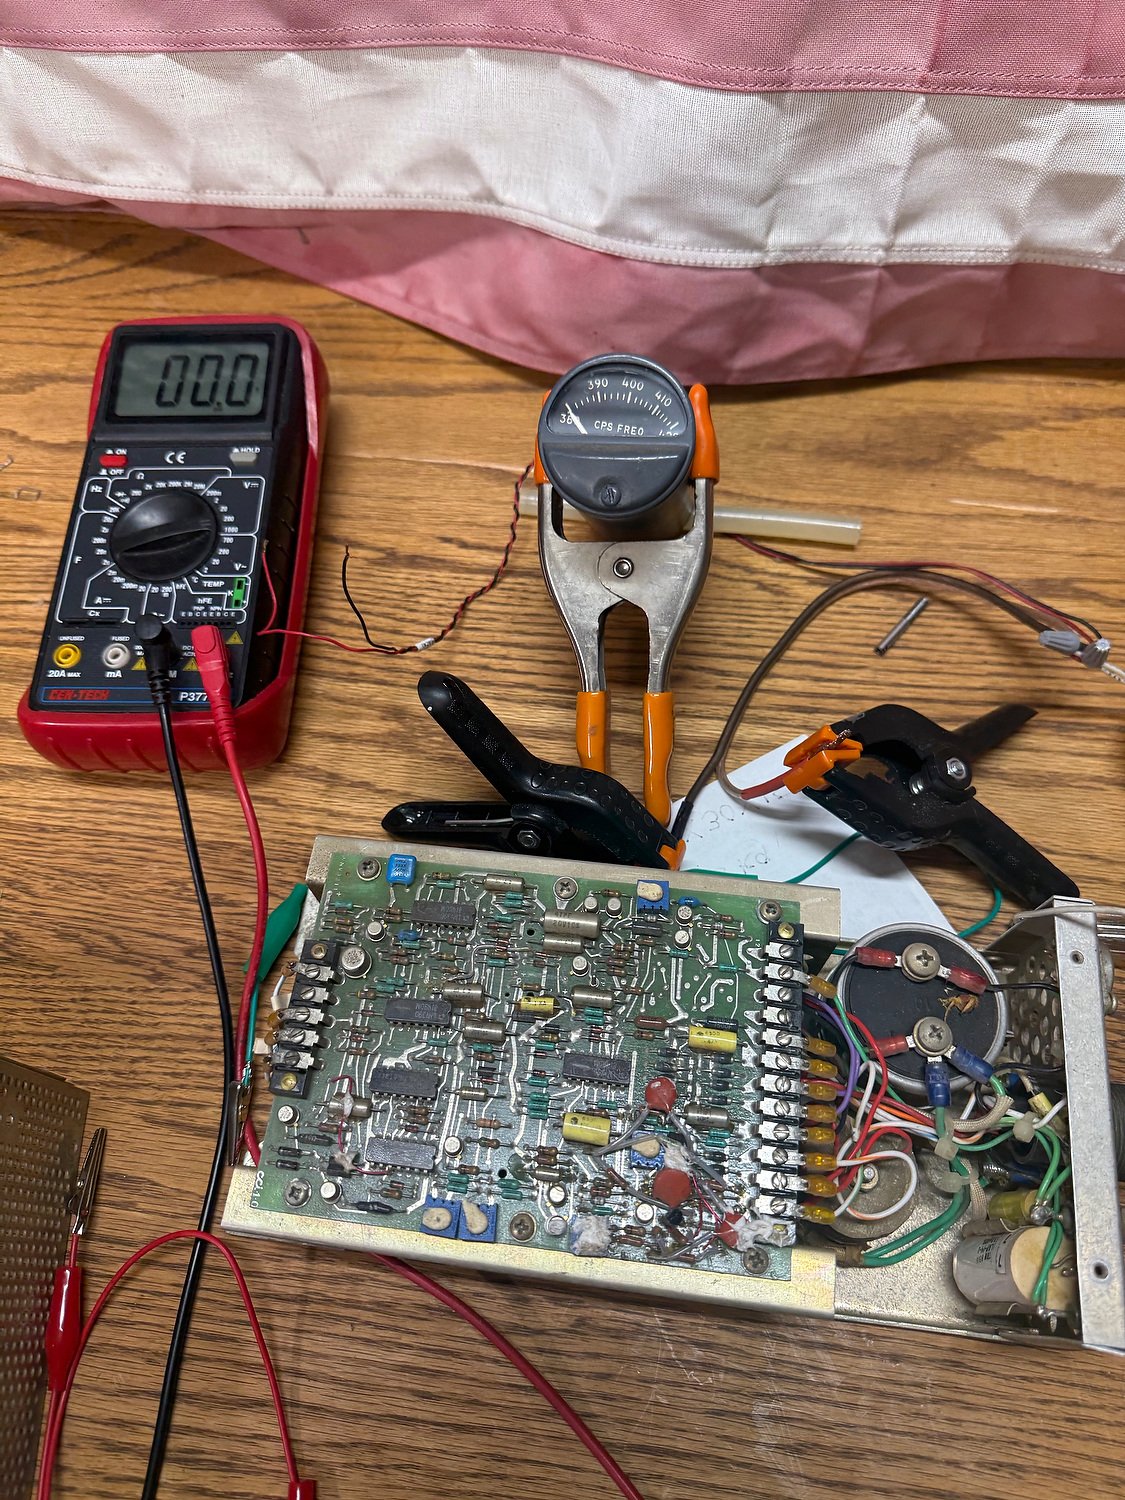
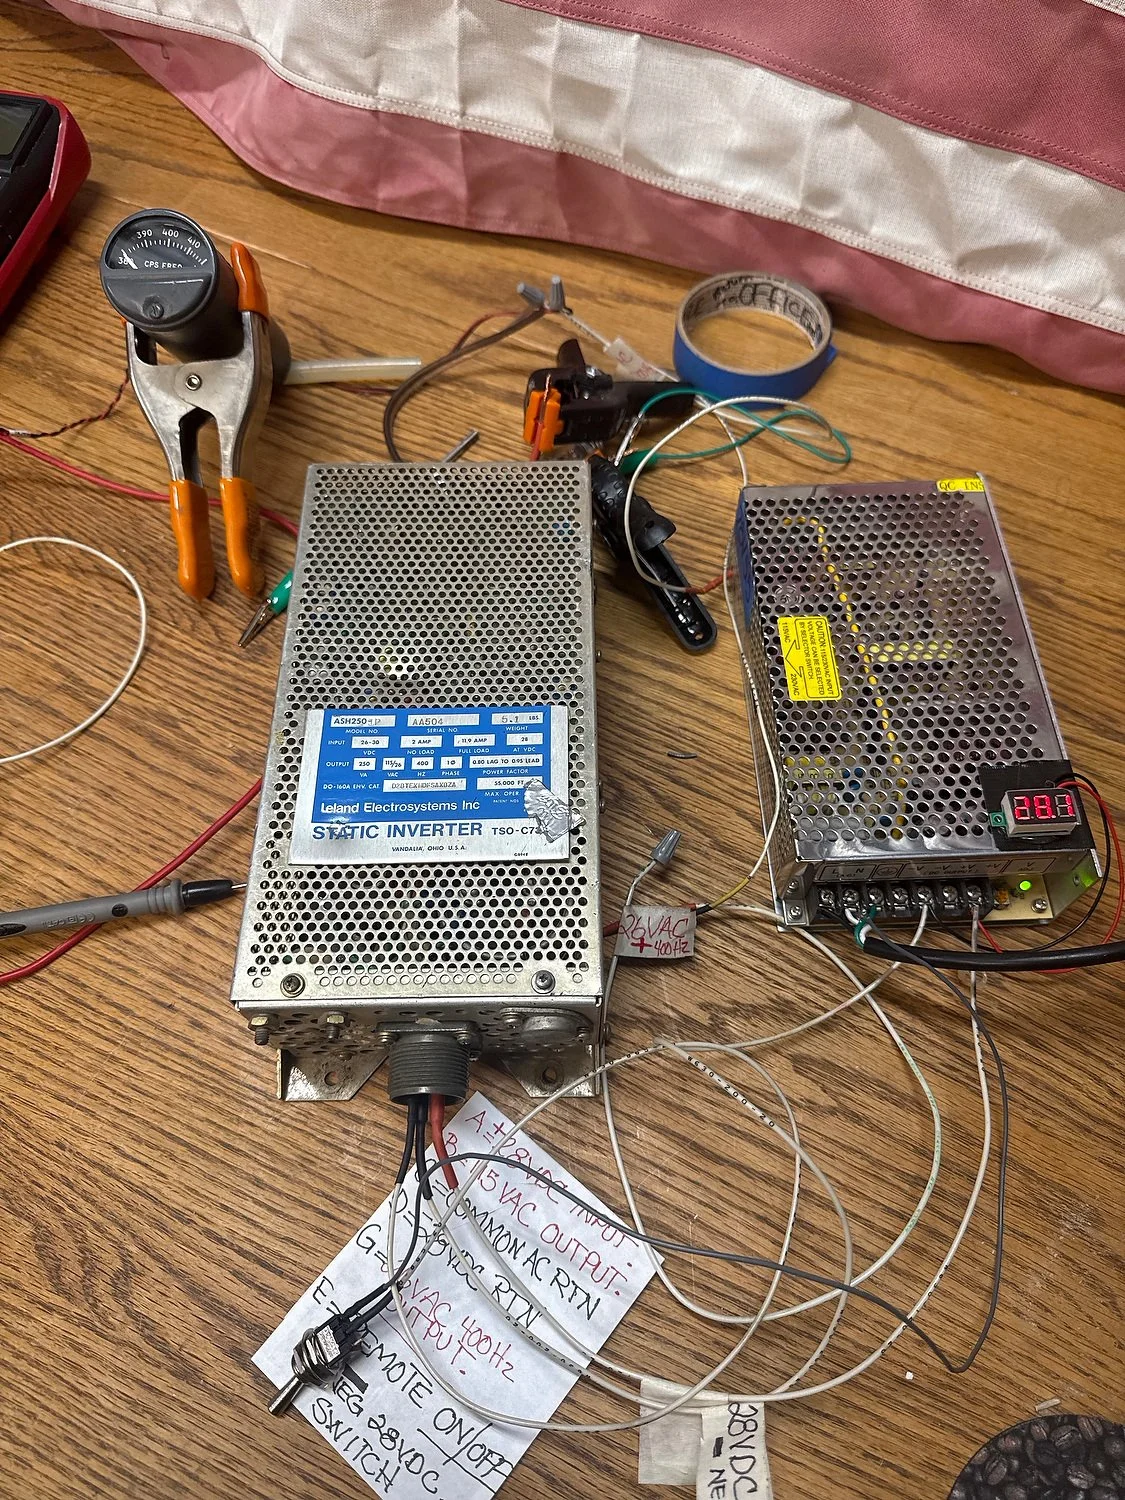


Video Gallery: A selection of videos showcasing the verification and quality assurance of various OEM components to ensure proper operation.
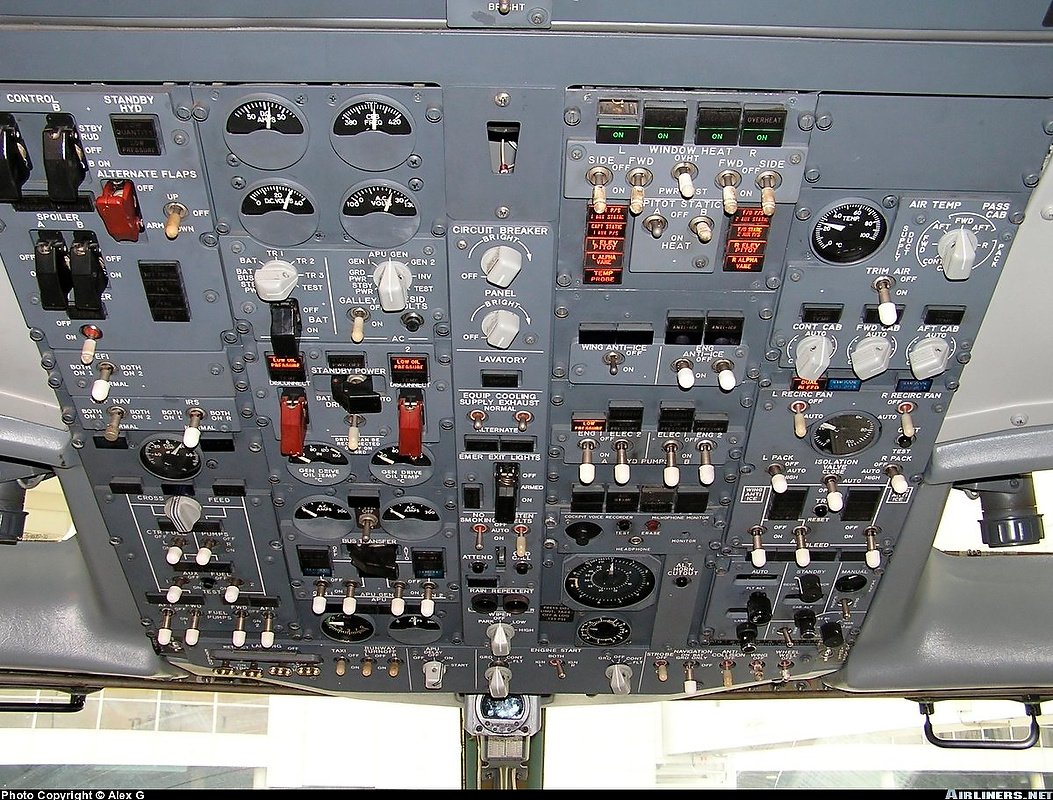
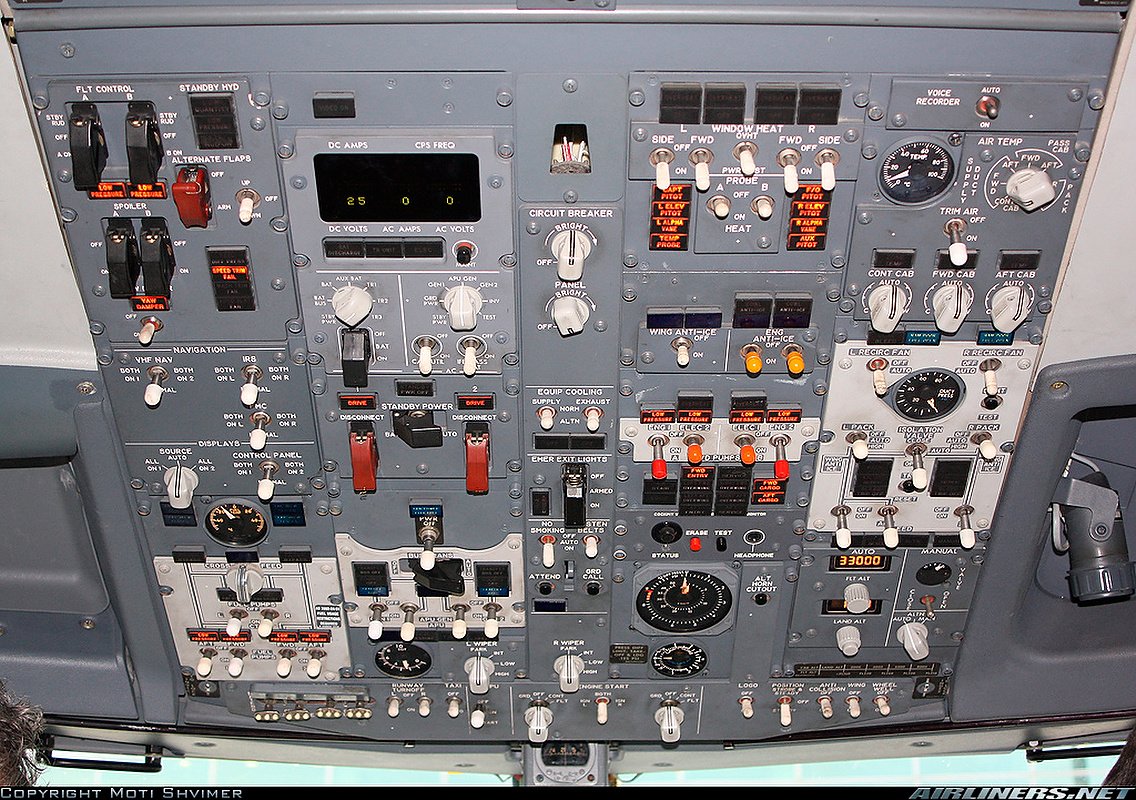
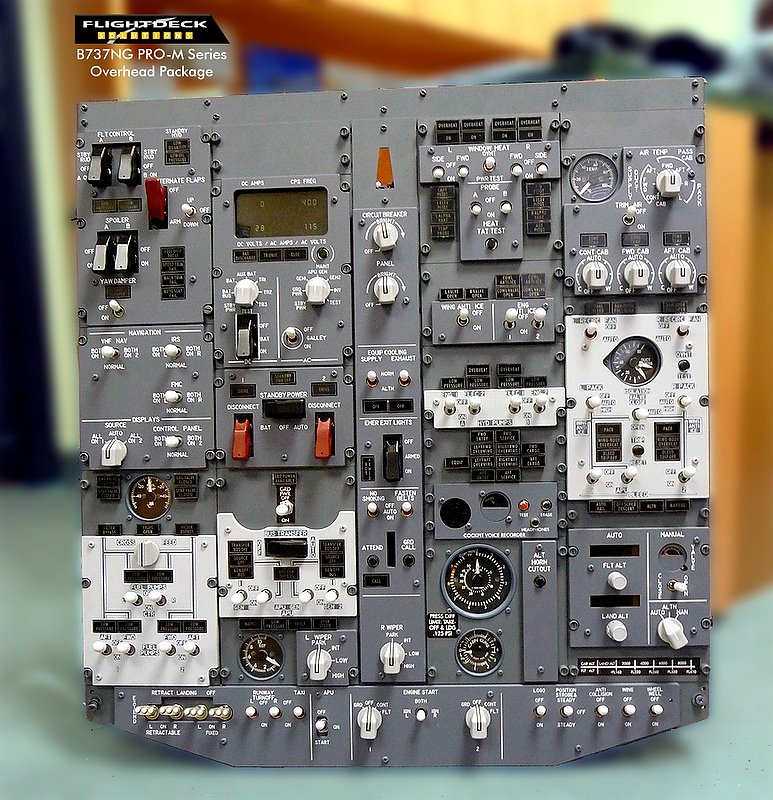
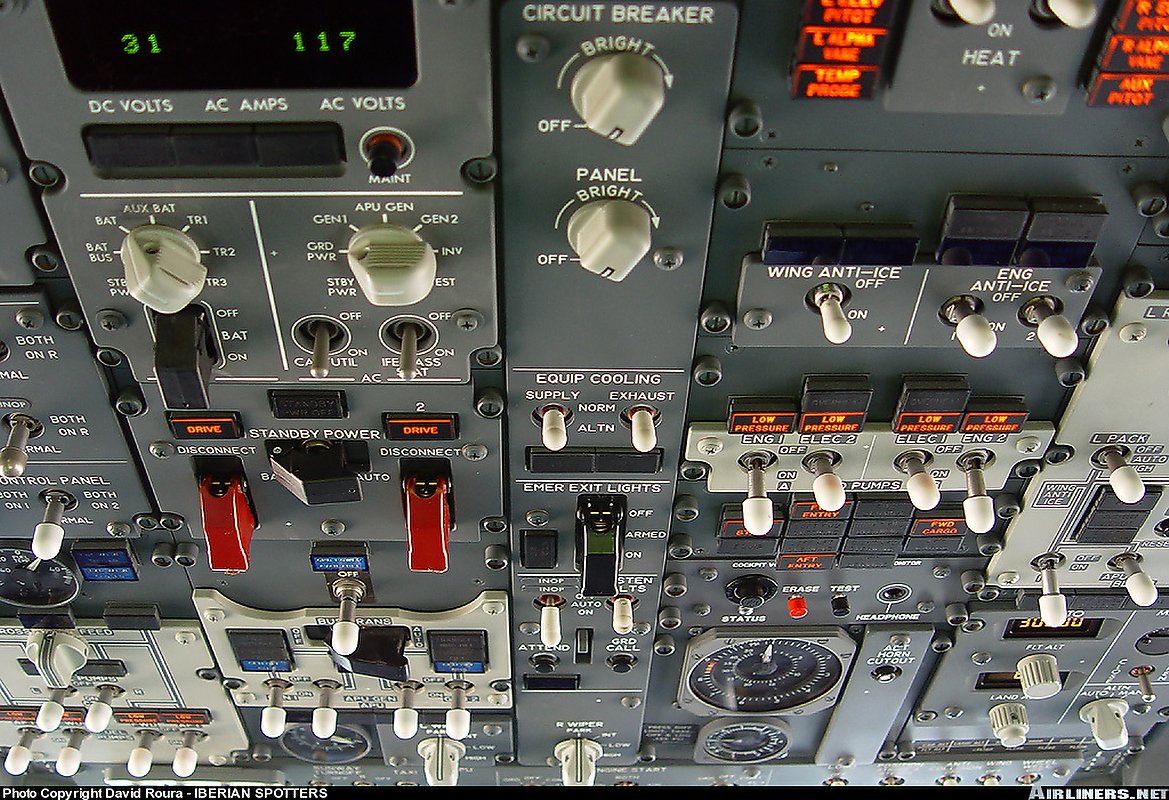
GALLERY 2: A showcase of OEM overhead panels from several Boeing 737 air frames. These images are provided for reference and are copyright to their respective owners.


this page continually being updated


