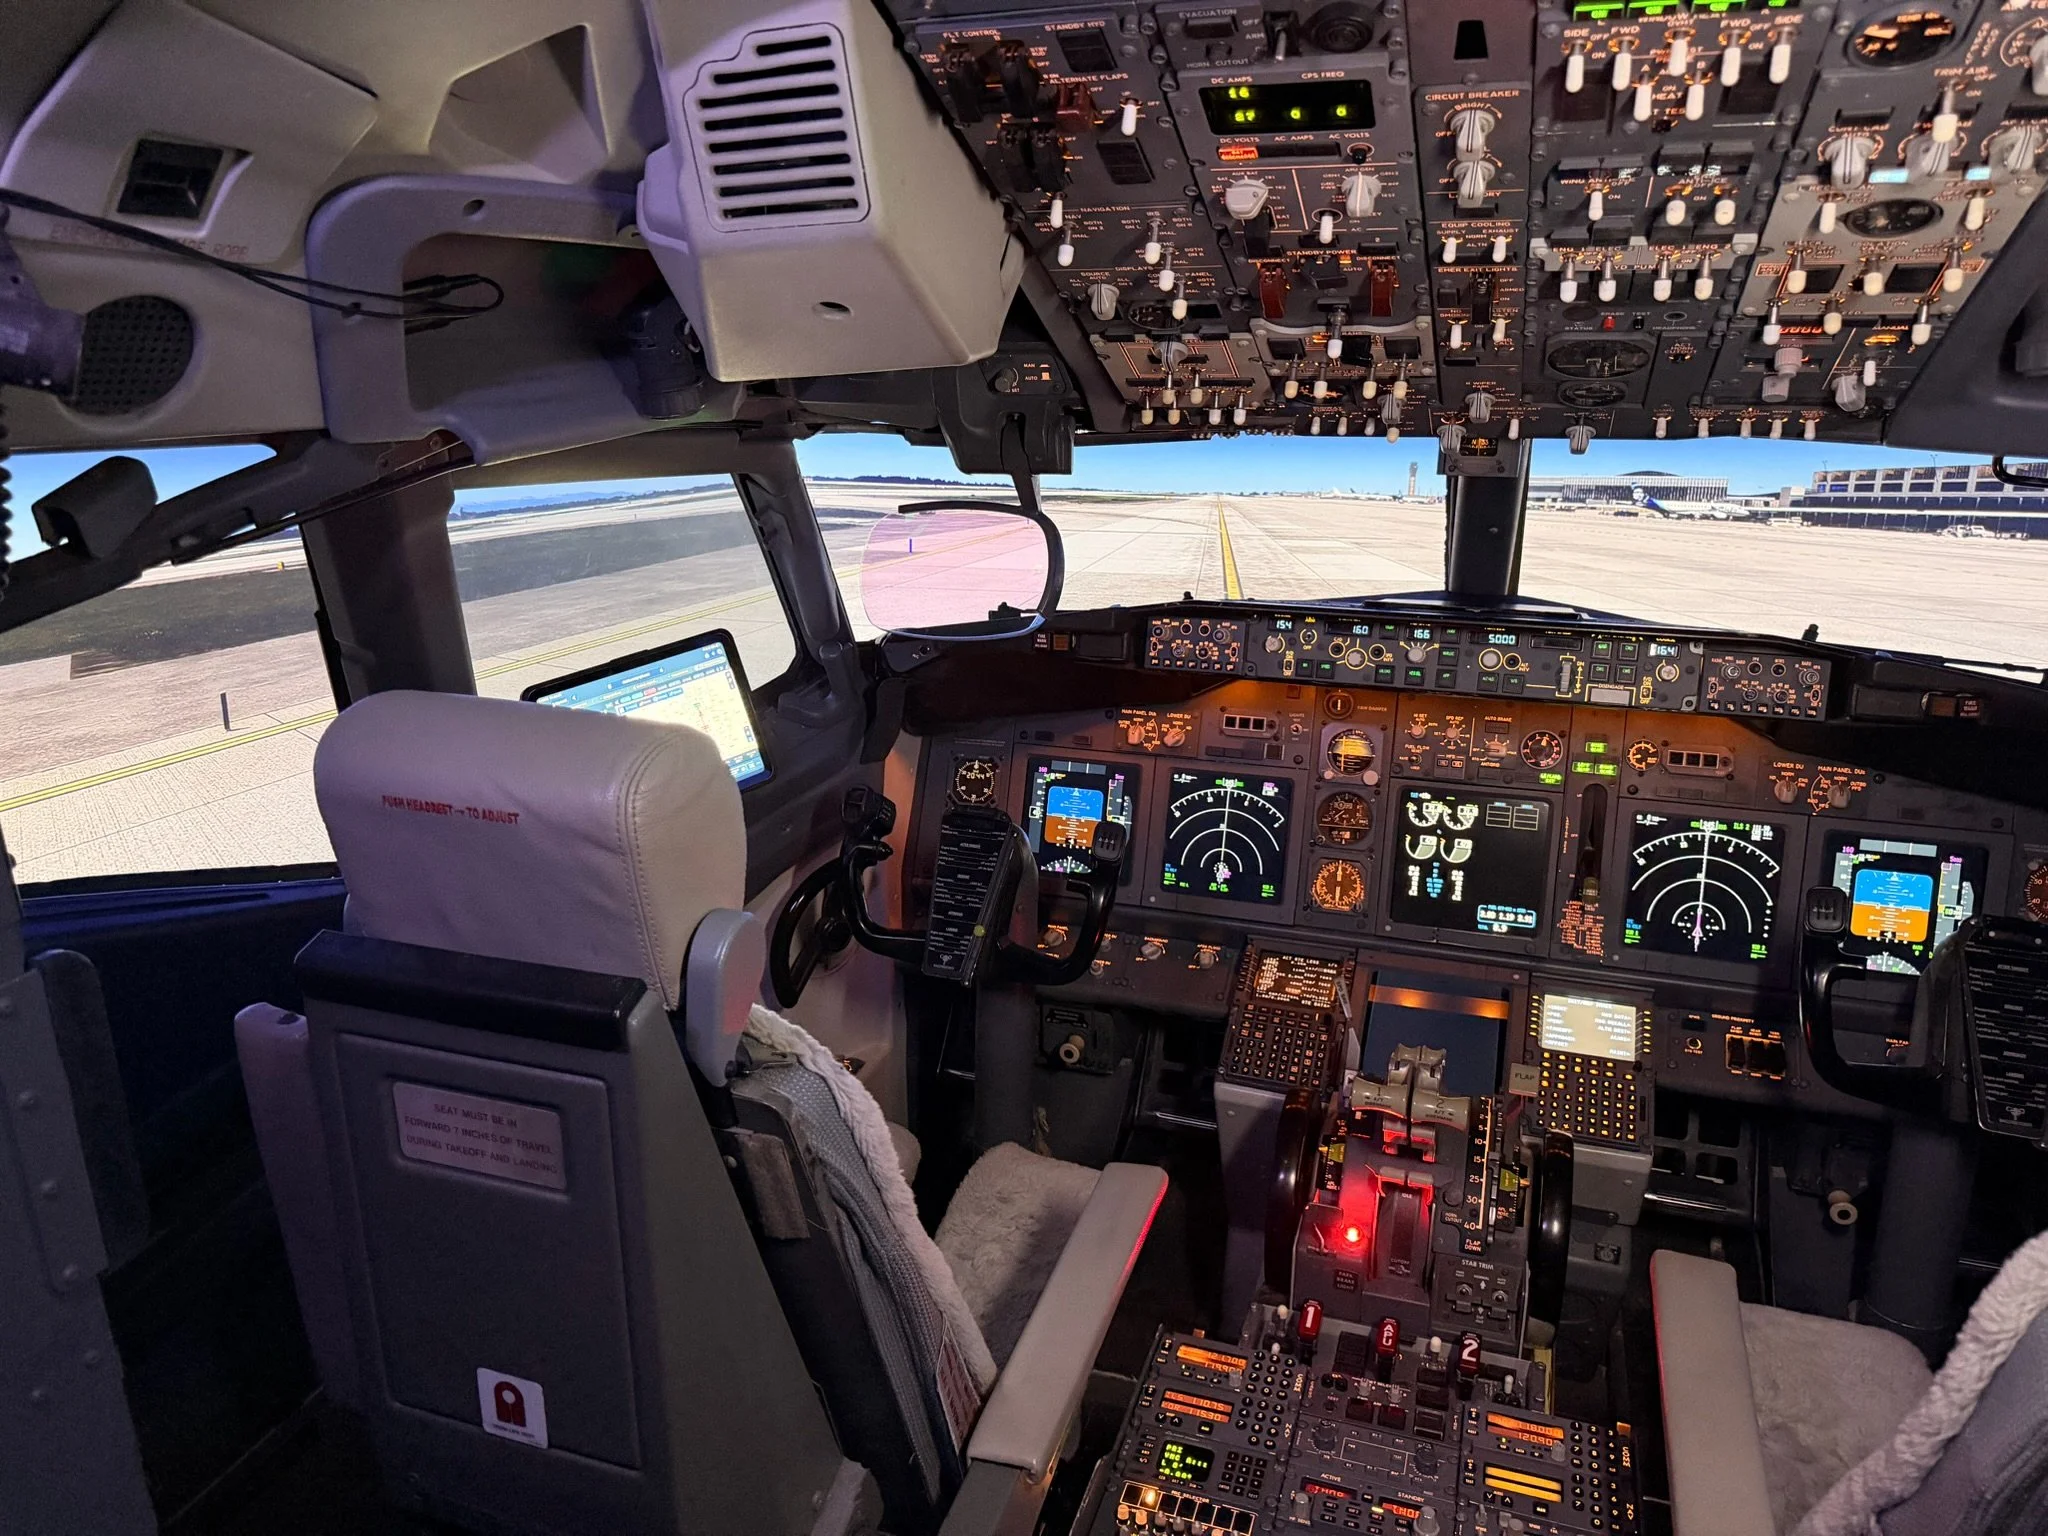
Boeing 737 NG Master Caution System ('six packs') Installed and Operational
/There is no mistaking the clarity and brightness of an OEM unit. This is the Captain-side Master Caution System (MCS)
In my opinion, many simulators fall short when it comes to replicating the Master Caution System (MCS). Most companies offerings are cheesy-looking in appearance, exhibit the incorrect colour hue, and lack the brightness seen is the OEM unit.
This post will examine the use of Master Caution System and explain how the OEM items were fitted to the simulator and interfaced with ProSim737 avionics suite. It will also briefly compare the real unit to the reproduction unit.
Click images for larger view.
Boeing Master Caution System (MCS) - Overview and Use
The Master Caution System (MCS) was developed for the Boeing 737 to ease pilot workload as it was the first Boeing airliner to be produced without a flight engineer. In simple terms the system has been designed to be an attention getter - the brightly illuminated version of a flight engineer’s 'barked' out commands…
The MCS comprises four annunciators (warning buttons) and two System Annunciator Panels (six packs) located on the Main Instrument Panel (MIP) in the glareshield on both the Captain and First Officer sides.
The location of the annunciators and the intensity of illumination is important. If an annunciator should illuminate, the positioning and brightness is such, that there is minimal possibility of a flight crew ignoring the warning. Whilst the warning buttons are duplicated on both sides of the MIP, the annunciation panels provide different 'cautions' for the Captain and First Officer.
Fire Warning and Master Caution annunciators showing The detailed engraving on the legends
Fire Warning (Fire Warn) Annunciator
If a fire is detected in the APU, main gear well, cargo compartment or during a fire warning (or system test) in either engine, the Master Fire Warning annunciator (button) will illuminate RED. The fire bell, and if on the ground the remote APU fire warning horn will also activate.
Depressing the button from either the Captain or First Officer's side with a firm push will extinguish the button’s light and silence the audible fire bell and APU warning horn, in addition to resetting the system for additional warnings. Pushing the fire warning bell cut-out switch on the overheat/fire protection panel (fire suppression module or fire handles) accomplishes the same action.
Master Caution Annunciator
The Master Caution annunciator (button) is coloured AMBER. The button will illuminate when a system annunciator (six pack) has been triggered indicating a fault has been detected within the aircraft systems.
Depressing the button with a solid push (Captain or First Officer side) will extinguish the button’s light and reset the system for additional master caution conditions.
System Annunciator Panel ('six packs')
There are two System Annunciator Panels, one on the Captain side and one on the First Officer side. Each light plate has six different AMBER coloured 'cautions' which are arranged such that the 'cautions' are in the same orientation as the overhead panel. For example, FUEL is bottom left.
Components of the Master Caution System: Two duplicated Fire Warning and Master Caution buttons and the two System Annunciator Panels (six packs). The diagram shows the various cautions that a flight crew can expect to observe (image copyright FCOM). The MCS is identical for all Boeing series airframes 600 through 900 including the Boeing Business Jet (BBJ)
The display annunciations relate a specific aircraft system. The following are displayed on the Captain-side panel: FLT CONT, IRS, FUEL, ELEC, APU and OVHT/DET. The displays for the First officer side panel are: ANTI-ICE, HYD, DOORS, WNG, OVERHEAD and AIR COND.
If a master caution condition exists, the Master Caution light will illuminate AMBER along with the appropriate system annunciator. Likewise, if a caution exists and is displayed on either six pack the Master Caution button will illuminate.
To extinguish the System Annunciator display, the Master Caution button should be firmly depressed.
Self-Test and Recall
The System Annunciators have a self-test and recall function. Firmly pressing and holding either light plate will cause all annunciation lights to display (self-test). To recall the last displayed 'caution', the light plate is pressed once and released. After release the system annunciator will display whatever "caution" was last detected.
There is little argument that the OEM Master Caution System exceeds the quality of reproduction units. This is the MCS from a top shelf manufacturer. Compare this with the OEM counterpart. Reproduction units could be easily improved if they used a number of high intensity LEDS aligned in an array so that the light had better coverage
Reproduction Verses OEM
Broadly speaking, there is a large gap in quality between reproduction MCS units and the OEM version.
For the most part, reproduction annunciators are very easy to depress - a tap of a finger will deactivate a warning or recall a ‘caution’. The legend is printed rather than laser engraved and the colour of the light is often an incorrect colour hue which lacks the brightness of the real unit. The last point is caused by low voltage LEDs which are not bright enough and do not have an adequate throw of light to illuminate all of the legend. Furthermore, reproduction units are for the most part made from plastic, rather than longer lasting aluminium.
This said, some highly priced units do replicate the OEM part very well but they do cost upwards of $450.00 USD (see Fly Engravity).
In contrast, the OEM unit has engraved legends that are very distinct and easy to read, require a firm press to engage, and are very bright. OEM units use 28 Volt bulbs which burn very brightly.
Not Just A Finger Tap - Firmness in Operation
An OEM annunciator requires a bit more force to depress the button in comparison to a reproduction unit. I'm uncertain if this is due to the strength or weakness of the internal spring mechanism or as I've been lead to believe, is a built-in safety feature; thereby minimising the chance of a flight crew accidentally depressing and cancelling an annunciator ‘caution or warning’ with a light tap or brush of the finger or hand.
Classics Verses Next Generation (NG)
Both airframes incorporate the Master Caution System; however, the classics use different display cautions for the system annunciators. I believe there are five 'cautions' on the classic in contrast to six on the NG (600, 700, 800 & 900). The fire and master caution annunciators are identical on all Boeing airframes.
Interfacing and Power Requirements
To interface the unit requires a Phidget 0/16/16 interface card while the power to illuminate the bulbs is from a 28 Volt power supply. A 0/16/16 card provides 16 inputs and 16 outputs which allows complete coverage of all functions remembering some functions duplicated on the Captain and First Officer-side have wires placed into the same input terminal. The duplicated items are the fire and master caution annunciations.
Each of the four annunciators has three terminals. A multimeter set to conductivity or beep mode is used to determine which terminal connects to which button press.
To learn how to use a multimeter, read this article.
The System Annunciator Panel (six pack) is a little more convoluted as it has a recall facility and has different cautions between the Captain and First Officer units. However, with a little diligence it’s possible to work out the terminal and wiring sequence.
Anatomy of a System Annunciator (aka six pack)
Each unit is made up of three parts: the actual annunciator, the light plate (which incorporates the legend), and a rectangular housing that I call the cigarette packet. The housing is attached to the annunciator by two hex screws.
Light plate removed from housing and rear terminals. Note individual pins for specific display cautions and "clam shells" for connection
The light plate has a number of pins that connect with the annunciator base, and on the rear there are eight terminals (lower image) each connecting with a specific terminal.
If you remove the outer casing, a circuit diagram has been stencilled to the unit. It’s trial and error using this diagram to determine the correct pin outs for the terminals, but once known it’s only a matter of connecting the various wires from the terminals to the 0/16/16 card.
Eight terminals. The outer edge of the hex nut can easily be observed on the upper left side of the annunciator
It’s important to note that if removing or loosening the outer cigarette-style housing, a hex screw located at the corner edge of the unit will need to be loosened.
Phidgets 21 Manager
The Phidget 21 Manager is provided by Phidget and can be downloaded from their website. This software will, when a Phidget card is connected, register that card and its distinctive number.
Opening the Manager and then selecting the card number ID tag will allow you to see what inputs and outputs you have wired and assigned to whatever item you have connected. You will also be able to easily test any output.
Configuring in ProSim737
Once the pin outs have been correctly determined, configuring in ProSim737 is very easy. Open the configuration tab and select the indicators menu (tab). Next find the appropriate names (DOORS, ELEC, APU, ANTI-ICE, etc) and in the drop down box assign the correct Phidget card and output number.
Installing to the Glareshield
Main Instrument Panels (MIPS) manufactured by different companies are rarely identical; each MIP has subtle differences – some are easier to install OEM items to than others.
Detail of Master Fire Warning annunciator showing manufacturer name and threaded button with hexagonal attachment nut. different manufacturers produce slightly different shaped bodies
Reproduction annunciators are usually secured to the glareshield by screws; however, OEM parts often require retrofitting to allow the item to be fitted correctly.
In the case of the FDS MIP, a backing plate made from ABS plastic was crafted to fit into the gap where the fire warning and master caution buttons reside; the plate was secured to the glareshield by self-tapping screws.
Two holes were then carefully drilled at the correct distance to allow the circular shaft of each button to be fitted through the plastic. Once the button was sitting proud in the correct position, the screw and nut assembly was tightened against the backing plate.
The annunciators are not designed to sit neatly side by side in the glareshield; they can be twirled to any orientation; therefore, it’s not necessary to be perfect in the alignment of the drill hole – just very close!
Securing the system annunciators to the MIP was slightly more problematic and involved using a spacer between the outside of the housing and the gap in the glareshield. The spacer expands as you push the six pack into position, and it’s a matter of enlarging the spacer to secure the unit in the correct position. This said, the method used is not optimal and a more secure method needs to be developed.
Video (Captain-side only)
A short video demonstrates the brightness of the buttons and display cautions.
The annunciator light plate displayed in the video is not in the best condition; it is common for airlines to place clear tape over the legends to protect them. This did not concern me at the time, as six packs are scarce to find. However, I have since found four buttons in better condition and will soon exchange them.
For those interested, to silence the fire bell in the video, I used the bell cut-out switch on the fire suppression module rather than depressing the Fire Warning Annunciator, which would have accomplished the same task.
737 Master Caution System and six packs

Acronyms and Glossary
Annunciator – A single coloured light or group of lights used as a central indicator of status of equipment or systems in an aircraft. Usually, the annunciator panel includes a main warning lamp or audible signal to draw the attention of operating personnel to the annunciator panel for abnormal events or conditions. To annunciate means to display or to become audible. Annunciators often are called KORRYS (KORRY is the name of a manufacturer).
Cautions – Annunciations from the System Annunciation Panel in amber colour. For example, DOORS, APU and ELEC. An annunciation 'caution' triggers the Master Caution Warning light.
FDS – Flight Deck Solutions
Light Plate - the actual forward portion of the annunciator separated from the rear section and the housing.
Legend – The portion of the light plate that includes the engraved display (for example, ELEC or DOORS)
MCS – Master Caution System incorporating: Fire Warning, Master Caution Warning and two annunciator panels (six packs)
MIP – Main Instrument Panel
OEM – Original Equipment Manufacture (real Boeing part)
Phidget 21 Manager – Configuration software to use a Phidget card
'Six Pack' – Nickname for System Annunciator Panel
System Annunciator Panel (SAP) – Light plate with six 'cautions' and recall facility (NG only). Also known as 'six pack'
Update
UPDATE ON 2015-07-29 13:10 by FLAPS 2 APPROACH
Captain side straight-through cable connector mounted beneath the glare wing. The colour-coded internal wiring of the lumen can be seen.
The white terminal block facilitates connection of the MCS with the Lights Test functionality (Lights Test toggle located on the MIP). To the terminal block, a wire connects directly to a Lights Test Busbar located in the center pedestal. The busbar then connects directly with the OEM lights test toggle switch. The brackets are made from ABS plastic
In June 2015, the wiring design for the simulator was changed, and the annunciators were rewired to facilitate conformity with the wiring of other OEM parts. The Captain and First Officer annunciators were separated and wired directly to a Phidget 0/16/16 card.
To ensure that the wiring was easily identified, wiring for the Master Caution System was color-coded to avoid any confusion with the wires that have been used to wire the AFDS units.
The new wiring design called for each MCS to be independently wired and separated from the other. Each system has the wires budded into a dedicated, colour-coded lumen which is then connected to a serial port connector mounted to a bracket. The bracket is attached to the underside of the glare wing at the rear of the MIP glareshield. The connectors have straight-through cables that snake behind the MIP to mate with their respective connectors on the SMART module.