Adding Liveries to ProSim737 Flight Model
/The livery for the JALTRANSOCEAN Air, which depicts a whale shark is spectacular. Why would you not want to use liveries when some look like this. The whale shark inhabits the waters that this particular airline fly to (southern Japan) (lasta29, Japan Transocean Air, B737-400, JA8992 (18266031709), CC BY 2.0)
Flight simulator enthusiasts enjoy flying the livery of their choice, whether it be a cargo carrier such as FedEX, or a livery from one of the many passenger airlines that fly the Boeing 737 airframe.
Airlines have unique liveries that identify the carrier. Often the design is specific to the country or to a particular motif unique to the airlines. For example, QANTAS depicts a red kangaroo on its tail and Aeroflot always depicts the Russian flag on its tail wing. Some liveries relate to airline branding, others can be nationalistic (those carrying flags on their tail wings), and others can be just for fun - such as Taiwanese airline's Eva Air 'Hello Kitty' livery. Wikipedia has an interesting list of airlines that have liveries that relate floral emblems, animals, flags and the like.
Some software companies, for example PMDG, have developed livery add-ons that can be installed by a self-extraditable .exe file; it’s only a matter of clicking the .exe file and following the prompts, and the information, textures and changes are automatically installed behind the scenes by the software.
The ProSim737 flight model (developed by ProSim-AR) does not at the time of writing provide a self-executable file for add-on liveries; users must install liveries manually. Thankfully, the steps to install a livery are generic, and have been more or less the same since FS9 and FSX.
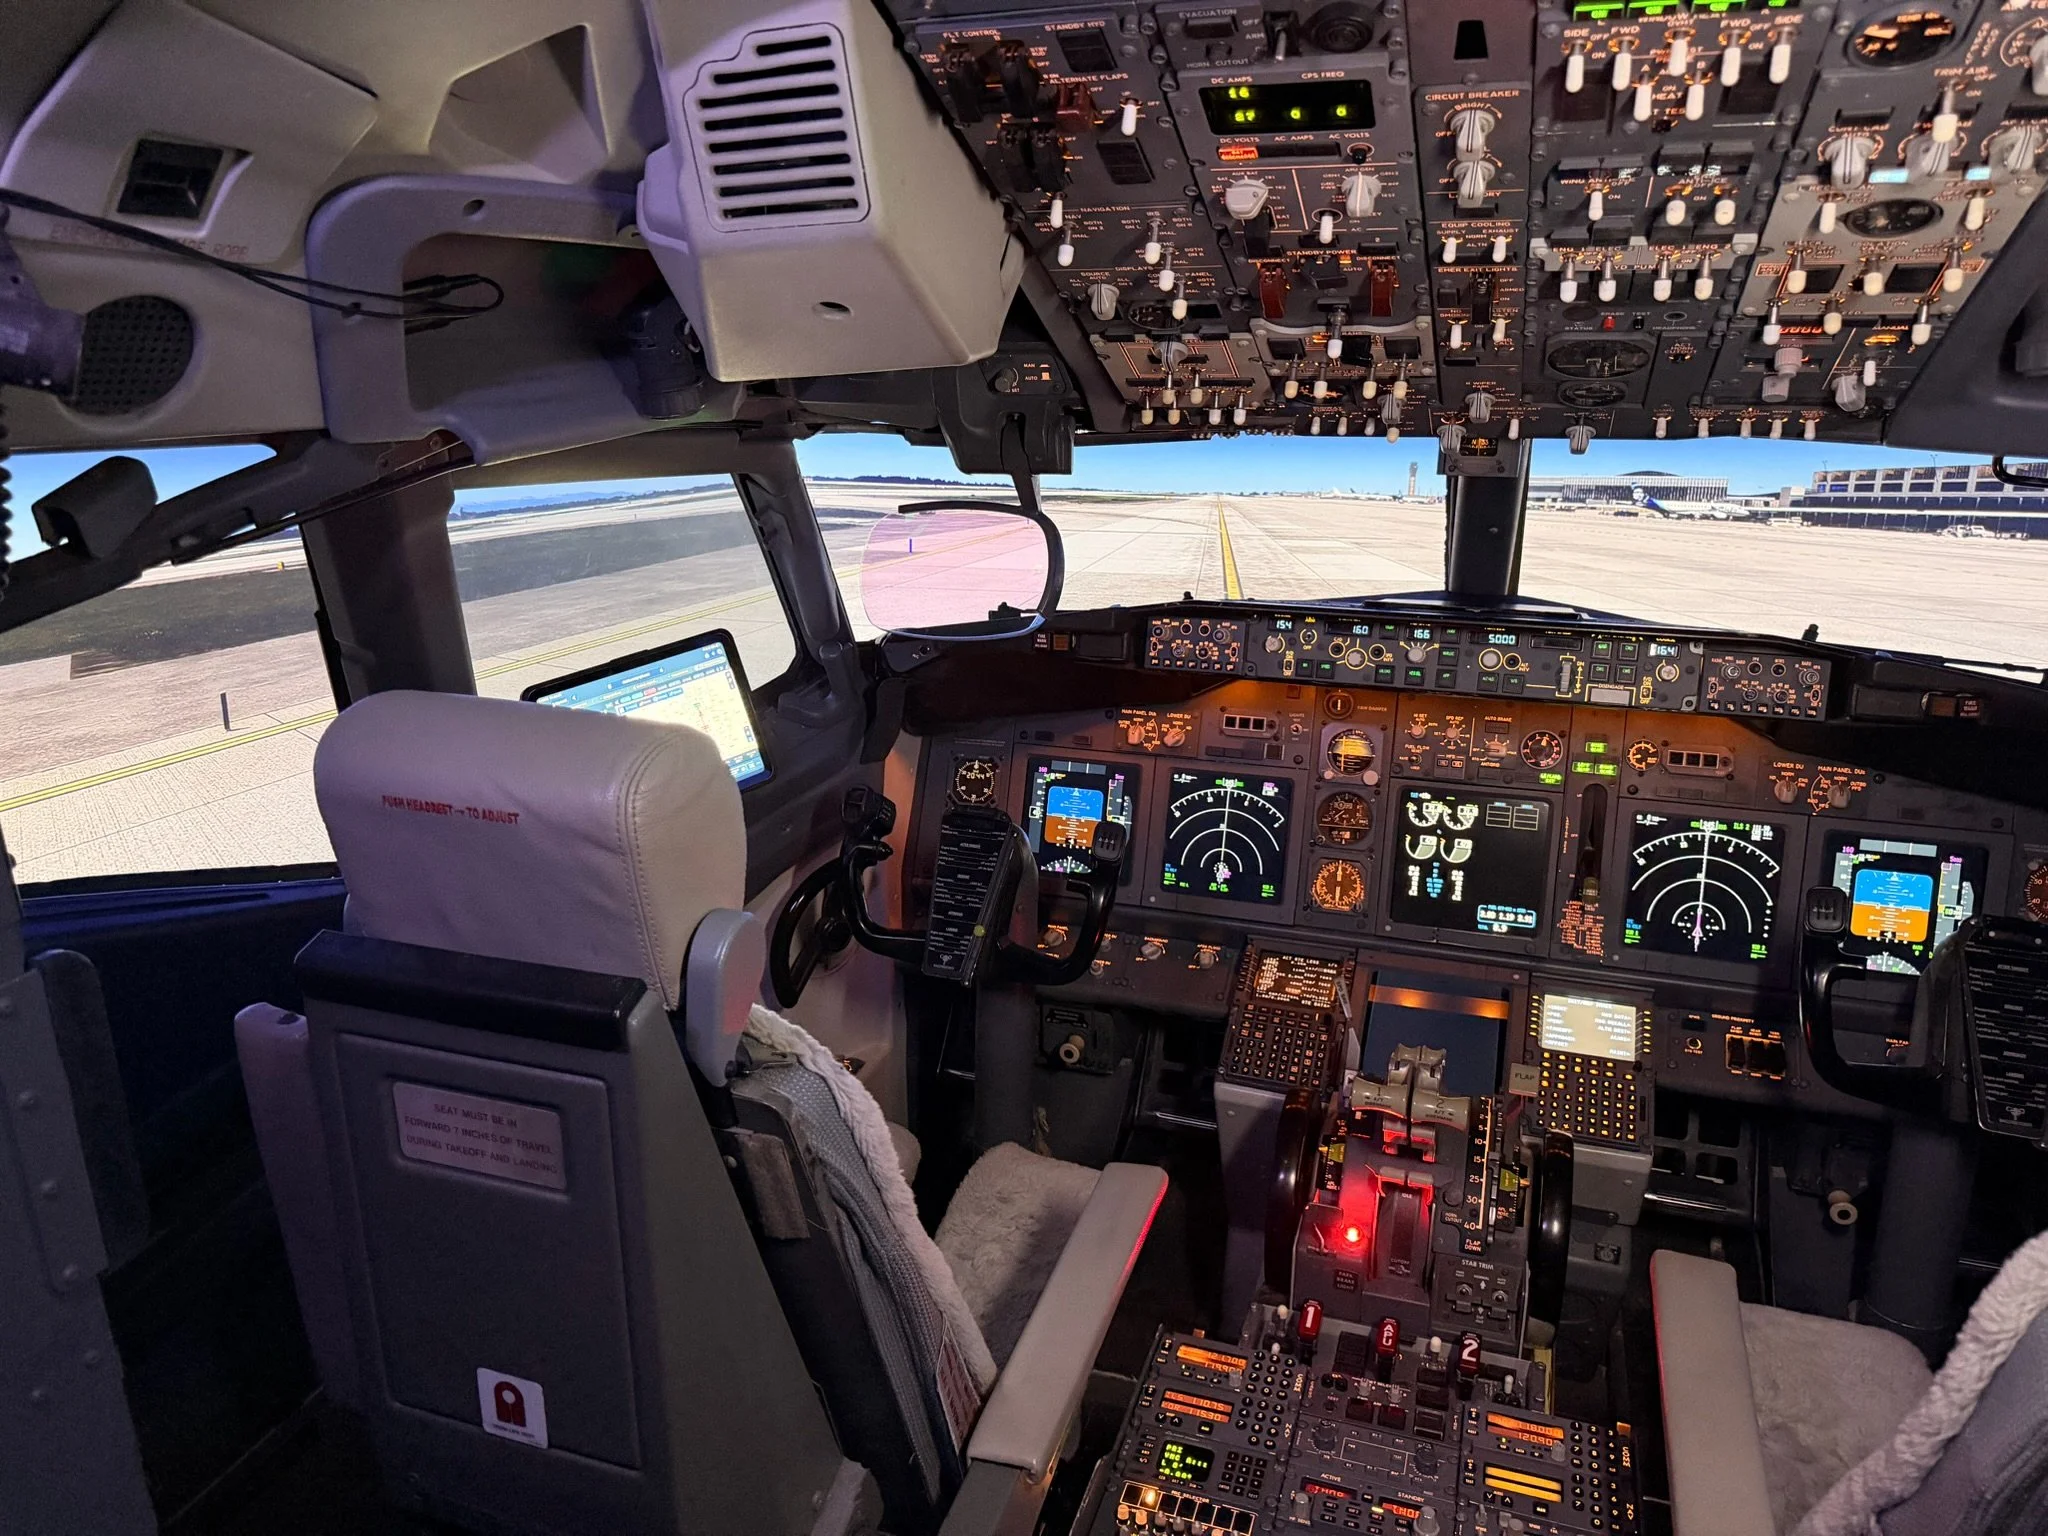
This article will primarily address how to install an aircraft livery to the main aircraft folder in ProSim737 using Prepar3D (P3D).
The process is very similar in MSFS-2020, however, a with a few extra steps will need to be taken (see later in article).
Important Points:
As of March 2020 there are a several different versions of the ProSim737 flight model, each generating a different folder name and a slightly different naming profile in the aircraft section in the aircraft.cfg.
Take note that liveries used in Version 2 visual models are not compatible with the Version 3 visual model. Check the livery information to ensure you are using a compatible livery for the flight model being used.
Note that older liveries use a different method to create the textures (not PBR) and will display with slightly less detail.
Back-up
Before proceeding with any amendment to the aircraft folder, make a backup of the ProSim737 aircraft folder BEFORE making changes. It’s also wise to copy the default aircraft configuration file. This can easily be done by right-clicking the file and saving as a copy. The copy can reside in the same folder, as it will have the word ‘copy’ annotated to the file name.
It’s good policy to do this just in case a problem is experienced. If a problem presents itself, it’s an easy matter of deleting the aircraft folder and replacing it with the original, or replacing the aircraft configuration file.
The Basics
We are interested in three components:
(i) The ProSim737 default aircraft folder;
(ii) The add-on livery texture folder; and,
(iii) The aircraft configuration file (aircraft.cfg).
Note that the default ProSim737 aircraft is installed via a self-executable file that installs the default 738 aircraft to the correct folder.
File and Folder Structure
The ProSim737 aircraft software installs the aircraft to the following folder: D://Documents/Prepar3D V4 Add Ons/ProSim-AR/Simobjects/Airplanes/ProSim737-800-2018 Professional.
Important Points:
D:// may differ. It depends upon what drive you installed ProSim-AR and whatever flight simulator platform you use.
The aircraft folder name may be different as this relates to what ProSim-AR call their newer released flight models).
One interesting livery is British Airways (BA). All BA aircraft depict the Union Jack on their tail. In the 18th Century, England had colonies throughout the world and it was often stated that ‘the sun never set on the Union Jack’. With the loss of her colonies the sun definitely now sets on the Union Jack, however, it probably never sets on British Airways as there is always a BA aircraft somewhere in the world (Andrew Thomas from Shrewsbury, UK, G-DOCT Boeing 737-436 (cn 25853 2409) British Airways. (7610860068), CC BY-SA 2.0)
This folder falls outside the main P3D folder architecture, however, various files are automatically linked to P3D so they aircraft can be flown and seen in the game. In my setup I have two drives, which is why the Prepar3D folder is located on D Drive rather than C Drive. Your drive may feature a different drive letter.
Livery Texture Folder
An add-on livery is usually downloaded from the Internet in zip file format. Once the zip file is extracted, you will see a number of folders and files. At the very least there will be a texture folder, in which is stored the various bitmaps and images necessary to amend the default aircraft with that livery. There may also be a thumbnail image of the livery and a ‘read_me’ file.
The ‘read_me’ file is important, as this often will contain the correct edits for the livery that need to be added to the aircraft configuration file.
Non-mipped Images
The developer of the livery may also have included additional folders such as non-mipped images. Opening this folder will reveal an alternate texture folder.
Textures developed from non-mipped images are displayed differently by P3D and often provide slightly better detail that standard textures. This may be advantageous if you often zoom into the aircraft to view close-up detail. There are many variables that affect the appearance of non-mipped textures, including graphic card settings, computer specifications, and P3D settings. For most users, the use of non-mipped textures in not necessary. However, ‘horses for courses’, so test and choose whatever is appropriate to your circumstances.
Mip-Mapping
Mip mapping can be a confusing topic (the naming itself causing confusion).
Basically, textures are created using one of two methods which generate textures that have been either mip-mapped or non mip-mapped.
With regard to the ProSim aircraft, the mip-mapped textures will always give you better performance, but less visible detail, whereas non mip-mapped textures will be sharper, crisper but will require more resources from your graphics processing unit (GPU).
Important P3D Settings
If using P3D and wanting to take full advantage of mip mapping (mip-maps), it is important to understand that mip-map textures are defined by the slider settings in P3D.
The Texture Resolution setting in P3D has the most impact on how mip-map textures are displayed. The maximum slider value is 4096x4096. However, if the setting is set to a lower value (for example, 2048x2048), the highest resolution displayed will be that value (2048x2048). If the aircraft texture us made from bitmaps that are 4096x4096, the 2048 setting will not enable the full resolution of the original bitmap to be seen; you will only see a second-order textures (textures at a lower resolution with less detail).
The same principle relates to the Texture Resolution slider setting that controls the vector-based scenery which simply regulates the largest mip-map to be called and displayed.
Another often forgotten variable, that can impact on both mip-maps and non mip-maps is the overall resolution the screen(s) being used. A higher resolution screen will always display a better quality image irrespective of the mip-maps used.
Concerning frames rates (FPS). Mip mapping has very little effect on frame rates. However, using mip-maps will definitely ease and free up resources on the GPU. Interestingly, this is in contrast to sceneries which can decrease frame rates considerably dependent upon the mip-mapping that has been used to create the scenery textures. This is because the mapping affects a large area, whereby the mapping in the aircraft is minimal in comparison.
The Anti-liaising settings (AA settings) used in P3D can also have a marginal affect of how mip and non mip-mapped textures display.
Aircraft Configuration File
The aircraft configuration file is important as it contains, amongst other things, the necessary instructions to display whatever aircraft has been selected from the P3D aircraft list.
The configuration file is set out logically with higher-level entries (top of page) identifying the various liveries that have been included in the main ProSim737 aircraft folder. By default, the ProSim737 flight model installs a number of liveries to the aircraft folder and automatically amends the entries in the configuration file.
In the example below, taken from the aircraft configuration file, the text that relates specifically to the aircraft livery. Bolded sections need to be edited for each livery. Note that the first example relates to Visual Flight Model 1.55 and the second example to Visual Flight Model 3.42 (different folder naming).
[fltsim.XX]
title=Prosim_AR_737_800_PRO_2018_Virgin_Australia
sim=Prosim738_Pro
model=
panel=
sound=
//sound=cockpit
texture=VIRGIN
atc_heavy=0
atc_flight_number=209
atc_airline=Velocity
atc_model=737-800
atc_parking_types=GATE,RAMP
atc_parking_codes=VOZ
ui_manufacturer="Prosim_AR"
ui_createdby="ProSim-AR"
ui_type="737-800"
ui_variation="PROSIM_AR_Pro_2018_Virgin_Australia"
ui_typerole="Commercial Airliner"
atc_id=PS209
visual_damage=0
----------------------------------------
[fltsim.XX]
title=ProsimB738 PBR 2020 - Japan Airlines
sim=Prosim738_Pro
model=
panel=
sound=
texture=Japan Airlines
atc_heavy=0
atc_flight_number=887
atc_airline=ALL NIPPON
atc_model=737-800
atc_parking_types=GATE,RAMP
atc_parking_codes=JAL
ui_manufacturer="Prosim_AR"
ui_createdby="ProSim-AR"
ui_type="737-800"
ui_variation="ProsimB738 2020 Japan Airlines Livery"
ui_typerole="Commercial Airliner"
atc_id=PS209
visual_damage=0
Installing Textures to ProSim737 Aircraft
A: Copy the aircraft texture folder for the livery (from the download) and paste the folder into the ProSim737-800-2018 Professional folder located in simobjects/airplanes.
B: Open the aircraft configuration file (for editing). This file is located in the main aircraft folder. Make sure you back-up this file or copy it BEFORE making changes. This will enable to you to revert to the original file if a mistake is made.
C: Copy the aircraft details from the downloaded 'read_me' file and add them to the configuration file. The correct place to add the details is below the last aircraft listed. If the ‘read_me’ file does not have this information, then it will be necessary to add the information yourself.
By far the easiest method to do this is to copy/paste the last aircraft listing, and then re-name the segments accordingly. In the example above, I have bolded the sections that need to be edited.
The most important edits are the texture= ?, title= ? and ui_variation= ?. These three entries directly influence whether you will see the livery in the P3D aircraft list and in the game. It’s very important that the texture= ? be the exact name of the texture file in the aircraft folder; your livery will not be able to be seen if this is not done. In some instances, the name of the texture folder may be an airline’s name (texture.virgin) or a three letter aircraft code such as texture.ual (United Airlines).
D: The FLTSIM number also needs to be edited to reflect the correct sequence order in the configuration file. Make sure each aircraft has a sequential number. If you have three aircraft liveries, the files will be [fltsim.01], [fltsim.02], [fltsim.03]. Be especially vigilant to copy all brackets, equal signs and commas (syntax) as these are necessary to see your aircraft in P3D.
Problems and Troubleshooting
One indication that there is a problem with a livery is when the aircraft livery in question is coloured hot pink or has a checkered design. This can be caused by an incorrectly named texture file. At other times, the livery may not be visible in the P3D aircraft folder.
By far the easiest way to troubleshoot a problem, such as the aircraft not being visible in the P3D aircraft folder, is to delete the aircraft configuration file and reinstall the original backed up file. Then redo your work ensuring there are no mistakes. If your mistakes relate to the actual texture folders, then delete the complete folder and reinstall the original backed up folder and start again. Most problems relate to typo errors such as forgetting to include the correct syntax (punctuation marks).
If using MSFS-2020 and the livery is not visible in the aircraft folder, the most likely reason is failure to update the layout.json file (see later)/
Screen capture showing the P3D aircraft selection folder. Note the ‘show only favourites’ star, which when selected, will cause that livery to be displayed in the list at the expense of liveries not selected by the star. Also, note the additional identifier in the vehicle type column (737-800 CARGO)
Setting Up the P3D Aircraft Folder for Ease of Use (favourites and type)
When you open P3D to select an aircraft, a graphical user interface (GUI) screen displays the aircraft and liveries that are installed to the aircraft folder.
This list can be long and unwieldy to navigate with the mouse, not to mention time consuming - you want to be able to identify your 738 liveries quickly and not wade through several versions of the aircraft you do not use. To prune the number of aircraft you need to sort through, you can delete the unwanted aircraft from the aircraft folder, however, an easier method is to use the favourite functionality.
Select the favourite star for those aircraft/liveries you want to be see displayed in the aircraft list. Once an aircraft /livery has been allocated as a favourite, it will always be displayed in the list, while those aircraft not ‘starred’ will not be displayed.
If you have both cargo and passenger aircraft (or military versions of the B737), you may also want to segregate these aircraft by type. This makes it easier to find a particular aircraft type. This can easily be done by editing the title= ? and the ui_type= ? for that aircraft in the aircraft configuration file.
In the example below the aircraft type has been edited to reflect a cargo aircraft (Aloha Air Cargo). Editing the title is obvious as this changes the name in the P3D aircraft list. However, editing the ui_type= ? enables you to change the aircraft type. In the example below, I have included the word CARGO to differentiate cargo liveries from passenger liveries. I have bolded the entries that need altering.
[fltsim.XX]
title=Prosim_AR_737_800_PRO_2018_Aloha_Air_Cargo
sim=Prosim738_Pro
model=
panel=
sound=
//sound=cockpit
texture=AAH
atc_heavy=0
atc_flight_number=211
atc_airline=Aloha
atc_model=737-800
atc_parking_types=GATE,RAMP
atc_parking_codes=AF
ui_manufacturer="Prosim_AR 2018"
ui_createdby="ProSim-AR"
ui_type="737-800 CARGO"
ui_variation="PROSIM_AR_Pro_2018_Aloha_Air_Cargo"
ui_typerole="Commercial Airliner"
atc_id=PS211
visual_damage=0
MSFS-2020
In general installing liveries in MSFS-2020 is as described above, however, there is one very important step that must be done to ensure the livery is visible - update the layout.json file after the livery has been installed, and then restart the simulator.
Layout.json File
MSFS uses layout.json files to record various changes made to the simulator. Following any change to a file, the layout.json file must be updated. Failure to do so will result in the changes not being implemented. The layout.json file is located in the ProSim737 flight model folder (Aircraft\prosim-B738-v2023).
If you open the layout.json file (use any text editor such as notepad) you will observe that there are entries that refer to the default sound. These entries must be edited to reflect the name of the audio files you have added. As you can image, this process can be quite a chore, not too mention there is a strong possibility of making a typographical error. Fortunately, there is a utility, called a generator file, that can be used to automate this process.
MSFS Layout Generator.exe File
The Layout Generator.exe file is a very handy utility that makes updating any layout.json file very easy. The utility is a standalone program that can reside anywhere on your computer. I keep a copy on my desktop.
After downloading the MSFS Layout Generator from the developer, open the file folder and you will see a file called Generator.exe. Click and drag the layout.json file directly over the Layout Generator.exe icon. As you drop the file onto the layout generator a black-coloured pop-up screen will be briefly displayed. That’s it – the layout.json file will now be updated to reflect any changes.
Important Points:
The layout.json file will need to be updated whenever a livery is added.
The layout.json file will only update after MSFS has been restarted.
Livery List
Liveries for the Version 3 flight model can be downloaded from the ProSim-AR forum.
I also have a small collection of ProSim737 Version 3 liveries in the file download section.
Final Call
Adding various liveries can be fun and adds a element of realism, especially if you fly in different regions and enjoy looking at the aircraft, or are a videographer that creates flight simulator videos. Paring down the aircraft list in P3D to display only the aircraft and liveries you want to see, and then segregating aircraft based on type, can save considerable time and mouse use.
The livery for JAL Transocean Air – another viewpoint. Japan is one of my favourite regions to fly in.
Updated March 2020
Updated August 2024 (added MSFS-2020 section)
Toshi Aoki - JP Spotters, Boeing 737-4Q3, Japan TransOcean Air - JTA AN2228487, CC BY-SA 3.0