Boeing Nut Cracker - Loosening Stab Trim Wheel Nuts
/Boeing Nut Cracker - two raised lugs fit firmly into their opposite number to enable the stab trim wheel nut to be easily loosened or tightened
Any industry has tools that have been designed for a specific task – whether it is for automotive, construction or aviation.
Specialist tools enable a particular job to be accomplished quickly and effectively with the minimum of fuss. More importantly, damage to a part is less likely when using a specialised tool.
A person who makes tools usually has a trade certificate and those who are gifted in this area are called boiler makers; a gifted boiler maker can literally make anything.
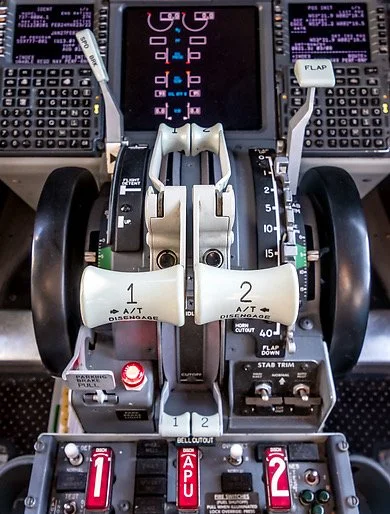
Captain-side stab trim wheel nut showing recessed indentations on the nut. The screwed rod (tip showing in photograph) is ~40 cm in length and is inserted through one of the trim wheels, through the throttle quadrant, and is then secured by the unique nut on the opposite trim wheel
Stab Trim Wheel Nut
The stab trim wheels have two nuts that hold the trim wheels in place - one on each side of the throttle quadrant. When attempting to remove the trim wheel nut it is a good idea to use a tool, as the nut can be easily damaged (burred).
The nut has two shallow indentations each side of it to enable it to be firmly tightened.
Often the nut is over-tightened by the continual rotation of the trim wheels, or by an overzealous technician applying more force than they should. If the nut has been over tightened, removing the trim wheels can be difficult.
A common man’s blade screwdriver can be used to loosen the nut, by applying the blade to one side of the two indentations, grasping the trim wheel firmly and turning the driver. But, do not be surprised if the recessed indents are damaged, the screwdriver slips and scratches something, or worse you end up with the blade of the screwdriver through your hand!
Boeing Specialised Tool
Boeing technicians use a specialised tool to loosen and tighten the nuts that hold the trim wheels in place – no doubt it also has a special name (?). This tool, like all specialist tools is expensive, and more so because it is used in the aviation industry.
I explained the problem to a friend of mine who like a ‘genie in a bottle’, designed and made this small tool for me. It is not fancy or technical, but it does the job it has been designed to do especially well – every time.
The tool is made from aluminium with two raised indentations that fit into the two recessed indentations on the trim wheel nut. A simple shaft placed through a drilled hole in the stem of the tool enables the user to apply enough leverage to 'crack' all but the most resistant of trim wheel nuts.
The heavy duty cog wheel that the trim wheels are secured to. When removing the trim wheels it is very important not to dislodge the cog as the bearings on the inner side of the cog will fall out of alignment
Caution - Removing the Trim Wheels from the Main Shaft
Whenever the trim wheels have to be removed from the throttle quadrant, it is very important not to dislodge the cog by pushing or pulling the shaft through the throttle unit. This is relatively easy to do as often the trim wheels adhere to the cog.
Attached to the cog (inside the throttle unit) are several bearings, which if dislodged, will fall out of alignment. The bearings are important to the correct functioning of the trim wheels and it is very difficult, if not impossible, to reinstall the bearings after they have fallen out of place.
When removing the trim wheels, carefully 'jiggle' the trim wheel until it works its way loose of the cog - never forcefully pull the trim wheel outwards as the cog and shaft may come out of the throttle unit, allowing the bearings to fall out of alignment. Furthermore, be mindful that when you remove one of the trim wheels the other may rotate forward or backwards due to centrifugal force.
Before replacing the trim wheels, to help avoid the wheel from sticking to the shaft and cog, apply an amount of grease to the cog teeth.

Update
on 2016-05-26 00:01 by FLAPS 2 APPROACH
This tool has now been replaced with a new design with better engineering. To read about the new tool: Trim Wheel Nut Tool - New Design.