VNAV 'Gotchas' - Avoiding Unwanted Level-Offs

RAAF 737-800 Wedgetail transitioning a STAR into YSSY (Sydney Australia)

One aspect of using VNAV during published instrument departures, arrivals, and approaches is that it can cause unnecessary level-offs. 

These level-offs can cause engines to spool needlessly, increase fuel cost and stagger a Continuous Descent Final Approach (CDFA) such as when executing  an RNAV approach. 

It is not only domestic airliners that must meet altitude constraints; military aircraft also  must meet the same requirements when landing at a non-military airport (click to enlarge).  Image is copyright xairforces.net.  For those interested in flying the Wedgetail, there is a model available for ProSim-AR users on their forum page.

To avoid this, and ensure that minimum altitude constraints are met, two techniques can be used.

METHOD 1Constraints Are Not Closely Spaced.

This technique is normally used when waypoints with altitude constraints are not closely spaced (in other words, there is a moderate distance between altitude constraints).

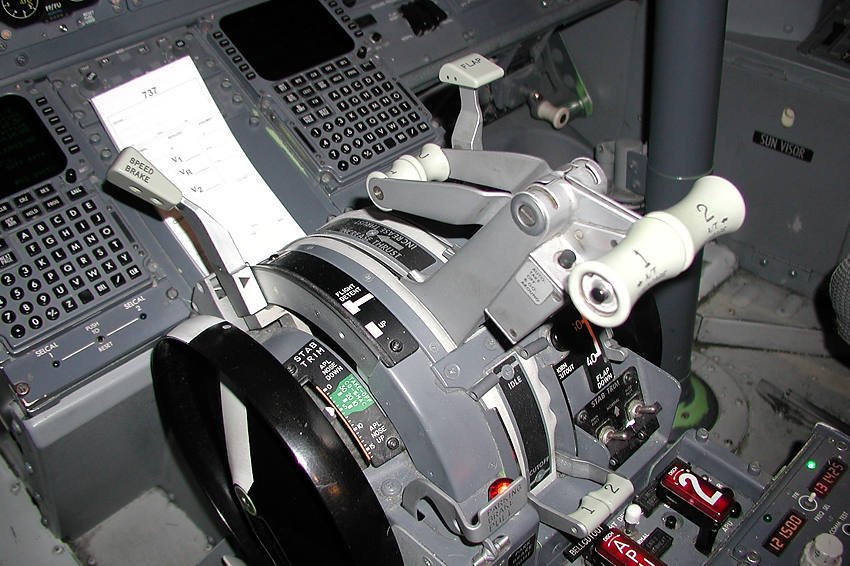
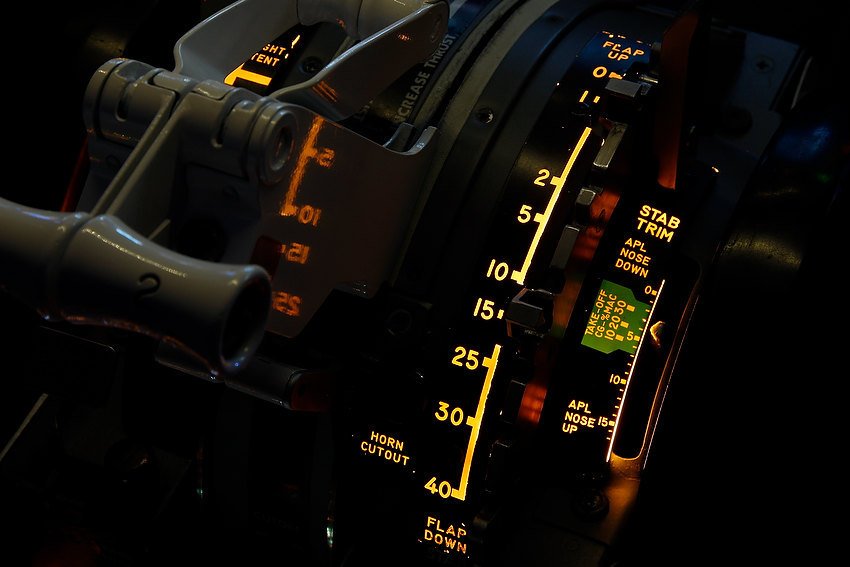
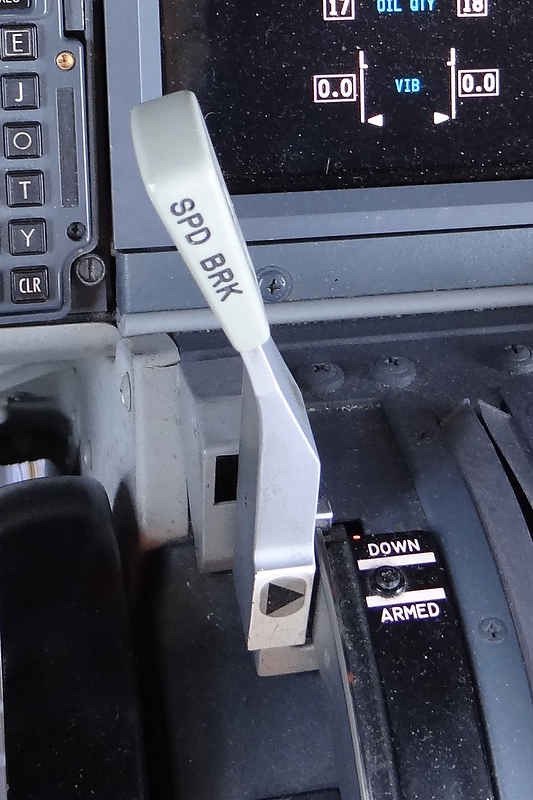
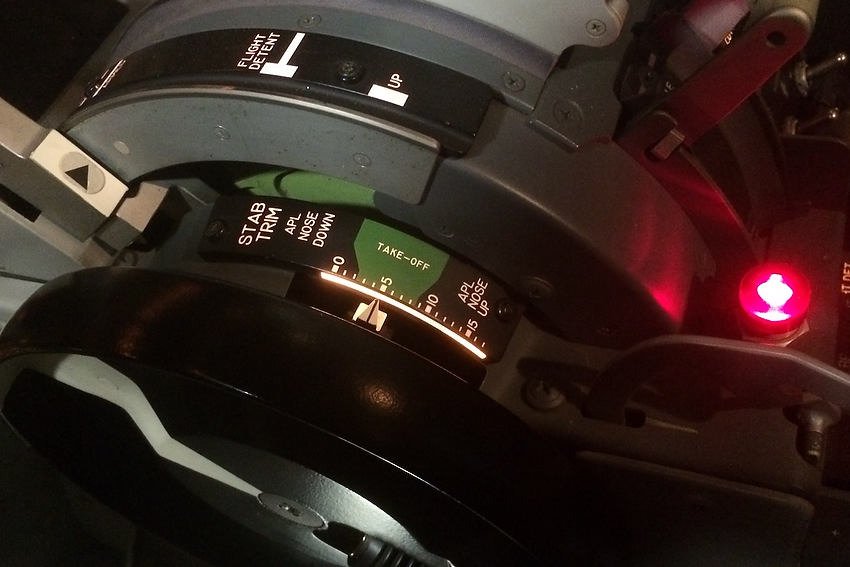
During climbs, the maximum or hard altitude constraints should be set in the Mode Control Panel (MCP).

Minimum crossing altitudes need not be set in the MCP as the FMC message function will alert the crew if these constraints cannot be satisfied.

During descent, the MCP altitude is set to the next constraint or clearance altitude, whichever will be reached first.

Immediately prior to reaching the constraint, when compliance with the constraint is assured, and when cleared to the next constraint, the MCP altitude is reset to the next constraint/altitude level.

METHOD 2: Constraints Are Closely Spaced.

Where constraints are closely spaced to the extent that crew workload is adversely affected, and unwanted level-offs maybe a concern, the following is approved:

For departures, set the highest of the closely-spaced constraints.

For arrivals, initially set the lowest of the closely-spaced altitude constraints or the Final Approach Fix (FAF) altitude, whichever is higher.

IMPORTANT: When using either technique, the FMS generated path should be checked against each altitude constraint displayed in the CDU to ensure that the path complies with all constraints.  Furthermore, the selection of a pitch mode other than VNAV PTH or VNAV SPD should be avoided, as this will result in the potential violation of altitude constraints.

To enlarge more on VNAV is beyond the scope of this post.  A future post will address this topic in more detail.

Crew Controls Automation - Not Vice Versa

However, the system is only as good as the knowledge of the person pushing the buttons.  It is very important that a flight crew control the automation rather than the automation control the flight crew. 

If VNAV begins to do something that is unplanned or unexpected, do not spend precious time ‘thinking about the reasons why’ – disconnect VNAV and use a more traditional method or hand floy the aircraft.  Then, determine why VNAV did what it did.  The most common comment heard in today's modern cockpits is ‘What is it doing now…

Final Call

VNAV is an easy concept to understand, but it can be confusing due to innumerable variables associated with vertical navigation.  VNAV is probably one of the more complicated systems that virtual and real pilots alike have to understand.  When using VNAV it is paramount to maintain vigilance on what it is doing at any one time, especially during descent and final approach.     Furthermore, it is good airmanship to always have a redundancy plan in place – a ‘what if’ should VNAV fail to do what was anticipated. 

The below article also discuss VNAV:

An interesting article concerning VNAV:

Acronyms and Glossary

  • CDU - Control Display Unit (aka FMC)

  • FAF – Final Approach Fix

  • FMC - Flight Management Computer

  • FMS - Flight Management System.  Supply of data to the FMC and CDU

  • Gotcha - An annoying or unfavorable feature of a product or item that has not been fully disclosed or is not obvious.

  • LNAV – Lateral Navigation

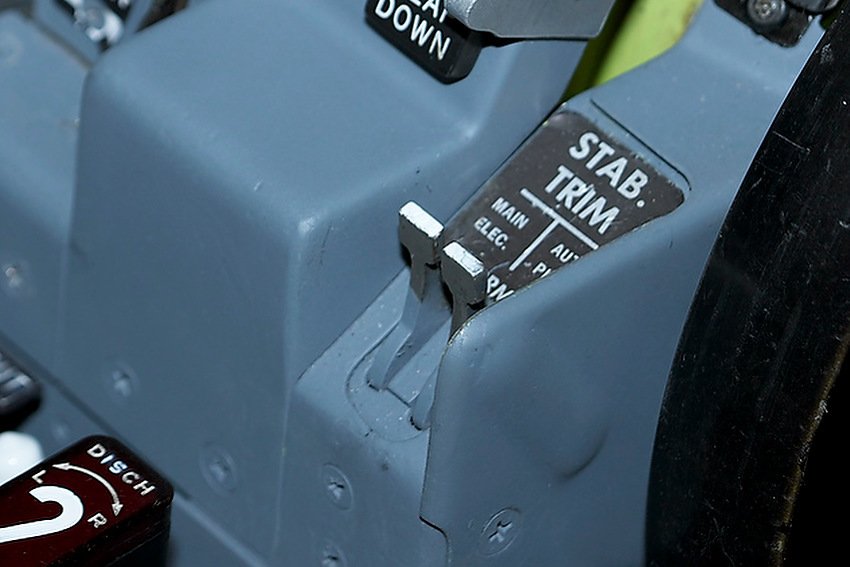
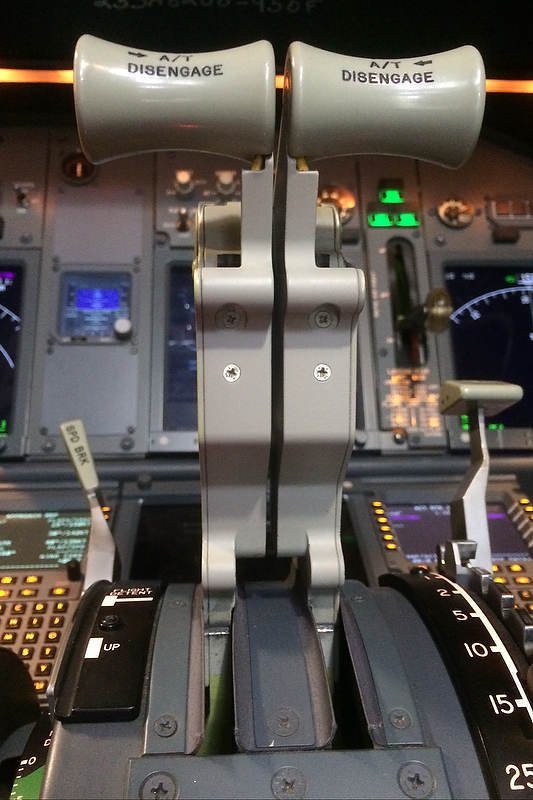
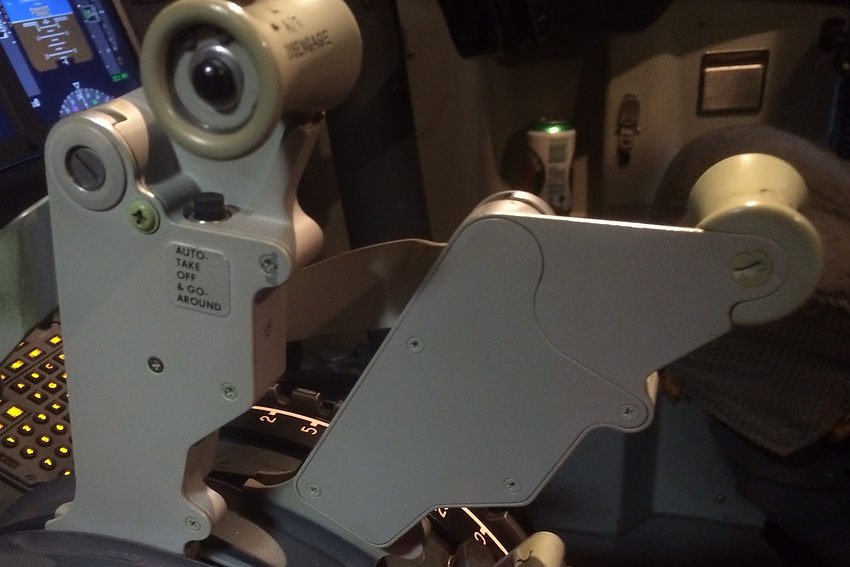
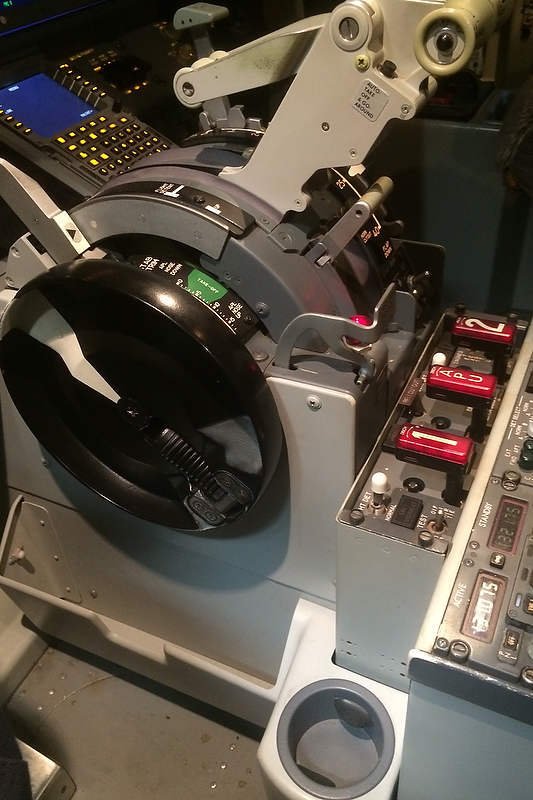
  • MCP – Mode Control Panel

  • NPA - Non Precision Approach

  • VNAV – Vertical Navigation

  • VNAV PTH – Vertical Navigation Path

  • VNAV SPD – Vertical Navigation Speed

Major Differences Between Classic and Next Generation Throttle Quadrants

There is little mistaking the tell-tale white-coloured handles and skirts of the Next Generation Throttle

The advent of high quality reproduction parts that marry with advanced avionics suites, such as ProSim-AR and Sim Avionics, has led many flight simulator enthusiasts to strive closer to Microsoft’s claim ‘as real as it gets’.

The availability of OEM parts formally used in classic airframes has never been greater, and many enthusiasts are purchasing various parts and converting them to flight simulator use.

The ‘holy grail’ of conversion has always been the Boeing throttle unit, and depending upon individual requirements, many older style throttle units have been retrofitted to appear very similar, if not near-identical, to their Next Generation counterparts.

This article will compare and contrast the major differences between the Boeing 737 classic throttle and the Next Generation throttle.  The word classic is usually used to refer to airframes belonging to the 200, 300, 400 and 500 series.  The Next Generation (NG) refers to the Boeing 600, 700, 800 and 900 series.

Boeing 727-100 throttle quadrant.  Although there are obvious differences in that the 727 has three engines, the overall design and appearance of the quadrant is very similar to its modern counterpart.  Image copyright to Keven Walchle

Historical Context

The throttle quadrant observed in a modern airliner has relatively old roots. 

The fore bearer of the Next Generation throttle was designed in the late 50's and early 60's and was initially used in the Boeing 707 airframe.  As aircraft types evolved, throttle design remained relatively static with similar-designed throttles being used in the Boeing 727, 717 and 737 series aircraft.

The B737-100 made its debut in April 1968, to be followed shortly by the 200 series with a slightly longer fuselage.  During the 1980’s Boeing released the classic series of airframes (300 through to 500 series). 

During this time, the technology altered little and the design of the throttle quadrant reflected the ability of Boeing to reuse existing technology with minimal alterations.  This principle of reuse can save a company millions of dollars in redesign and development costs.

This Goes With That (Compare and Contrast)

The Boeing 737-800 Next Generation is the airframe that many enthusiasts strive to duplicate in a flight simulator.  The reason for this two-fold.  First, the Next Generation is the most umbilicus aircraft flown today, and second, the availability of software that mimics the avionics suite in this aircraft.

However, Next Generation parts are difficult to find, and when found are expensive to procure.  Fortunately for the simulation community, a throttle will function correctly in flight simulator no matter what airframe the throttle originated.

Many of the nuances between a classic and Next Generation throttle quadrant are subtle, and for the most part only the more knowledgeable will notice.  

The more obvious highlights of the Next Generation are the white-coloured thrust lever shrouds, TOGA button assembly, détentes flaps arc, speedbrake lever knob, and the moulded white-coloured side panels and panniers of the lower part of the throttle unit.  Whilst it's possible to alter many of the attributes of a classic throttle to conform with those of an Next Generation, not every part can be easily transformed.  For example, the flaps détentes arc between the classic and Next Generation is very different in design and appearance, and cannot be altered.

TABLE 1: Overview to the main visual differences between the classic and Next Generation throttle quadrants (courtesy Karl Penrose who kindly allowed the use of photographs taken of his 600 series throttle).  Note that there may be other subtle differences, some visual and others in design/operation. 

The table doesn't address the center pedestal as pedestals vary greatly between airframes. 

Retrofit refers to the level of difficulty it is to make the classic throttle appear similar to the Next Generation. Yes meaning it is possible and no, for the most part, meaning it is not possible.


TABLE 1: an overview to the main visual differences between the classic and Next Generation throttle quadrants


1Erratum:  The trim wheels on the Next Generation are slightly smaller in circumference to those of the Classic series.

2  The words 'level of difficulty' is subjective; it depends on numerous factors such as experience and knowledge – neither of which is identical between individuals.

Important Point:

  • By far the most challenging hurdle during a Next Generation refit is the the alteration of the throttle lever shrouds and the TOGA button assembly.

Final Call

The differences between a classic and Next Generation throttles are largely cosmetic with some subtle design and operational differences.  Retrofitting a classic throttle to appear similar to a Next Generation throttle is possible.  However, there will be some things that probably won't be altered, such as the speedbrake lever handle, stab trim indicator tabs, side mouldings, panniers and flap détentes arc.  

This said, the ability to use an OEM throttle, no matter from which airframe, far supersedes any reproduction unit on the market.  OEM throttles are sturdy, robust and well-built.  Unless you do something particularly foolish, you won't damage an OEM throttle.

BELOW:  Two image galleries showing the various differences between the classic and Next Generation throttle quadrants.  Thanks to Karl Penrose who kindly allowed the use of photographs taken of his 600 series throttle.  To stop the slideshow, click the image and navigate by the numbered squares beneath the image.

Boeing 737 Classic Series Throttle Quadrant


Boeing 737 Next Generation Series Throttle Quadrant


  • Updated 21 June 2020.

Autobrake System - Review and Procedures

Ryanair B737-800 -  autobrake set, flaps 30, spoilers deployed, reverse thrust engaged (photograph copyright Pierre Casters)

The autobrake, the components which are located on center panel of the Main Instrument Panel (MIP), is designed as a deceleration aid to slow an aircraft on landing.  The system uses pressure, generated from the hydraulic system B, to provide deceleration for pre-selected deceleration rates and for rejected takeoff (RTO). An earlier post discussed Rejected Takeoff procedures.  This article will discuss the autobrake system.

General

The autobrake selector knob (rotary switch) has four settings: RTO (rejected takeoff), 1, 2, 3 and MAX (maximum).  Settings 1, 2 and 3 and RTO can be armed by turning the selector; but, MAX can only be set by simultaneously pulling the selector knob outwards and turning to the right; this is a safety feature to eliminate the chance that the selector is set to MAX accidentally.  

When the selector knob is turned, the system will do an automatic self-test.  If the test is not successful and a problem is encountered, the auto brake disarm light will illuminate amber.

The autobrake can be disengaged by turning it to OFF, by activating the toe brakes, or by advancing the throttles; which deactivation method used depends upon the circumstances and pilot discretion.  Furthermore, the deceleration level can be changed prior to, or after touchdown by moving the autobrake selector knob to any setting other than OFF.  During the landing, the pressure applied to the brakes will alter depending upon other controls employed to assist in deceleration, such as thrust reversers and spoilers.

The numerals 1, 2, 3 and MAX provide an indication to the severity of braking that will be applied when the aircraft lands (assuming the autobrake is set).

In general, setting 1 and 2 are the norm with 3 being used for wet runways or very short runways.  MAX is very rarely used and when activated the braking potential is similar to that of a rejected take off; passenger comfort is jeopardized and it is common for passenger items sitting on the cabin floor to move forward during a MAX braking operation.  If a runway is very long and environmental conditions good, then a pilot may decide to not use autobrakes favouring manual braking.

Often, but not always, the airline will have a policy to what level of braking can or cannot be used; this is to either minimize aircraft wear and tear and/or to facilitate passenger comfort. 

The pressure in PSI applied to the autobrake and the applicable deceleration is as follows:

  • Autobrake setting 1 - 1250 PSI equates to 4 ft per second squared.

  • Autobrake setting 2 - 1500 PSI equates to 5 ft per second squared.

  • Autobrake setting 3 - 2000 PSI equates to 7.2 ft per second squared.

  • Autobrake setting MAX and RTO - 3000 PSI equates to 14 ft per second (above 80 knots) and 12 ft per second squared (below 80 knots).

Conditions

To autobrake will engage upon landing, when the following conditions are met:

  • The appropriate setting on the auto brake selector knob (1, 2, 3 or MAX) is set;

  • The throttle thrust levers are in the idle position immediately prior to touchdown; and,  

  • The main wheels spin-up.

If the autobrake has not been selected before landing, it can still be engaged after touchdown, providing the aircraft has not decelerated below 60 knots. Setting the autobrake usually forms part of the approach cehcklist.

To disengage the autobrake system, any one of the following conditions must be met:

  1. The autobrake selector knob is turned to OFF (autobrake disarm annunciator will not illuminate);

  2. The speed brake lever is moved to the down detent position;

  3. The thrust levers are advanced from idle to forward thrust (except during the first 3 seconds of landing); or,

  4. Either pilot applies manual braking.

The last three points (2, 3 and 4) will cause the autobrake disarm annunciator to illuminate for 2 seconds before extinguishing.

Important Facet

It is important to grasp that the 737 NG does not use the maximum braking power for a particular setting (maximum pressure), but rather the maximum programmed deceleration rate (predetermined deceleration rate).  Maximum pressure can only be achieved by fully depressing the brake pedals or during an RTO operation.  Therefore, each setting (other than full manual braking and RTO) will produce a predetermined deceleration rate, independent of aircraft weight, runway length, type, slope and environmental conditions.

Autobrake Disarm Annunciator

The autobrake disarm annunciator is coloured amber and illuminates momentarily when the following conditions are met:

  • Self-test when RTO is selected on the ground;

  • A malfunction of the system (annunciator remains illuminated - takeoff prohibited);

  • Disarming the system by manual braking;

  • Disarming the system by moving the speed brake lever from the UP position to the DOWN detente position; and,

  • If a landing is made with the selector knob set to RTO (not cycled through off after takeoff).  (If this occurs, the autobrakes are not armed and will not engage.  The autobrake annunciator remains illuminated amber).

The annunciator will extinguish in the following conditions:

  • Autobrake logic is satisfied and autobrakes are in armed mode; and,

  • Thrust levers are advanced after the aircraft has landed, or during an RTO operation.  (There is a 3 second delay before the annunciator extinguishes after the aircraft has landed).

Preferences for Use of Autobrakes and Anti-skid

When conditions are less than ideal (shorter and wet runways, crosswinds), many flight crews prefer to use the autobrake rather than use manual braking, and devote their attention to the use of rudder for directional control.   As one B737 pilot stated - ‘The machine does the braking and I maintain directional control’.

Anti-skid automatically activates during all autobraking operations and is designed to give maximum efficiency to the brakes, preventing brakes from stopping the rotation of the wheel, thereby ensuring maximum braking efficiency.  Anti-skid operates in a similar fashion to the braking on a modern automobile.

Anti-skid is not simulated in FSX/FS10 or in ProSim737 (at the time of writing).

To read about converting an OEM Autobrake.