Changing the Font Style and Colour in CDU
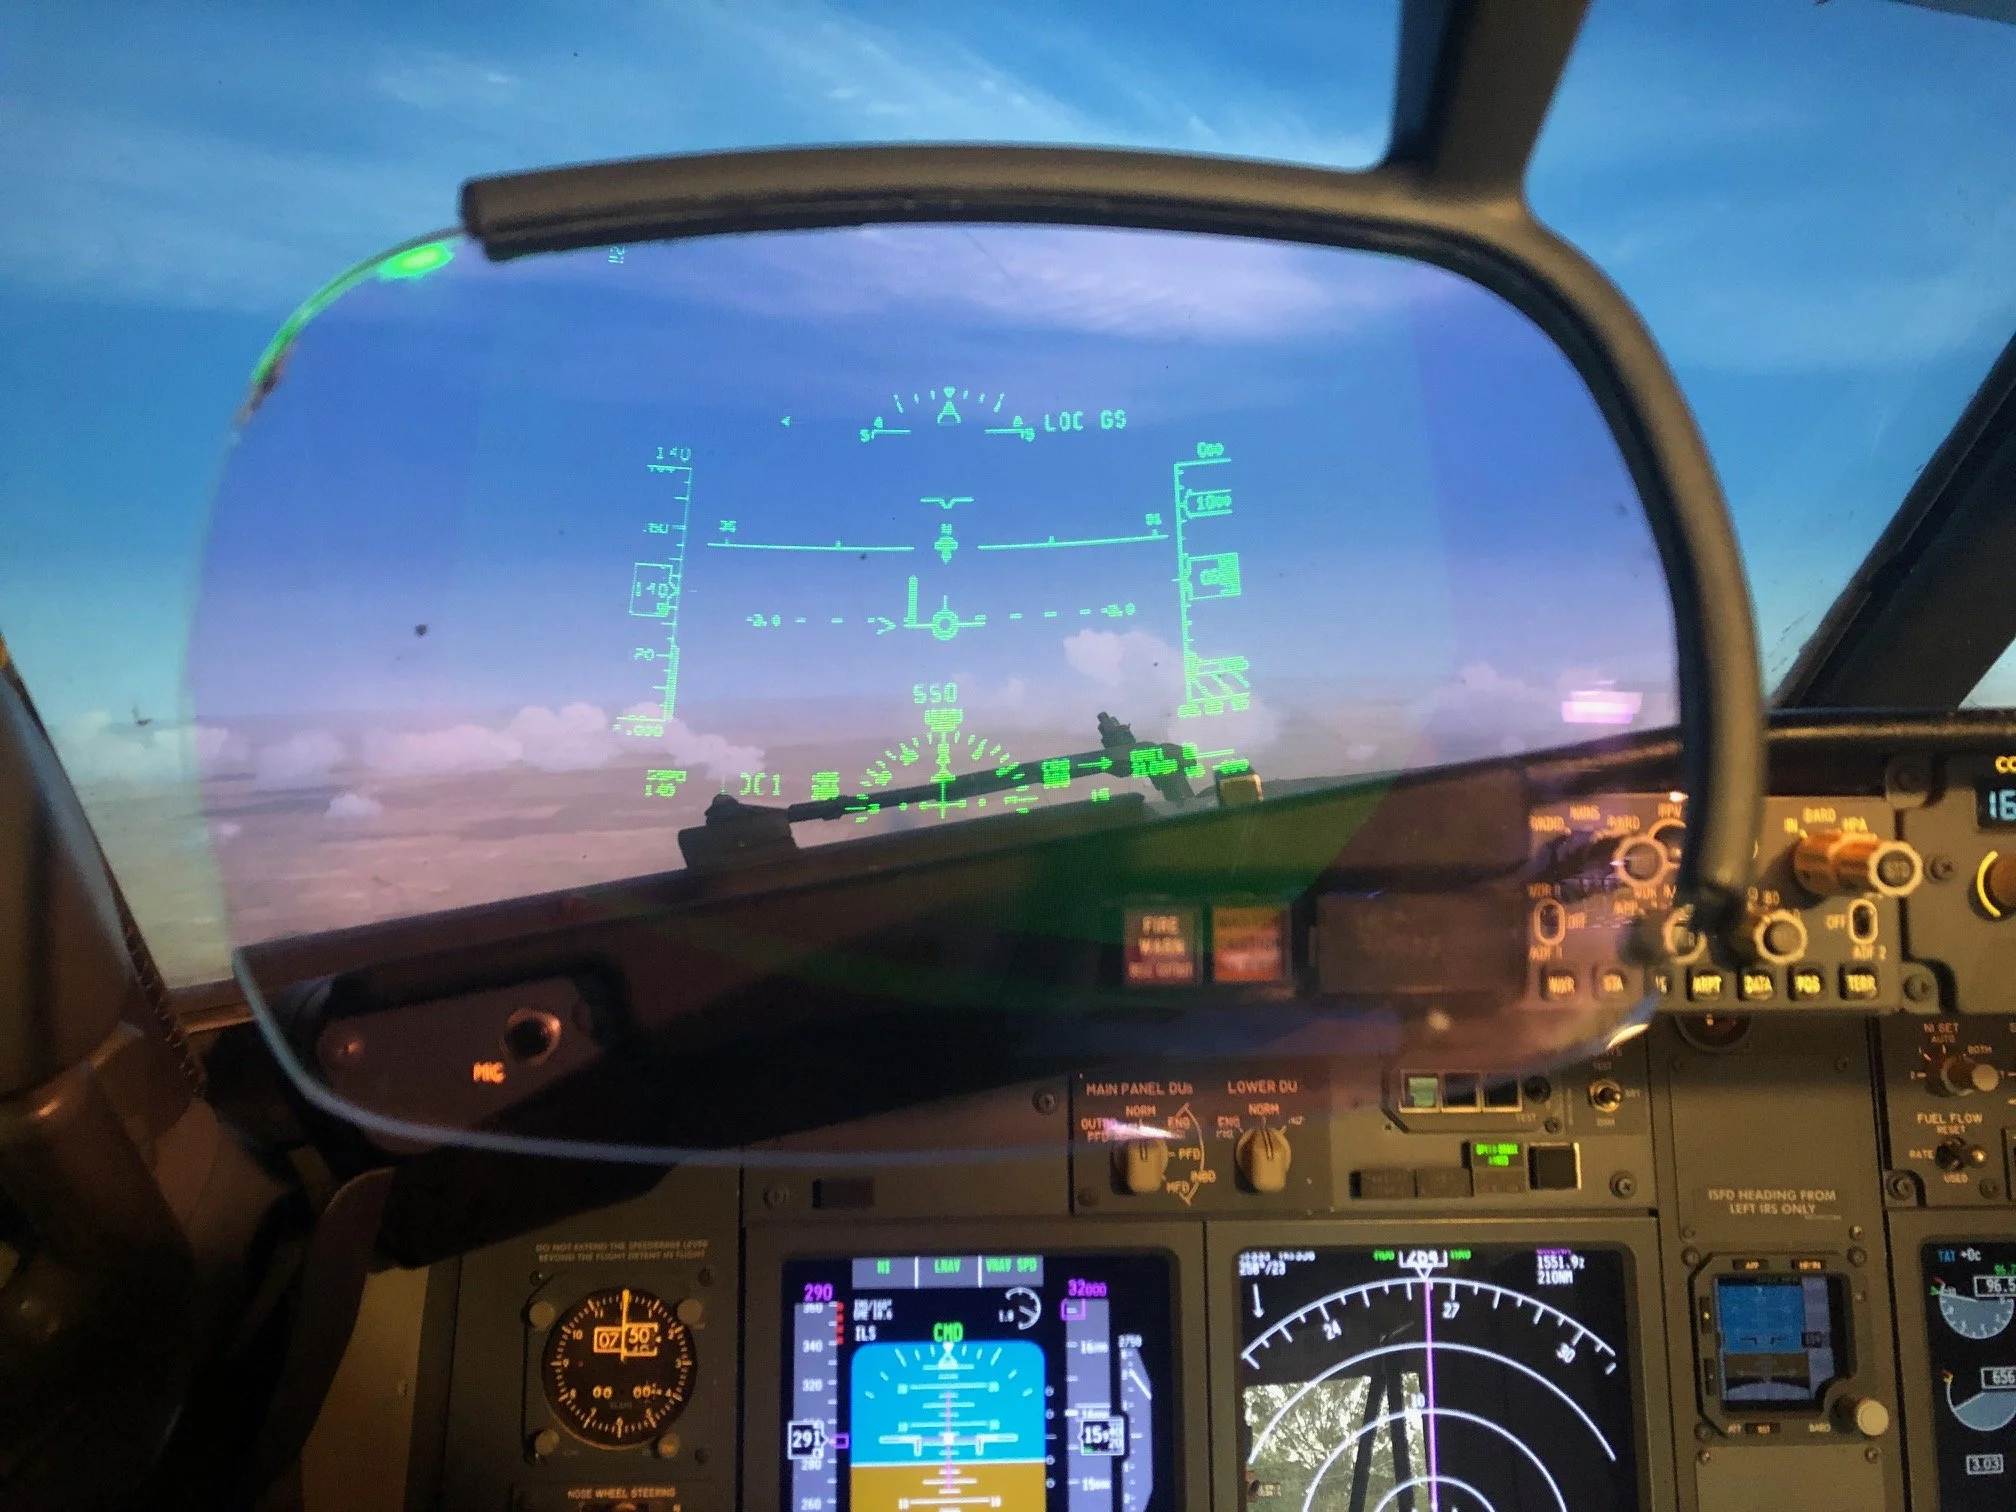
OEM 737-800 font style (courtesy Mick.C ©).  An interesting point about this picture is the condition of the flightdeck which is far from the pristine appearance of many simulators

This article will discuss how to change the font style displayed in the Control Display Unit (CDU). Although the ProSim737 avionics suite comes with a default font style, many enthusiasts wish to change the font, colour and size to more closely mimic the font used in the OEM CDU, or so the information can be more easily read (not all of us are 20 years old…)

The font styles displayed in a simulator are linked to the fonts that have been installed in the computer’s operating system.  Any font style can be displayed in the CDU – as long as the font style has been included in the style library used by Windows.

important Parameters

There are two parameters which depict how a font style is displayed:  the actual font style itself and the CDU config file.  

  • The location of the font style library is C:\\Windows\fonts (Windows 10/11).  

Any of the fonts located in this library can be used to display parameters in the CDU.  Likewise, if you have a preferred font that is not in the library then it can easily be added to the library (copy/paste).

  • The location of the config file is the CDU folder of the ProSim737 avionics suite.  

To edit the config file, you must right click the file and select edit, otherwise the file will open in read only (HTML text).  Once the config file is opened, it will become apparent that all the settings related to the CDU: screen location, screen size, font style, display parameters, etc are recorded in the file.  

With a little experience, it is often easier to make setup changes to the CDU by opening and editing the config file, rather than opening the options box from the CDU display window.  If editing the config file directly, always make a back-up copy of the file prior to making and saving any changes.

ProSim737 options box.  The options box is opened by right clicking the CDU screen and selecting config

Selecting a Font Style and Colour

How to initially configure the CDU (line setting, screen position, frame settings, etc) is addressed in the ProSim737 manual (2012 edition) or in the wikipedia manual.

To alter the font style, open the options box by right clicking the CDU screen and selecting config; the options box is linked to the Windows style library discussed earlier.  To change a font style, scroll through the styles available.  Once a style has been selected, you can change the font size by either changing the size variable associated with the font, or by selecting +- in the ProSim options box.

Another way to change the font style is to open the config file and edit the line entry that relates to the small and large font sizes.  If this method is used, ensure you transcribe the font style and size accurately to avoid errors.

To alter the font’s colour, the config file must be opened.  Once opened search for the following two lines:

<smallFontColor>Lime</smallFontColor>

<largeFontColor>White</largeFontColor>

Type the required colour replacing the bolded section above.

ProSim737 CDU config file.  The lines that need to be altered to change the style and colour are in red.  With experience, other attributes can also be altered, however, always make a copy of the file prior to changing anything

OEM

OEM is an acronym for original equipment manufacturer.  It refers to the hardware and software used in the real aircraft.  In the Boeing aircraft the font colours displayed in the CDU can be readily changed. 

The font style is more or less standardised across the Boeing fleet, however, variations to the font style can be found, and in part depend upon the software option selected by the airline when the aircraft was initially purchased, the U version in use, and the manufacturer of the CDU (Smiths, Collins and Honeywell).

Colour Conventions

The FMC software supports 5 colour conventions: green, cyan, magenta, white and amber.   Bill Bulfer examines the text displayed for each colours in the FMC Guide. The information provided is from U10.2.

Final Call

Changing the font style, size and colour can be easily accomplished by editing the config file either directly from the CDU display or by opening the config file itself.  If a specific style is needed, then this can be added to the Windows style library.

Flight Management System (FMS) Software and its Relationship with LNAV and VNAV

OEM 737 CDU page displaying the U version of software used by the Flight Management Computer.  The page also displays the current NavData version installed in addition to other information

The procedure to takeoff in a Boeing 737 is a relatively straightforward process, however, the use of automation, in particular pitch and roll modes (Lateral and Vertical Navigation), when to engage it, and what to expect once it has been selected, can befuddle new flyers.  

In this article I will explain some of the differences between versions of software used in the Flight Management System (FMS) and how its relates to Lateral and vertical Navigation (LNAV  & VNAV). 

It’s assumed the reader has a relatively good understanding of the use of LNAV and VNAV, how to engage this functionality, and how they can be used together or independently of each other.

FMS Software Versions

There are a several versions of software used in the FMC; which version is installed is dependent upon the airline, and it’s not unusual for airframes to have different versions of software.

The nomenclature for the FMC software is a letter U followed by the version number.  The version of software dictates, amongst other things, the level of automation available.  For the most part, 737 Next Generation airframes will be installed with version U10.6, U10.7 or later.

Boeing released U1 in 1984 and the latest version, used in the 737 Max is U13.

Later versions of FMC software enable greater functionality and a higher level of automation – especially in relation to LNAV and VNAV.

Differences in Simulation Software

The FMS software used by the main avionics suites (Sim Avionics, Project Magenta, PMDG and ProSim-AR) should be identical in functionality if they simulate the same FMS U number.  

As at 2018, ProSim-AR uses U10.8A and Sim Avionics use a hybrid of U10.8, which is primarily U10.8 with some other features taken from U11 and U12.  Precision Manuals Development Group (PMDG) uses U10.8A.  

Therefore, as ProSim-AR and PMDG both use U10.8A, it’s fair to say that everything functional in PMDG should also be operational in ProSim737.  Unfortunately, as of writing, PMDG is the only software that replicates U10.8A with 97+-% success rate.

To check which version is being used by the FMC, press INIT REF/INDEX/IDENT in the CDU.  

Writing about the differences between FMC U version can become confusing.   Therefore, to minimise misunderstanding and increase readability, I have set out the information for VNAV and LNAV using the FMC U number.   

Roll Mode (LNAV)

U10.6 and earlier

(i)    LNAV will not engage below 400 AGL;

(ii)    LNAV cannot be armed prior to takeoff; and,

(iii)    LNAV should only be engaged  when climb is stabilised, but after passing through 400 feet AGL.

U10.7 and later

(i)    If LNAV is selected or armed prior to takeoff, LNAV guidance will become active at 50 feet AGL as long as the active leg in the FMC is within 3 NM and 5 degrees of the runway heading.  

(i)    If the departure procedure or route does not begin at the end of the runway, it’s recommended to use HDG SEL (when above 400 feet AGL) to intercept the desired track for LNAV capture;

(ii)    When an immediate turn after takeoff is necessary, the desired heading should be preset in the MCP prior to takeoff;  and,

(iii)    If the departure procedure is not part of the active flight plan, HDG SEL or VOR LOC should be used until the aircraft is within range of the flight plan track (see (i) above).

Important Point:

•    LNAV (U10.7 and later) can only be armed if the FMC has an active flight plan.

Pitch Mode (VNAV)

U10.7 and earlier

(i)    At Acceleration Height (AH), lower the aircraft’s nose to increase airspeed to flaps UP manoeuvre speed;

(ii)    At Thrust Reduction Altitude (800 - 1500 feet), select or verify that the climb thrust has been set (usually V2+15 or V2+20);

(iii)    Retract flaps as per the Flaps Retraction Schedule (FRS); and,

(iv)    Select VNAV or climb speed in the MCP speed window only after flaps and slats have been retracted.

Important Points:

  • VNAV cannot be armed prior to takeoff.

  • Remember that prior to selecting VNAV, flaps should be retracted, because VNAV does not provide overspeed protection for the leading edge devices when using U10.7 or earlier.

U10.8 and later 

(i)    VNAV can be engaged at anytime because VNAV in U10.8 provides overspeed protection for the leading edge devices;

(ii)    If VNAV is armed prior to takeoff, the Auto Flight Direction System (AFDS) remains in VNAV when the autopilot is engaged.  However, if another pitch mode is selected, the AFDS will remain in that mode;

(iii)    When VNAV is armed prior to takeoff, it will engage automatically at 400 feet.  With VNAV engaged, acceleration and climb out speed is computed by the FMC software and controlled by the AFDS; and,

(iv)    The Flaps should be retracted as per the flaps retraction schedule;

(v)    If VNAV is not armed prior to takeoff, at Acceleration Height set the command speed to the flaps UP manoeuvre speed; and,

(vi)    If VNAV is not armed prior to takeoff, at Acceleration Height set the command speed to the flaps UP manoeuvre speed.

Important Points:

  • VNAV can be armed prior to takeoff or at anytime.

  • At thrust reduction altitude, verify that climb thrust is set at the point selected on the takeoff reference page in the CDU.  If the thrust reference does not change automatically, climb thrust should be manually selected.

  • Although the VNAV profile and acceleration schedule is compatible with most planned departures, it’s prudent to cross check the EICAS display to ensure the display changes from takeoff (TO) to climb or reduced climb (R-CLB).  

Auto Flight Direction System (AFDS) – Operation During Takeoff and Climb

U10.7 and earlier

If the autopilot is engaged prior to the selection of VNAV:

(i)    The AFDS will revert to LVL CHG;

(ii)    The pitch mode displayed on the Flight Mode Annunciator (FMA) will change from TOGA to MCP SPD; and,

(iii)    If a pitch mode other than TOGA is selected after the autopilot is engaged, the AFDS will remain in that mode.

U10.8 and later

(i)    If VAV is armed for takeoff, the AFDS remains in VNAV when the autopilot is engaged; and,   

(ii)    If a pitch mode other than VNAV is selected, the AFDS will remain in that mode.

Preparing for Failure

LNAV and VNAV have their shortcomings, both in the real and simulated environments.

To help counteract any failure, it’s good airmanship to set the heading mode (HDG) on the MCP to indicate the bearing that the aircraft will be flying.  Doing this ensures that, should LNAV fail, the HDG button can be quickly engaged with minimal time delay; thereby, minimising any deviation from the aircraft’s course.

Final Call

I realise that some readers, who only wish to learn the most recent software, will not be interested in much of the content of this article.  Notwithstanding this, I am sure many will have discovered something they may have been forgotten or overlooked.

The content of this short article came out of a discussion on a pilot’s forum.  If there is doubt, always consult the Flight Crew Training Manual (FCTM) which provides information specific to the software version used at that particular airline.

Glossary

  • CDU – Computer Display Unit.

  • EFIS – Electronic Flight Instrument System.

  • FMA – Flight Mode Annunciator.

  • FMC – Flight Management Computer.

  • FMS - Flight Management System.

  • LVL CHG – Level Change.

  • LNAV – Lateral Navigation.

  • MCP – Mode Control Panel.

  • ND – Navigation Display.

  • PFD – Primary Flight Display


  • VNAV – Vertical Navigation.

Conversion of OEM CDU - Part Two

OEM CDU operational with ProSim737

In this second article, I will explain how the OEM Control Device Unit (CDU) was converted to enable a SimStack Foundation Board to be installed inside the unit and connected to ProSim737. 

SimStacks are manufactured by Simulator Solutions, which is a Sydney based company in Australia and their foundation boards can be used with ProSim737 and ProSim320 avionics suites. 

This is but one method to convert an OEM item to be used with flight simulator.

This article will mainly address the mechanical conversion of the CDU.  A future article, after flight testing,  will provide a review of SimStacks interface cards.

Conversion

Many of the OEM parts used in the simulator have been converted using Phidget cards, and to a lesser extent Leo Bodnar and PoKeys interface cards.  Phidgets provide a stable platform, despite the disadvantage that they, at time of writing, can only connect via USB to the server computer, and don’t enable every OEM function to be used in ProSim-AR.  The primary advantage of using Phidgets is that they have been used in a wide variety of applications, are inherently stable, and their configuration is well documented.

I decided that, rather than use Phidgets, a different system would be trailed to interface the CDU with ProSim737. 

he SimStack Foundation Board mounted on an angular bracket inside the CDU.  Fortunately there is ample room to mount the board inside the CDU

SimStacks by Simulator Solutions

The conversion of the CDU was done in collaboration with Sydney-based company Simulator Solutions Pty Ltd.  Simulator Solutions use their propriety interface boards called SimStacks to convert OEM parts for use in commercial-grade simulators.

SimStacks is a modular, stackable, and scalable hardware interface that is designed to integrate OEM parts into your simulator with little or no modification.    One of the many advantages in using a SimStack board is that the interface can connect with either the server or client computer via Ethernet (as opposed to Phidgets). 

To date, Simulator Solution’s experience has been predominately with the conversion of B747 parts and Rodney and John (owners) were excited to have the opportunity to evaluate their software on the 737 platform using ProSim737. 

Converting the CDU - Choose Your Poison

There are two main camps when discussing how to convert an OEM part.  The first is to use as much of the original wiring and parts as possible.  The second is to completely ‘gut’ the part and convert it cleanly using an interface that connects seamlessly with the avionics software in use (ProSim-AR).  A third option, although expensive and in many respects ‘experimental’, is to use ARINC 429. 

ARINC 429 is a protocol used in real aircraft to enable panels etc to be connected with the aircraft’s systems, and although it can be used in a simulated environment, it’s not without its shortfalls, in particular, the use of AC power (in contrast to DC power).

To use SimStacks the internal components of the CDU had to be removed, with the  exception of the internal shelf divider and keypad.  In hindsight, the pin-outs of the Canon plugs could have been used, but in doing so a female Canon plug would have been required, and for the use of a couple of pins, the price of a Canon female plug was expensive.

Keypad and Screen

The keypad and screen are the two most important parts of the CDU. 

The keypad forms part of the lightplate.  The backlighting for the keypad is powered by 21 5 Volt incandescent bulbs, strategically located to ensure even backlighting of the keys.

table 1: provides an overview of bulb location, part number and quantity

Like anything, bulbs have a limited left and, although OEM bulbs are renown for their longevity, there is always a chance that some bulbs are broken.  In this case, there were 3 bulbs that needed replacement.

Disassembling and removing the keypad from the main body of the CDU is straightforward; several small Philips head screws hold the keypad in place.  Once the keypad has been removed, any ‘blown’ bulbs can be replaced. 

The most important area is the keypad is what is called the terminus (bus).  Several wires from the keypad travel to the bus and then to the various (now removed) parts in the CDU.  The Simstack Foundation Board is wired to the bus, therefore, care must be taken to not damage these wires between the bus and the keypad. 

737 CL CDU showing older green coloured text displayed on CRT screen

I found that the wires were quite short and needed to be lengthened; this can be done by splicing longer wire to the existing wire.  Although it's possible to replace the wire to the keypad, this would entail re soldering the wires to the various keypad points - a process that requires very exact soldering.

CRT screen showing thick curved glass

CRT and LCD Screen

The Classic CDU from airframes up to the Boeing 737-500 is fitted with a solid glass cathode ray tube (CRT) screen. 

The CRT screen is approximately 2 cm thick, curved in design, and fits snugly within the display frame of the CDU.  Although it’s possible to make this screen operational, the display will be mono-colour (green) and the screen resolution poor.  Therefore, the CRT was replaced with a custom-sized high resolution colour LCD screen.

To replace the CRT screen is not without its challenges.  The first being that the LCD screen is not 2 cm in thickness and will not fit snugly within the curved display recess of the CDU frame.  To rectify this shortfall, a piece of clear glass must be ground to correctly fit within the frame.  This piece of glass replaces the 2 cm thick, curved CRT glass.

Photo showing how the thin LCD screen was secured with tape the glass screen.  Although the process appears rudimentary, it's functional

The thin LCD screen is installed directly behind the clear glass using high density tape.  Commercial grade double-sided sticky tape is the easiest method, but it is rudimentary.  The reason that tape is used, is that should the screen fail, it’s easy to remove the tape, install a replacement screen, and then tape the screen in place.

During the design phase, it was thought that the thick piece of glass would cause a refraction problem.  However, although the theory suggests refraction will occur, the practical application has been such that any refraction is not readily noticeable.

Installing the SimStacks Foundation Board and Screen Controller Card

To enable the CDU to operate, four items need to be mounted inside the CDU.

(i)   The generic Interface card that controls the LCD screen;

(ii)   The LCD screen controller (buttons that control brightness, contrast, etc);

(iii)  The SimStack Foundation Board; and,

(iv)  The wiring to connect the keyboard to the Foundation Board.

Fortunately, there is ample room in the cavernous interior of the CDU to fit these items. 

The SimStack Foundation Board is mounted on an angular metal bracket that is attached directly to the bottom of the CDU, while the LCD interface card has been installed on the upper shelf along with the screen controller.  A ribbon cable connects the LCD screen to the interface card while a standard VGA cable connects the LCD screen to the client computer and Ethernet switch. 

The SimStack Foundation Board is Ethernet ready and requires a standard Ethernet cable (CAT 6) to connect from the card to an Ethernet switch (located behind the MIP).  In addition to the Ethernet  and VGA cable, six power wires leave the CDU via the rear of the casing; four from the SimStack Foundation Board (5 and 12 volts +-) and two from the keypad (5 volts +-) to control the backlighting.

The specialist switch and wiring (Ethernet, power and VGA cables) extruding from the rear of the CDU

Specialist Switch and Power Supply

A standard two-way toggle switch is mounted to the rear of the CDU casing. 

This switch is used to control whether the LCD screen, used in the CDU, is always on, or is only turned on when ProSim-AR is activated.

To operate the CDU requires a 5 and 12 volt power supply.  The backlighting of the keypad is powered by 5 volts while the SimStack Foundation Board and CDU operation require 12 volts.

Backlight Dimming (keypad)

To enable the CDU keypad to be dimmed, the 5 volt wires are connected to a dedicated 5 volt Busbar located in the center pedestal.  This Busbar is used to connect the backlighting from all OEM panels.  The Busbar is then connected to the panel knob on the center pedestal.  The ability to turn the backlighting on and off is controlled by opening or closing a 12 volt relay (attached in line between the panel knob and Busbar).  Dimming is controlled by a dimmer circuit (see earlier article).

Installing the OEM CDU to Flight Deck Solutions MIP

It can be challenging attempting to install OEM panels, gauges and other items to a reproduction Main Instrument Panel (MIP).  Unfortunately, no matter what the manufacturer states, many MIPS do not comply with real world measurements.  

Before and after photograph of the FDS CDU bay showing the small flange from the shelf that needed to be trimmed to enable the CDU to slide into the bay recess.  A small notch was made at the corner to facilitate the safe routing of the wires used to enable the Lights Test

The MIP skeleton is manufactured by Flight Deck Solutions (FDS) and the CDU bay, although fitted with OEM DZUS rails, is designed to fit FDS’s propriety CDU unit (MX Pro) and not an OEM unit. 

The casing for the OEM CDU is much longer than the FDS CDU and measures 20 cm in length.

The FDS MIP design is such that the aluminum shelf (used by FDS to mount various interface cards) protrudes slightly into the rear of the CDU bay.  This protrusion stops the OEM casing from sliding neatly into the bay to its fullest extent.  To enable the CDU to slide into the CDU bay, the shelf must be ‘trimmed’.

To trim the metal away from the shelf, a small metal saw was used, and although an easy task, care must be taken not to ‘saw away’ too much metal.  Once the piece of offending aluminum is removed, the CDU slides perfectly into the bay, to be secured by DZUS fasteners to the DZUS rail.

Functionality and Operation

The CDU is not intelligent; it’s basically a glorified keyboard that must be interfaced with ProSim-AR to enable the CDU to function correctly.  The fonts and colour of the fonts is generated by the avionics suite (in this case ProSim-AR, but arguably it could also be Sim Avionics or Project Magenta). 

To enable communication between the avionics suite and the SimStack Foundation Board, proprietary software must be installed.  This software has been developed by Simulator Solutions.

SimStack Software (simswitch)

Screen grab showing SimSwitch software User Interface.  SimSwitch is standalone once the initial configuration has been completed.  The software can be configured to open in minimised mode via a batch file

To enable communication between the Foundation Board and ProSim737, propriety software, called SimSwitch must be installed to the computer that has the CDU connected. 

SimSwitch is a JAR executable file, that when configured with the correct static IP address and port numbers, provides communication between ProSim-AR (on the server computer) and the network (clients).  The switch must be opened for communication to occur between the Foundation Board, SimSwitch and ProSim737.  The jar file can easily be included into a batch file (with timer command) for automatic loading when flight simulator is used.

When opened, SimSwitch displays the User Interface.  The User Interface displays all OEM panels that have been connected using a SimStacks, can be used to monitor connected panels, and can display debugging information (if required).

Independent Operation

The Captain and First Officer CDUs are not cloned (although this is easy to do), but operate as separate units.  This is identical to the operation in the real aircraft, whereby the Captain and First Officer are responsible for specific tasks when inputting the information into the CDU.

First Officer CDU

The First Officer CDU will be converted using a similar technique, with the exception that this unit will be converted more ‘cleanly’.  Rather than use an angled plate on which to attach the SimStacks Foundation Board, a solid aluminum plate will be used.  The LCD screen controller card will also be attached to the rear of the LCD screen.  Finally, to enable fast and easy removal of the CDU, the connection of the Ethernet cable will be outside of the unit.

Additional Information

SoarByWire (another enthusiast) has written an excellent article dealing with interfacing SimStacks.

Below is a short video demonstrating the operation of the OEM CDU using ProSim737.

Main points to note in the video are:

  • Heavy duty tactile keys.

  • The definite click that is heard when depressing a key.

  • The solid keypad (the keys do not wobble about in their sockets).

  • Although subjective, the appearance of the OEM CDU looks more aesthetically pleasing that a reproduction unit.


Final Call

The conversion has been successful and, when connected with ProSim737 via SimSwitch, all the functions available in the CDU work correctly.

Glossary

  • ARINC 429 –  A standard used to  address data communications between avionics components.  The most widely used  standard is an avionics data bus.  ARINC 429 enables a single transmitter to communicate data to up to 20 receivers over a single bus.

  • Standalone – Two meanings.  Operation does not require an interface card to be mounted outside of the panel/part; and, In relation to software, the executable file (.exe) does not need to be installed to C Drive, but can be executed from any folder or the desktop.

  • Updated for clarity and information 12 June 2020.

Conversion of OEM CDU - Part One

Completely gutted.  All unnecessary and unusable electronic components have been removed

One of the more advanced projects is the conversion of two OEM Control Display Units manufactured by Smiths.  The two CDUs came from a Boeing 500 series airframe that was retired from service in 2008 due to United Airlines decision to adopt the Airbus A-320.  A chronometer located on the rear of each unit, shows the hours of use - one unit has 5130 hours while the other has 1630 hours.

The Control Display Unit (CDU) is the interface that the flight crew use to access and manipulate the data from the Flight Management Computer (FMC); it's basically a screen and keyboard.  The FMC in turn is but one part of a complex system called the Flight Management System (FMS).  The FMS is capable of four dimensional area navigation.  It is the FMS that contains the navigational database.  Often the words CDU and FMC are used interchangeably.

In this article I will discuss some of differences between OEM and reproduction CDUs. In addition to explaining some of the advantages that using an OEM unit brings.  A second article will deal with the actual conversion of the units to operate with ProSim737.

Port side of CDU with casing removed to show the electronic boards that are secured by lever clips.  Like anything OEM, the unit is constructed from solid component

Construction and Workmanship

The construction and workmanship that has gone into producing anything OEM is quite astounding. 

The CDU is built like a battleship and no amount of use or abuse can damage the unit.  The unit is quite large and heavy.  I was surprised at the eight, a good 6 kilograms.  Most of the weight is made up by the thick glass display screen  CRT, and other components that reside behind the glass within the sturdy aluminium case. 

A myriad number of small screws hold together the 1 mm thick aluminium casing that protects the internal components.  In addition to screws, there are two special DZUS fasteners, that when unlatched, enable the side of the unit’s casing to be removed for maintenance. 

When the casing of the CDU is removed, the inside is jammed full of components, from the large CRT screen to gold-plated electronic boards that are clipped into one of three internal shelves.

One aspect in using anything OEM is the ease at which the item can be inserted into the flight deck.  DZUS attachments enable the unit, once it has been slid into the CDU bay, to be securely fastened.  I use a MIP manufactured by Flight Deck Solutions and the CDU slides seamlessly into the CDU bay.

Detail of the keyboard and DIM knob.  Interestingly the DIM knob dims the actual CRT screen and not the backlighting

Tactile Differences

Aside from external build quality, one of the main differences you immediately notice between an OEM and reproduction CDU, is the tactile feeling when depressing the keys on the keyboard.  The keys do not wobble in their sockets like reproduction keys, but are firm to press and emit a strong audible click. 

Furthermore, the backlighting is evenly spread across the rear of the keyboard panel with each key evenly illuminated.

Aesthetic Differences – 500 Series and Next Generation

As the CDU dates from 2008, the external appearance isn’t identical to the CDU used in the Next Generation airframe, however, it is very close.

Main Differences:

  • The dim knob is a slightly different shape.

  • The display screen is rounded at the corners od the screen (the NG is more straight-edged).

  • The absence of the horizontal white lines located on the inside edge of the display frame bezel.

  • The display screen is different (cathode ray tube (CRT) in contrast to liquid crystal display (LCD).

  • The illumination is powered by bulbs.

In terms of functionality, as this is controlled by software (ProSim737) the functionality is identical.  This also holds true for the font type and colour.

To an absolute purist, these differences may be important, and if so, you will have to contend with a reproduction CDU, or pay an exorbitant amount for a decommissioned NG unit. 

OEM CDU installed to MIP functioning with ProSim737

Conversion for use with ProSim737

There are many ways to convert a real aircraft part for use in Flight Simulator.  By far the most professional and seamless is the integration of the real part using the ARINC429 protocol language (as used in the real aircraft).  However, using ARINC429 is not a simple process for all applications.  Not too mention that you often must use high voltage AC power.

For the most part I’ve used Phidgets to convert real parts, however, in this conversion I wanted to try a different approach.  I’m going to liaise with an Australian company called Simulator Solutions.  This company specialises in converting high-end electronic components used in commercial flight simulators, and manufactures an interface board that should enable seamless conversion of the CDU.

Glossary

  • ARINC 429 –  A standard used to  address data communications between avionics components.  The most widely used  standard is an avionics data bus.  ARINC 429 enables a single transmitter to communicate data to up to 20 receivers over a single bus.

  • OEM - Original Equipment Manufacture (aka real aircraft part).

Reference Nav Data - CDU Functionality Explained

In past posts, I’ve documented some of the functionality of the Flight Management Computer (FMC) as displayed by the Central Control Unit (CDU).  Following on with this theme, let’s look at four navigation data functions the FMC is capable of: Reference Nav Data, Nav Options, Nav Status and Nav Frequency Changes.

Before continuing, the FMC/CDU is controlled by the avionics suite you are using; whether it is ProSim737, Sim Avionics or whatever.  Each avionics suite provides differing functionality; therefore, if something does not operate as indicated, it maybe a limiting factor of the avionics suite in use.

Note:  This post follows standard terminology.  lsk3R means line select key 3 right.

------------------------------

A:  REFERENCE NAV DATA

Occasionally, you will need to cross check information and the frequency of a specific navaid.  

The Reference Nav Data display is part of the Nav Data page and can be assessed by the INDEX page:

INIT REF / INDEX / NAV DATA (lsk1R)

The screen will show three available options: Enter WPT Ident, Navaid Ident and Airport Ident.

Example:  Type HB into the navaid Ident.  Two pages will be displayed showing all the HB Idents from the navigation database.  Selection of the appropriate navaid (HB) will present a further page displaying the following information:  Navaid WPT, Airport and Ident code, Latitude, Longitude, Frequency, Elevation and magnetic variance.

NOTE:  If you cannot identify the ident by name use the Longitude and Latitude coordinates.

------------------------------

B:  NAV OPTIONS & NAV STATUS

Following on from the Reference Nav Data page are:  Nav Options and Nav Status.

Nav Options and Nav Status can be assessed two ways:

1:  INIT REF/ INDEX / NAVDATA (lsk1R) / NAV OPTIONS (lsl6R)  

2:  PROG (progress) / NAV STATUS (lsk6R)  (use when in flight)

Two consecutive pages are available: Nav Options and Nav Status.  By default, Nav Status (page 2/2) is displayed.  Use the PREV and NEXT PAGE keys to cycle between the two pages.

Nav Status - page 1/2

This page provides you with a list of the closest navaids including frequencies.  It also indicates the currently set identifier and frequency for NAV 1 and NAV 2 (as set on the NAV 1/2 radio).

Nav Options - page 2/2

This page can be used to inhibit a particular waypoint or station.  By inhibiting a navaid, it will not be able to be used by the CDU to calculate a navigation solution.  By default all navaid types are activated.  At crew discretion, two VOR and two DME stations can be inhibited.  When you inhibit a navaid it will be removed from page 1/2 and not be visible in the Nav Status page list.  The inhibited navaid will be reset when you reset the CDU.  

------------------------------

C: FREQUENCY CHANGE - ALTERING THE THE CDU

In usual practice, crew will alter the navigation, communication, ADF and transponder frequency on the actual panel located in the central pedestal.  However, often you may need to cross check frequencies, dial in a third frequency for positional awareness, or use a frequency from an avionics module not present in the pedestal or that is malfunctioning.

The alter Nav Data screen can be assessed by:

MENU / MAINT (lsk6R) / COM/NAV (lsk3L)

This will display a page showing all idents and frequencies currently being used.

COM 1, COM 2, NAV 1, NAV 2, ADF 1, ADF 2 AND EXPR

To alter a frequency, type into the scratch pad the frequency of the navaid and upload to the appropriate line.  To upload, select and press the key to the left or right of the nominated radio.  Changing a frequency in the CDU will also cause a corresponding change in the frequency of the selected radio (in the center pedestal).

Flow Route

When you work through the above four functions of the CDU, you will note that the INDEX function is always available.  This allows you to easily develop a flow route as you move between the various pages.  Once you know how the flow route operates, you will discover that the CDU is very much like a book with several hundred pages of information that is easily accessible via a few select menu keys.

As with all my posts, if you discover a discrepancy please contact me so it can be rectified.

BELOW:  Montage of images from the CDU showing various pages displayed within the Reference Nav Data.  CDU is manufactured by Flight Deck Solutions (FDS).  Click image to see larger.

Montage of images from the CDU showing various pages displayed within the Reference Nav Data.  CDU is manufactured by Flight Deck Solutions (FDS)