After downloading the software from Pololu, open the ZIP archive and run ‘Setup.exe’. If the installer fails, you may have to extract all the files to a temporary directory, right click ‘Setup.exe’, and select ‘Run As Administrator’.
The installer will guide you through the steps required to install the Pololu Jrk Configuration Utility, the JrK Command-line Utility (JrkCmd), and the JrK drivers on your computer.
Once the software has been installed, there should be an entry for the JrK in the ‘Pololu USB Devices’ category of the Device Manager. This represents the card’s native USB interface, and it is used by the configuration software.
Recommendation:
Limitation
For brevity and simplicity, I haven’t discussed every configuration setting in the PCU. Instead, I’ve included several screen captures (Figures 1-5) that show the various configuration settings for reference. These settings should provide a benchmark to enable you to configure the card.
Notwithstanding this, I have enlarged on the two most important settings in the PCU that have a direct influence on the accuracy, and synchronised movement of the thrust levers.
Confirming the Pololu Card Connection
After the initial configuration settings in the Pololu card have been configured, it’s a good idea to test the card’s functionality to confirm connection with ProSim737. This is done by opening the Pololu Configuration Utility (PCU) and setting a manual target speed (Figure 1). To engage the target speed, select ‘Apply’.
Pressing ‘Apply’ will command the card to determine the position of the thrust lever as indicated by the potentiometer. If the thrust lever is not at the same position on the throttle arc as indicated by the settings in the PCU (and it probably won’t be), the thrust lever will move to the commanded position. If this movement occurs, it’s a good sign that everything is functioning correctly.
Calibrating Thrust Levers in ProSim737
Assuming everything is working, the next step is to calibrate the thrust levers in ProSim737.
Calibrating the movement of the thrust levers is comparatively straightforward. Each thrust lever must be calibrated independently of each other, otherwise both levers will not move in unison when the automation (aircraft autopilot) is selected.
(i) Enable Pololu support in Configuration/Drivers tab in the ProSim737 User Interface;
(ii) Open the Configuration/Levers tab and assign for each throttle lever the Pololu input and output;
(iii) Select the appropriate Pololu card for the analogue input and select ‘Feedback input’(1);
(iv) Select the appropriate Pololu card for server output and then select ‘Motor output’(1); and,
(v) Move the virtual sliding tab with the mouse (you should see the respective thrust lever moving).
(1) Located in adjacent drop down box.
To calibrate each thrust lever the virtual sliding bar is moved with the mouse device. To register the position the ‘Min’ and ‘Max’ is selected.
Slide the bar until the physical thrust lever rests in the idle position (the physical thrust lever should move as you slide the bar). When the thrust lever is in the idle position select ‘Set Min’. Next, move the virtual sliding bar until the position of the physical throttle lever rests in the fully forward position. When it does select ‘Set Max’.
For calibration to occur, the minimum and maximum positions must be registered. This process must be completed for both thrust levers.
Important Points:
On some set-ups the ProSim737 software reads the throttle movements backwards. In other words the position of the thrust lever will move in the wrong direction. If this occurs, reverse the order - press ‘Set Max’ instead of ‘Set Min’ and ‘Set Min’ instead of ‘Set Max’.
Calibration occurs when the virtual sliding bar is moved with the mouse device. Calibration is NOT done by physically moving the thrust levers.
To improve accuracy, select ‘Min’ and ‘Max’ only when the physical thrust lever has reached the end of its movement cycle. This task may need to be done a few times to ensure the most accurate position is registered by the calibration process.
Ensure the option ‘closed loop autothrottle’ is NOT selected within the ProSim737 MCP software (right click the virtual MCP to open the MCP Config menu.
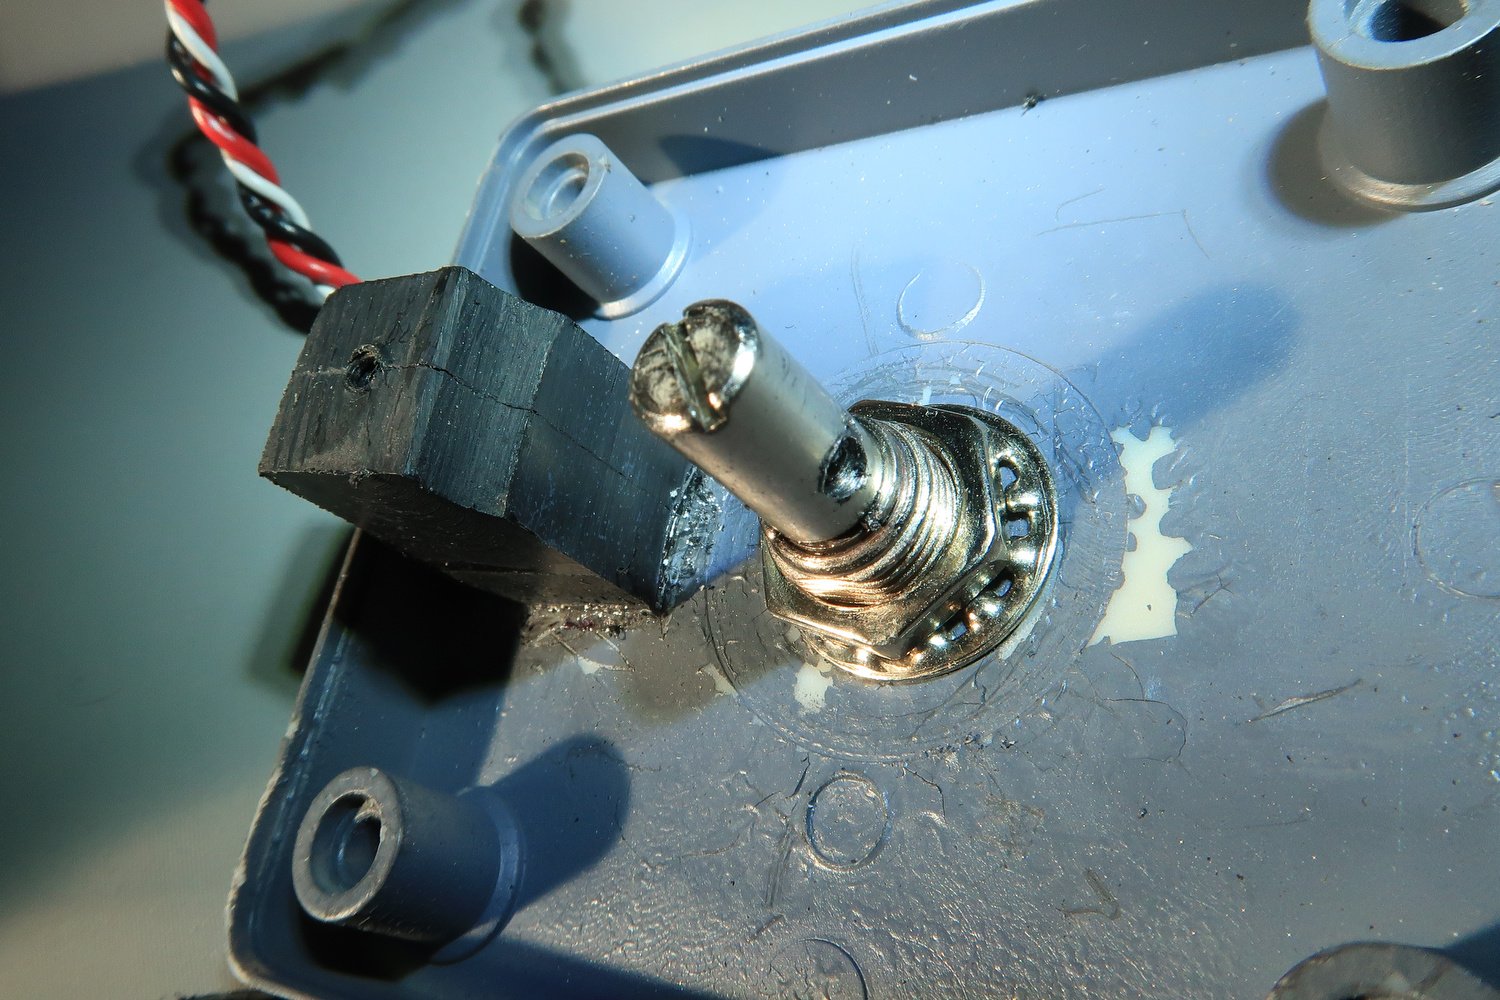
It’s recommended to use string potentiometers or Hall sensors to register the incremental movements of the thrust levers. These will provide a greater degree of accuracy.
Always calibrate the thrust levers in ProSim737 prior to fine-tuning the Motor and PID in the PCU Interface.
It’s at the discretion of the user to calibrate and fine-tune the Pololu card to a level of accuracy they believe is a reasonable compromise between the position of the thrust levers on the throttle arc, and the speed at which the thrust levers move.
Fine-tuning Using The Pololu Configuration Utility (PCU) Tabs
To fine-tune the outputs from the throttle quadrant, the PCU must be opened. The two tabs that are used to determine the accuracy, position, speed, and synchronisation of the thrust levers are the Motor and PID tabs.
The Motor Tab in the PCU (Figure 4) can be used to alter the current (amperage) and the duty cycle. Both settings affect the output of the motor (which in turn alters the speed that the thrust levers move).
If the motor has an amperage either too high or low, then the speed that the thrust levers move at, may either be too slow or too fast. Furthermore, DC motors often exhibit manufacturing variances (+/-)and it’s common to have 2 identical motors with slightly differing output.
If the output is not equalised between the two motors, the position of the thrust levers will be staggered and synchronisation between each of the levers won’t be possible. Likewise, a different power output may be required to overcome the internal friction of the thrust lever, to enable movement of the lever to occur, .
Tweaking the motor duty cycle will help eliminate these differences enabling synchronisation of the thrust levers.
The PID Tab in the PCU (Figure 3), an acronym for proportional coefficient, enables in-depth fine- tuning to be applied to the already completed calibration done in ProSim737.
Depending on the power (torque) of the DC motor and the hardware used in the throttle quadrant, the thrust levers may jitter (backward and forward movement when a constant %N1 is set). To eliminate jitter, the PID is fine-tuned until a happy medium is discovered.
Consistency and Reliability
For the most part, Pololu Jrk cards are manufactured to a high quality and are very reliable; you shouldn’t experience a problem with a card. Even so, there may be manufacturing variance (+/-)between respective cards. However, because of the nature of the card, any subtle differences in output can easily be controlled through fine-tuning.
The above said, the calibration of the thrust levers includes many variables that are interrelated, and to achieve consistent results, the components that provide information to the card, in particular the potentiometers and DC motors, must be of the highest quality.
Important Point:
Advantages Using a Pololu JrK Card
The benefits of using Pololu Jrk cards cannot be underestimated.
(i) Direct support (reading of card) by ProSim-AR;
(ii) Small size enabling mounting almost anywhere; and,
(iii) Fine-tuning and increased accuracy through use of the PSU User Interface.
Will I Notice A Difference Using a Pololu JrK Card
The question frequently asked is: ‘will I see a difference if a Pololu card is used’ The answer is not straightforward, as there are several interrelated variables (already discussed). If the calibration is done carefully in ProSim737 and the variables tweaked in the Pololu PCU, there is no reason why there shouldn’t be a marked improvement.
Addendum
There has been considerable confusion concerning using the Polulu JrK card with ProSim737. Specifically, whether the potentiometers can be connected directly to the Polulu card, whether dual potentiometers are required, and whether a joystick card, such as Leo Bodnar BU0863 A/X joystick card is required to calibrate the thrust levers.
The ProSim737 software has the ability to read the Polulu card directly. Therefore, the potentiometers can be connected directly to the Polulu card. Because direct connection is possible, a duel potentiometer is not required. The calibration of the thrust levers can be done directly in ProSim737. A joystick card is not needed.
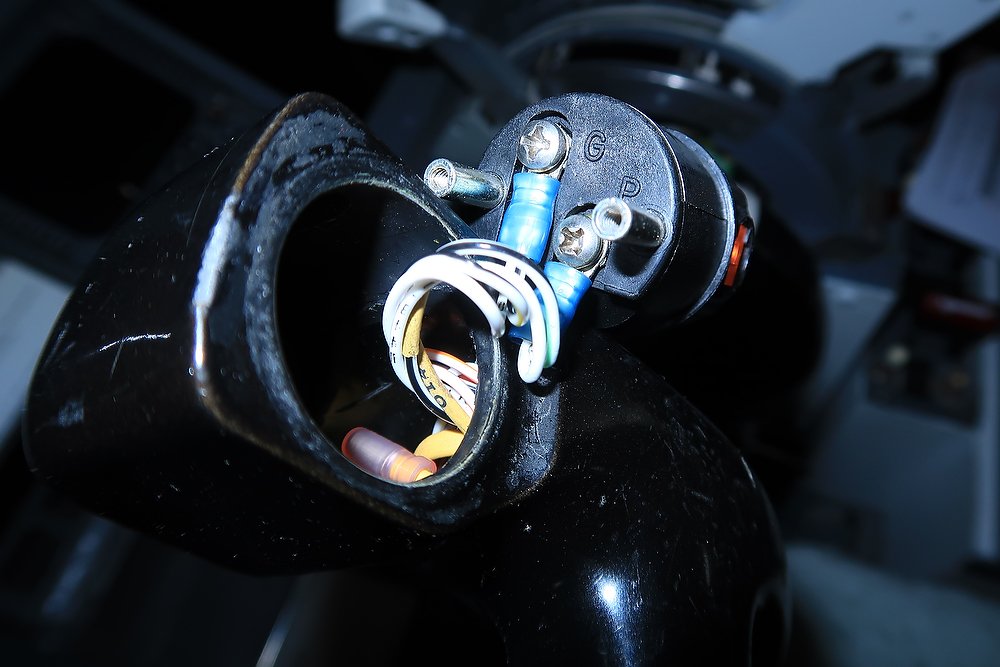
This said, the throttle quadrant in my simulator uses dual potentiometers that connect directly to the Polulu JrK card (to provide feedback) and to a Leo Bodnar BU0836A card (for calibration). The later also being used to register and calibrate the throttle buttons, flaps and speedbrake lever.
Advantage of this methodology, although it does appear slightly convoluted, is three-fold:
The calibration of the thrust levers and feedback can be separated. This can aid in troubleshooting if a problem occurs;
The calibration of the thrust levers can be done outside of ProSim737 using FSUIPC, flight simulator or some other software (if required);
The thrust levers can be used in manual mode without feedback connected. This is because the calibration has been done using a joystick card; and,
By using duel potentiometers and a joystick card you have the option of using other avionics software. In other words you are restricting yourself to only using ProSim737 because of a specific hardware configuration.
Final Call
Evolution is rarely static.
Direct calibration has enabled greater accuracy in calibrating the various control surfaces within ProSim737 and, in concert with using an advanced card such as the Pololu JrK card, has been a evolutionary step forward. This has lead to greater accuracy in the position of the thrust levers on the throttle arc, and almost perfect synchronisation, when automation is selected.
Further Information
This is but a short introduction to calibrating the throttle quadrant (thrust levers) directly within ProSim737 using the Pololu Jrk interface card. For further information concerning the Polulu Jrk card and it’s use with ProSim-TS navigate to the ProSim737 forum and search Polulu. The Polulu website is also worth reading at Pololu.
Acronyms and Glossary
Manufacturing Variance (+/-) – This is where identical items, although appearing exactly the same are very slightly different. Usually the tolerance is so small that it’s indiscernible. However, manufacturing variance in electronics often is the reason why some parts function and some fail soon after first use. An acceptable tolerance will be defined at the point of manufacture. Usually, if an item requires a higher (tighter) tolerance this leads to a higher manufacturing and purchase price. Often, but not always, there is a direct relationship between the price paid for an item and the reliability and longevity of that item.
MCP – Mode Control Panel
PCU – Pololu Configuration Utility
Throttle Arc – The curved piece of aluminium that the thrust levers move within.
Figures 1–5 display the settings for each of the tabs in the Pololu Jrk Configuration Utility (PCU). Note that these settings are generic to all throttles, however, the variables will differ slightly depending upon hardware used.